
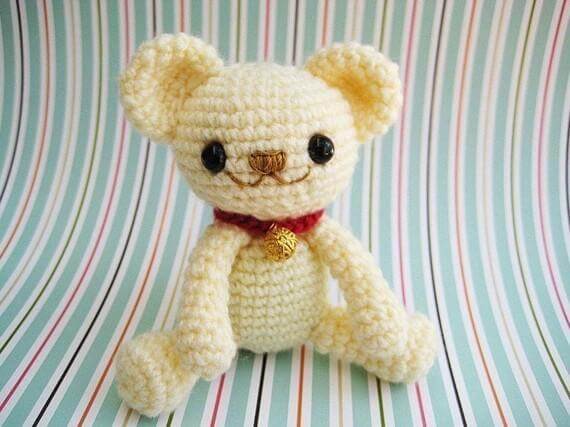
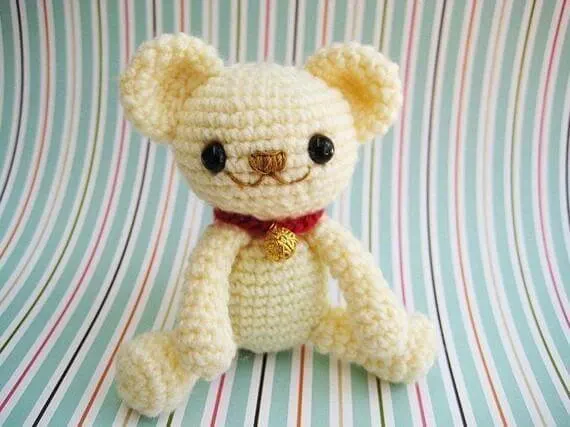
Meet Milo the sweet and cute teddy bear. This little guy is one of my first pattern that I wrote up. he so tiny and small could sit easily in your hand. You guys can imagine how small he is.
I decorate him with red necklace with a small gold colour bell that make him look so special. He is so easy to make and great for beginner amigurumi crocheter. You guy can crochet him up in a strom.
What are you waiting for? Let’s start!
Finish Size
-Approximately 4 inches tall in sitting position (without counting ear)
-Size of baby bear may varies depend on size of yarn and crochet hook
Note
For the size of the crochet hook really does not matter. The doll design will work just fine with different size crochet of hooks, only the end size of the creation will different slightly.
In this pattern is working in round continuously, you may use contrasting colour short piece of yarn to mark the beginning of each round. When round one end. Do not join at the end of each round; you will begin the second round in the next stitch.
At the end of each round, I have given the number of stitches you should have. If you are off by 1or 2 stitches, do not worry about it.
Skill and abbreviations
You will need to know how to make a magic ring or adjustable ring
-Single crochet (sc)
-Crochet increase (inc) which mean-make 2 single crochet in same stitch
-Crochet decrease (dec) which mean-Crochet 2 stitches together
-Stitch (st)
* = Repeat stitches from * to end of *
-Chain (ch)
-Slip stitch (sl st)
My beginner tutorial check it out here
Beginner guide to making your first ever amigurumi
How to start magic ring or adjustable ring
How to put an eyes on amigurumi
Materials
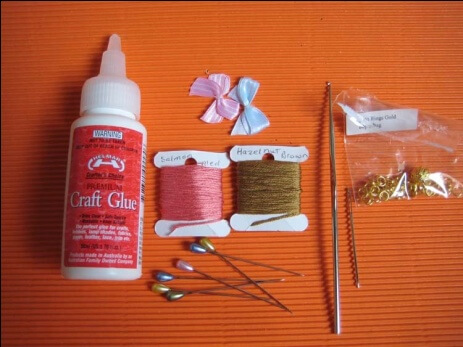

To make baby bear you will need
1. Yellow colour acrylic or worsted weight yarn in this pattern, I normally used double knitting
2. Plastic eyes with safety backing 7.5mm (you can find it at any craft shop)
3. Fibre polyester fill for stuffing teddy
4. Sewing yarn needle
5. Embroidery
6. Red colour yarn or ribbon for an optional
7. Crochet hook size1.25mm.
Let’ s start with head (colour yellow)
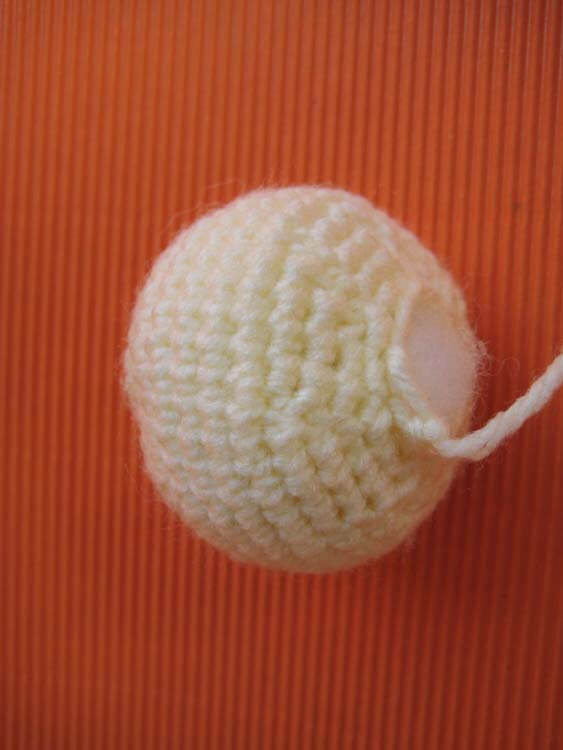

You will work from top to bottom
Round1. Make magic ring and 7sc in ring (7)
Round2. 2sc in each st around (14)
Round3. *Sc in next st, 2sc in next st* and repeat from * around (21)
Round4. *Sc in next 2 st,2sc in next st* and repeat from * around (28)
Round5.* Sc in next 3 st,2sc in next st* and repeat from * around (35)
Round6. *Sc in next 4 st,2sc in next st* and repeat from * around (42)
Round7-11. Sc in each st around (42)
Round12. *sc in each of next 4 st,dec 1* and repeat from * around (35)
Round13. *sc in each of next 3 st,dec 1* and repeat from * around (28)
Round14. *sc in each of next 2 st,dec 1* and repeat from * around (21)
Round15.* sc in each of next 2 st,dec 1* and repeat from * around, then have last stitch free make sc on that stitch (16)
Round16. *sc in each of next st,dec 1* and repeat repeat from * around, then have last stitch free make sc on that stitch and finish of leave long tail for sewing(11)
And stuffing polyester firmly.
Body (colour yellow)
You will work from bottom to top
Round1. Make magic ring and 5sc in ring (5)
Round2. 2sc in each st around (10)
Round3. *Sc in next st, 2sc in next st * and repeat from * around (15)
Round4.* Sc in next 2 st, 2sc in next st* and repeat from * around (20)
Round5. *Sc in next 3 st, 2sc in next st* and repeat from * around (25)
Round6. *Sc in next 4 st, 2sc in next st* and repeat from * around (30)
Round7-12. Sc in each st around (30)
Round13. *sc in each of next 4 st,dec 1* and repeat from * around (25)
Round14. *sc in each of next 3 st,dec 1* and repeat from * around (20)
Round15. *sc in each of next 2 st,dec 1* and repeat from * around (15)
Round16.* sc in each of next st,dec 1* and repeat from * around (10) ,then finish of leave long tail for sewing and stuffing polyester firmly.
Arms (colour yellow)
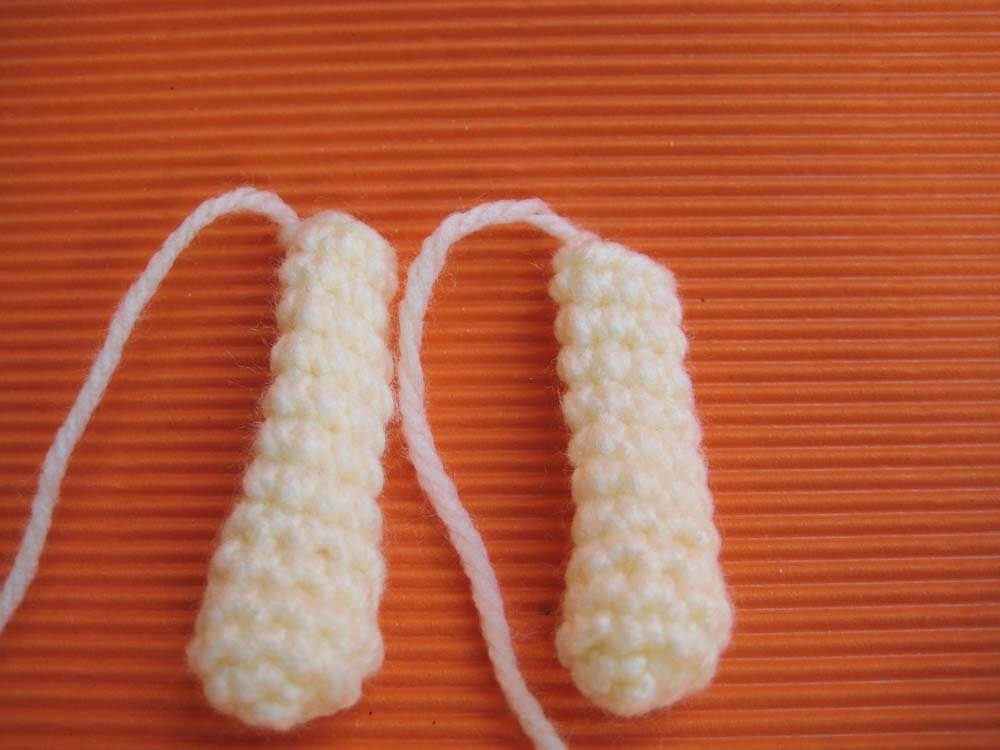
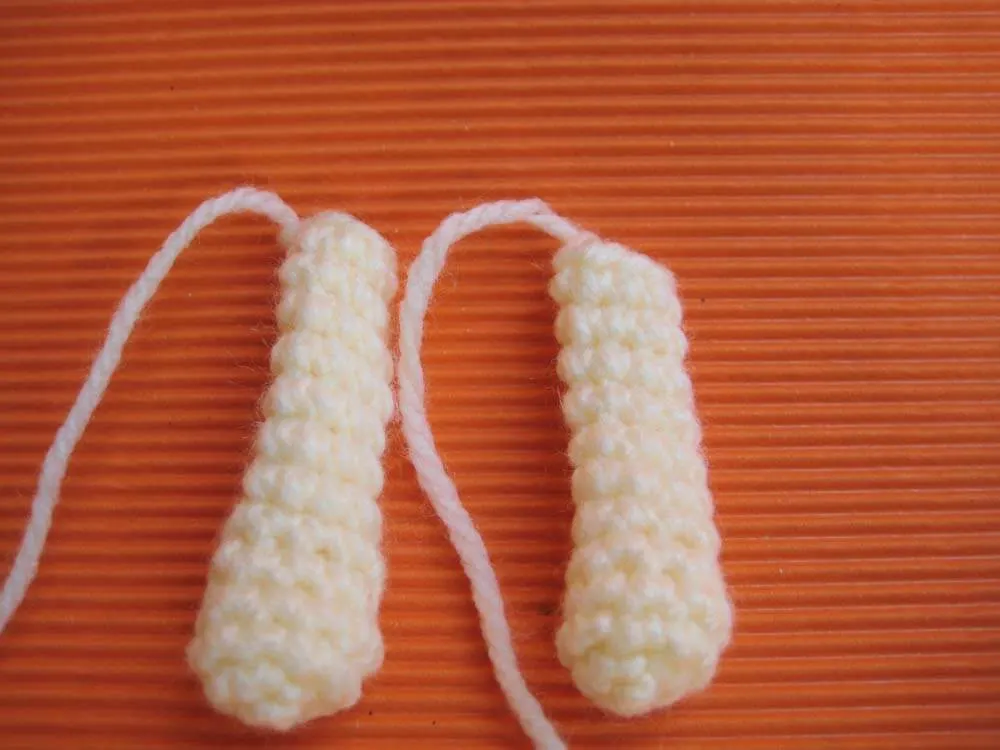
Make 2 pieces
You will work from bottom to top
Round1. Make magic ring and 5sc in ring (5)
Round2. 2sc in each st around (10)
Round3. Sc in each st around (10)
Round4.* sc in each of next 3 st,dec 1* and repeat 1 time (8)
Round5-12. Sc in each st around (8) then finish of leaves long tail for sewing and stuffing polyester just a little.
Ears (colour yellow)
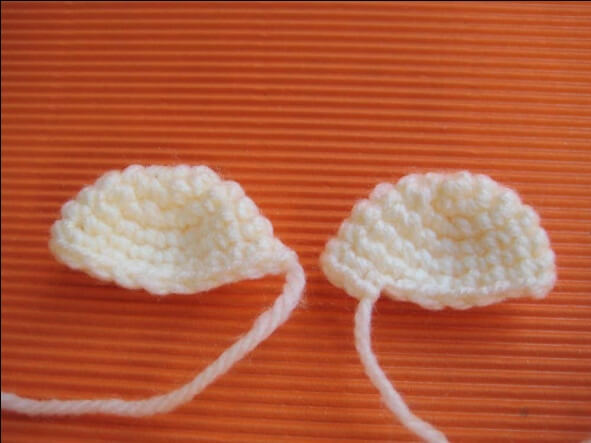

Make 2 pieces
Round1. Make magic ring and 6sc in ring (6)
Round2. 2sc in each st around (12)
Round3. *Sc in next st, 2sc in next st* and repeat from * around (18)
Round4-6. Sc in each st around (18)
Then finish of leave long tail for sewing and do not stuffing polyester in the ears.
Legs (colour yellow)

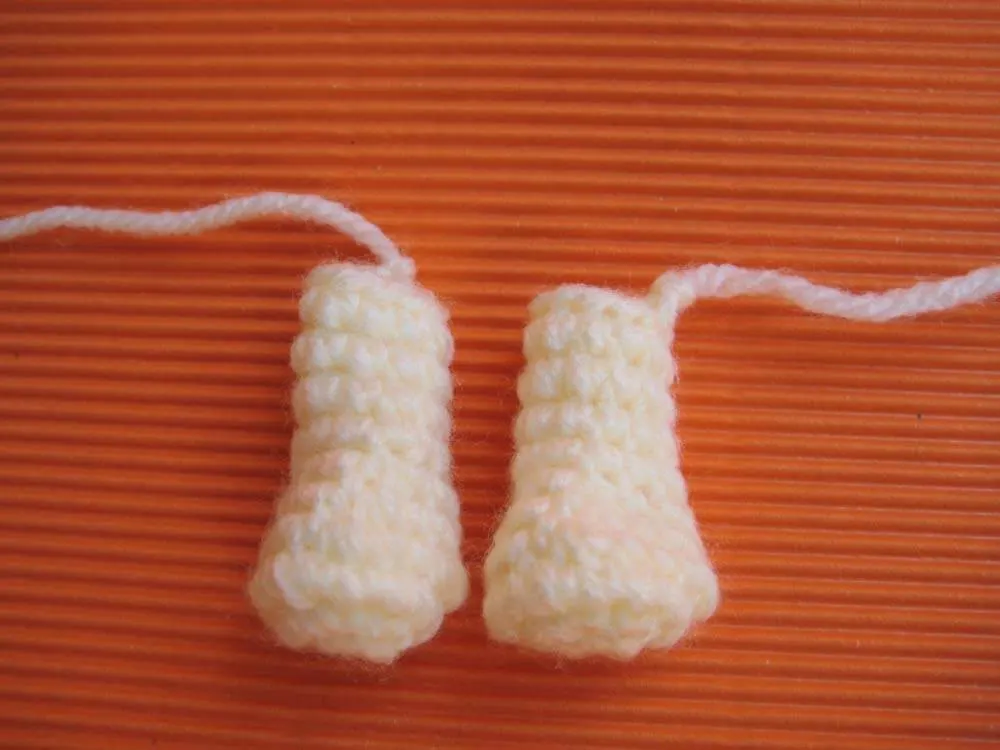
Make 2 pieces
Round1. Make magic ring and 6sc in ring (6)
Round2. 2sc in each st around (12)
Round3. *Sc in next st, 2sc in next st* and repeat from * around (18)
Round4. *sc in each of next 4 st,dec 1* and repeat from * around (15)
Round5. *sc in each of next 3 st,dec 1* and repeat from * around (12)
Round6. *sc in each of next 2 st,dec 1* and repeat from * around, then have last 4 stitch free make sc on that stitch (10)
Round7-10. Sc in each st around (10) and finish of leave long tail for sewing. Stuffing polyester just a little.
Collar (red)
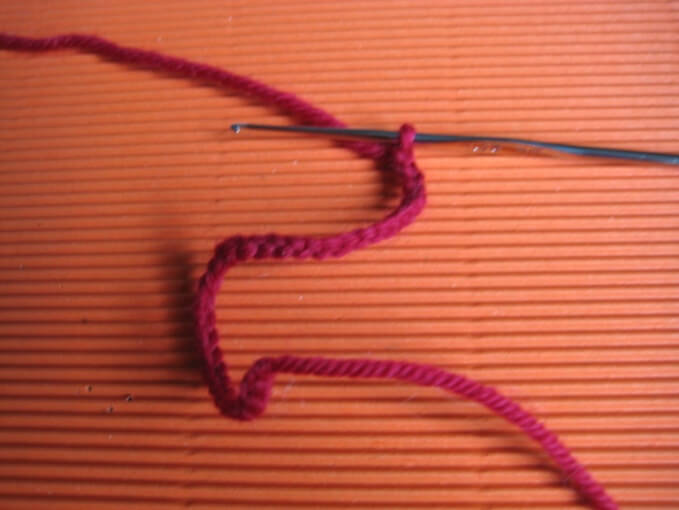
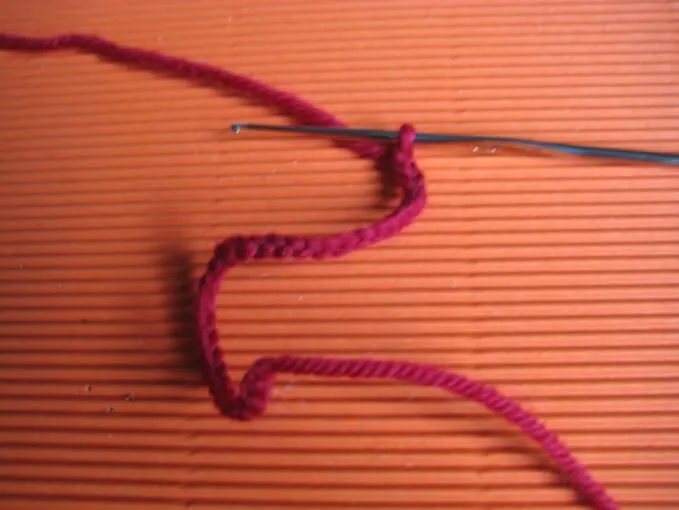
1. Ch 15 or length to fit your baby bear neck, do not join yet
2. Add decorative button, ribbon etc.
3. fasten off and weave in ends
Finishing
Sew ears to the head and sew body to the head after finish the ears and teddy face.
Then sew arms and attach legs to body so that baby bear is in a sitting position.

Happy crocheting!
Ondine Blue
Monday 27th of April 2015
I love this little bear, it's the most popular item I make. He's very tactile and if I have one on my stand people cannot resist stopping to pick him up. :) I mostly make them either to donate directly to charity or sell them to fundraise for charity. He really is a special little bear, thank you so much for the pattern! xxx
Soo
Friday 3rd of March 2023
@Ondine Blue, according to your directions with the ears I had trouble crocheting them to look like half moons in your picture.