
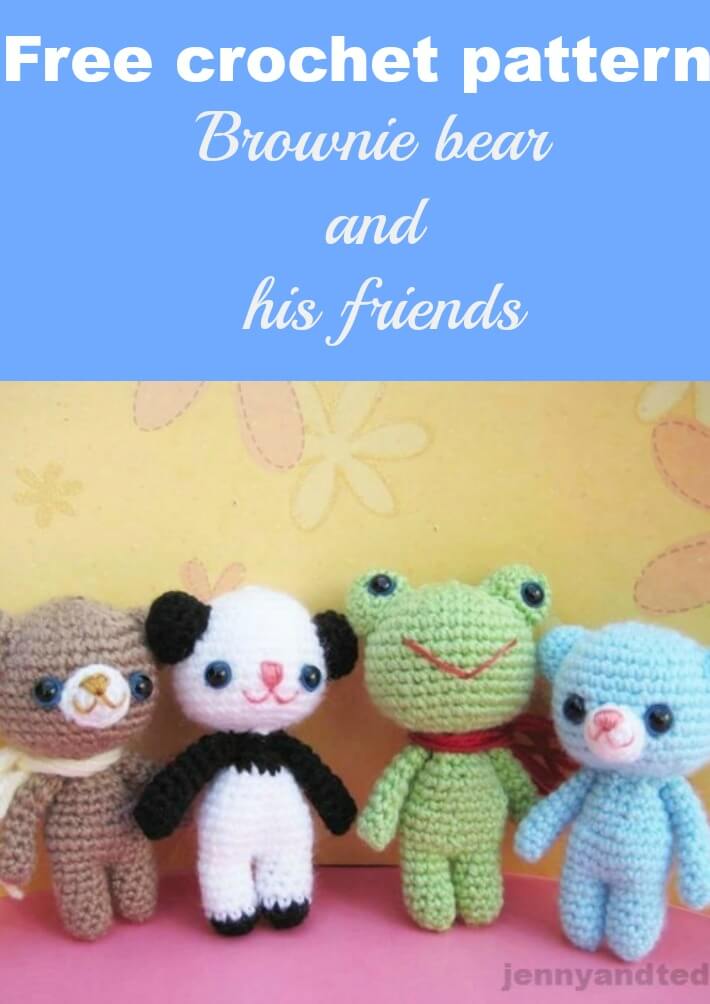
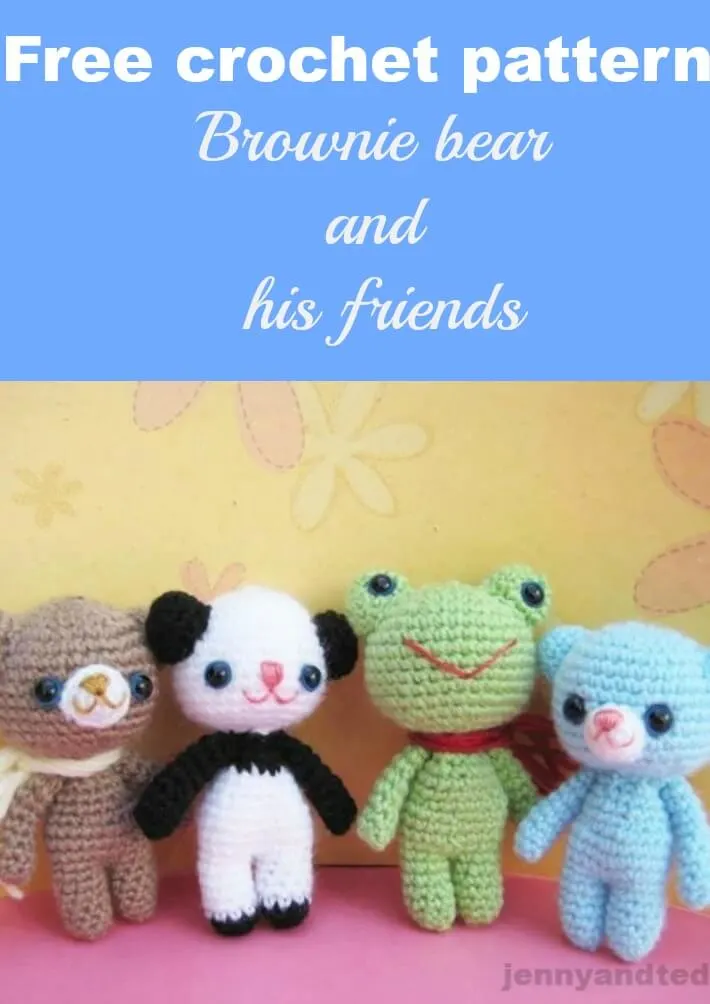

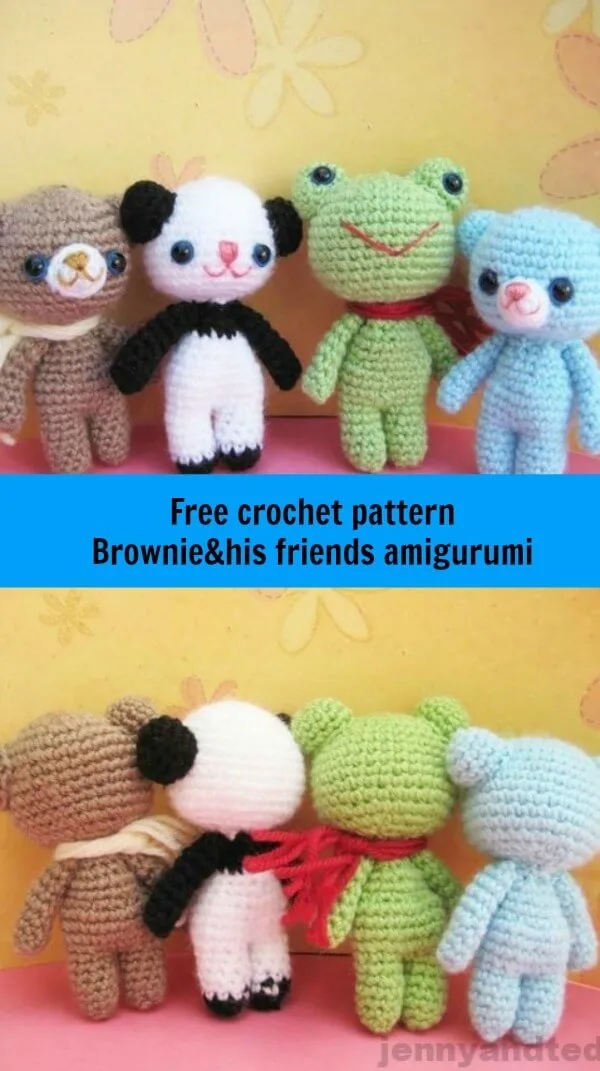
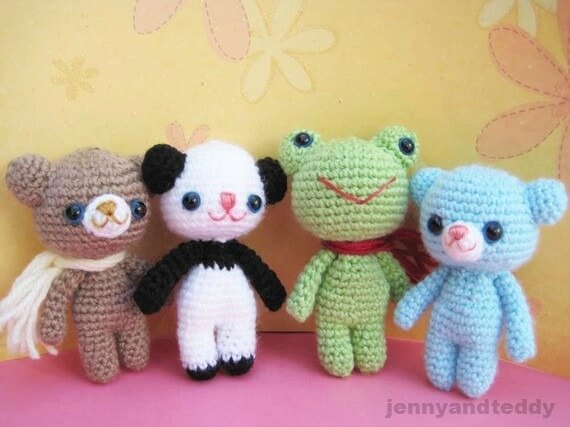
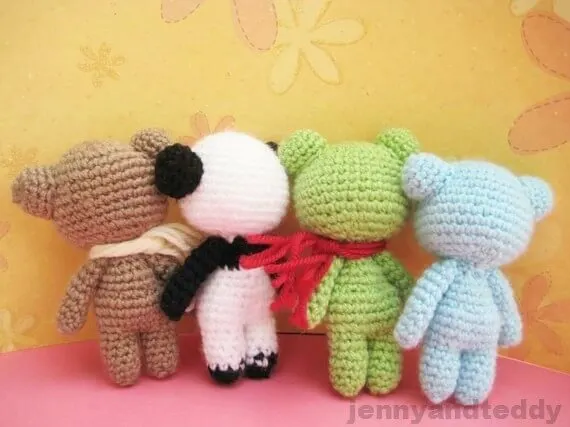
Meet Brownie Bear and his friends. These cute crochet amigurumi mini bears, frogs, and pandas are made from one simple pattern.
All you need to do is change the color for each animal, and voila—you’ve got cute, small-size teddies. You will love them all. They are all easy to make and so quick to whip up.

Finish Size
- Approximately 6.5 inches tall with 2.5 mm crochet hook.
- The size of the brownie and his friend may vary depending on the size of the yarn and crochet hook.


Materials for crocheting amigurumi mini bear.
To make you will need
1. Acrylic yarn in this pattern, I normally used 8 ply
2. Plastic eyes with safety backing 9.5mm (you can find it at any craft shop)
3. Fiberfill for stuffing
4. Sewing yarn needle
5. Ribbon or decoration button, leftover fabric.
7. Crochet hook size 2.5 mm and craft glue


Note.
The size of the crochet hook really does not matter. The doll designed will work just fine with different sizes of crochet hooks; only the end size of the creation will differ slightly.
This pattern works continuously in rounds. You may use a contrasting color short pieces of yarn to mark the beginning of each round.
When round one ends, do not join at the end of each round; you will begin the second round in the next stitch.
At the end of each round, I have given the number of stitches you should have .If you are off by 1or 2 stitches, do not worry about it.


Skill and abbreviations.
- US crochet term.
- You will need to know how to make a magic ring or adjustable ring
- Single crochet (sc)
- Crochet increase (inc) which means 2 single crochet in the same stitch
- Crochet decrease (dec), which mean-Crochet 2 stitches together
- Stitch (st)
* = Repeat stitches from * to end of *
- Chain (ch)
- Slip stitch (sl st)
- change colour


Amigurumi for beginner tutorial, check it out here.
Beginner guide to making your first-ever amigurumi
How to start a magic ring or adjustable ring
How to put an eye on amigurumi
BUY PDF pattern on Ravelry.
How to crochet a cute amigurumi teddy bear step-by-step video tutorial on YouTube.


Let’s start with crocheting a bear head.
- Brown or blue color for teddy
- White color for panda
- Green colour for frog

You will work from top to bottom
Round1. Make magic ring and 7sc in ring (7)
Round2. 2sc in each st around (14)
Round3. *Sc in next st, 2sc in next st* and repeat from * around (21)
Round4. *Sc in next 2 st,2sc in next st* and repeat from * around (28)
Round5. *Sc in next 3 st,2sc in next st* and repeat from * around (35)
Round6-13. Sc in each st around (35)
Round14. *sc in each of next 3 st,dec 1* and repeat from * around (28)
Round15. *sc in each of next 2 st,dec 1* and repeat from * around (21)
Round16. *sc in each of next st,dec 1* and repeat from * around (14)
Round17. *sc in each of next st,dec 1* and repeat from * around then have last 2 st
free make sc in each of st then finish of leave long tail.
for sewing(10)
And stuffing polyester firmly.
Bear Arm.
Brown or blue color for teddy
Black color for panda
Green colour for frog

Make 2 pieces
Round1. Make magic ring and 7sc in ring (7)
Round2-9. sc in each st around (7)
Then, finish the long tail for sewing and stuffing polyester just a little.
Teddy bear Ears.
Brown or blue color for teddy
Black color for panda
Green colour for frog

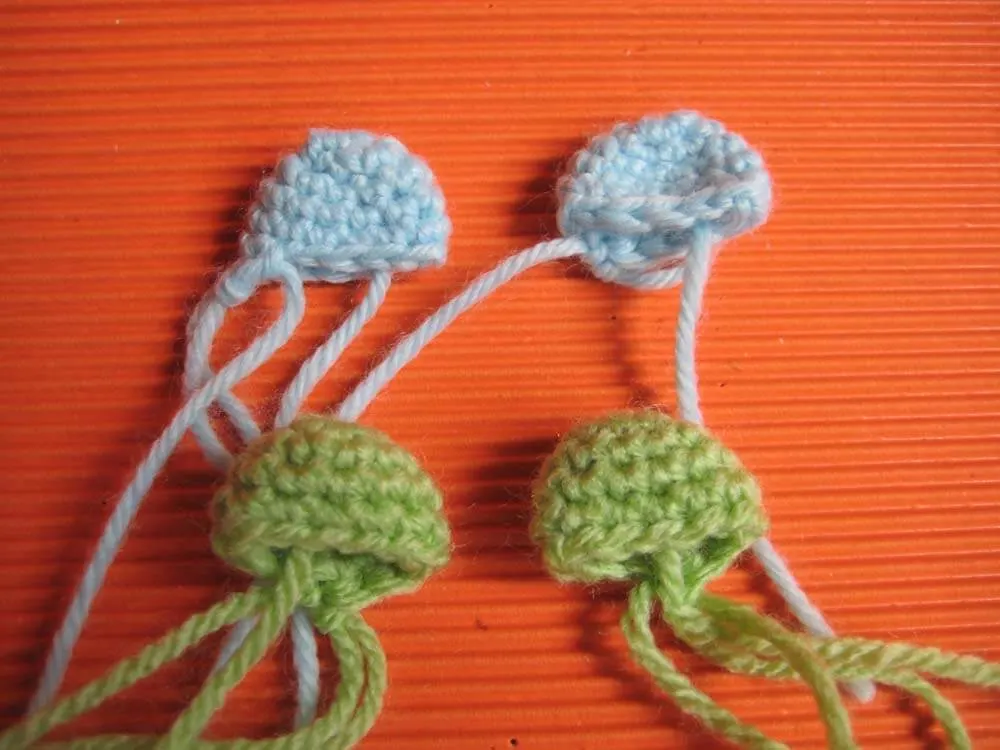
Make 2 pieces
Round1. Make magic ring and 6sc in ring (6)
Round2. 2sc in each st around (12)
Round3-5. sc in each st around (12)
Then, finish the long tail for sewing and stuffing polyester just a little.
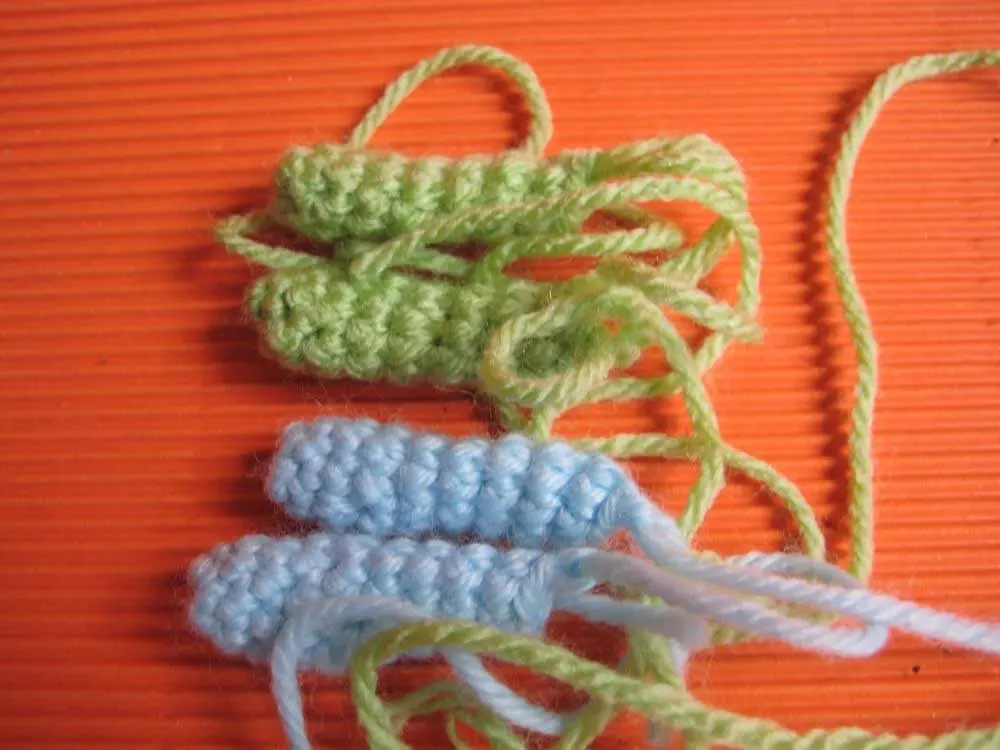
Bear Legs.
Brown color for teddy
White color for panda
Green colour for frog
Make 2 pieces.
Round1. Make magic ring and 6sc in ring (6) ( black color for panda)
Round2. *Sc in next st, 2sc in next st* and repeat from * around (9) ( black colour for panda)
Round3-7. sc in each st around (9)
Then, finish stuffing polyester just a little.
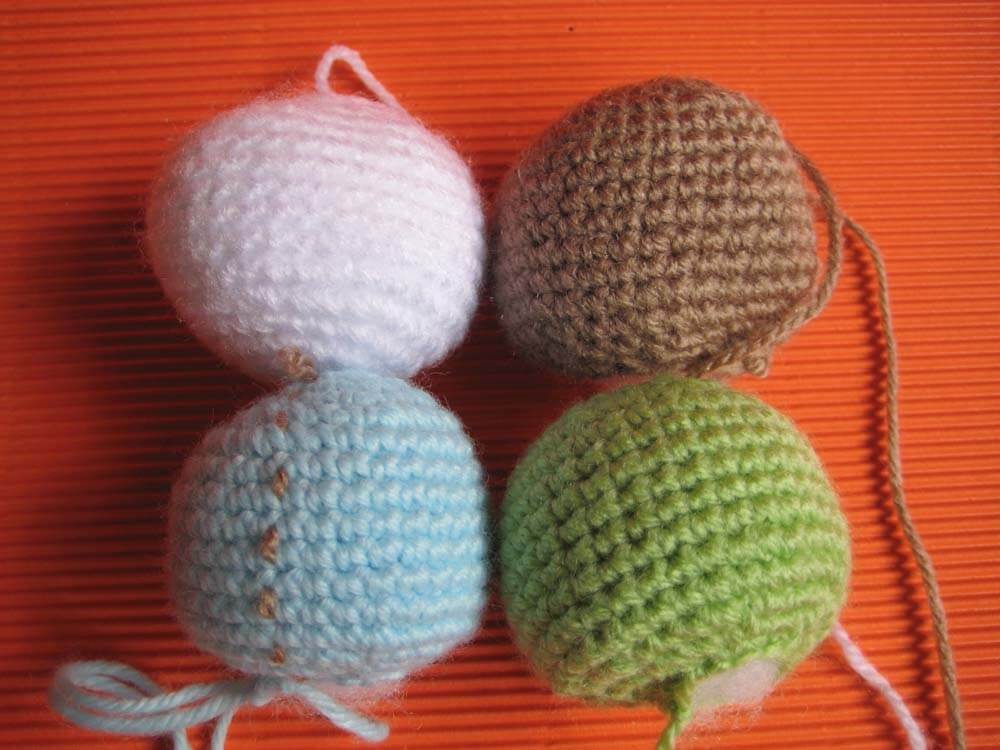
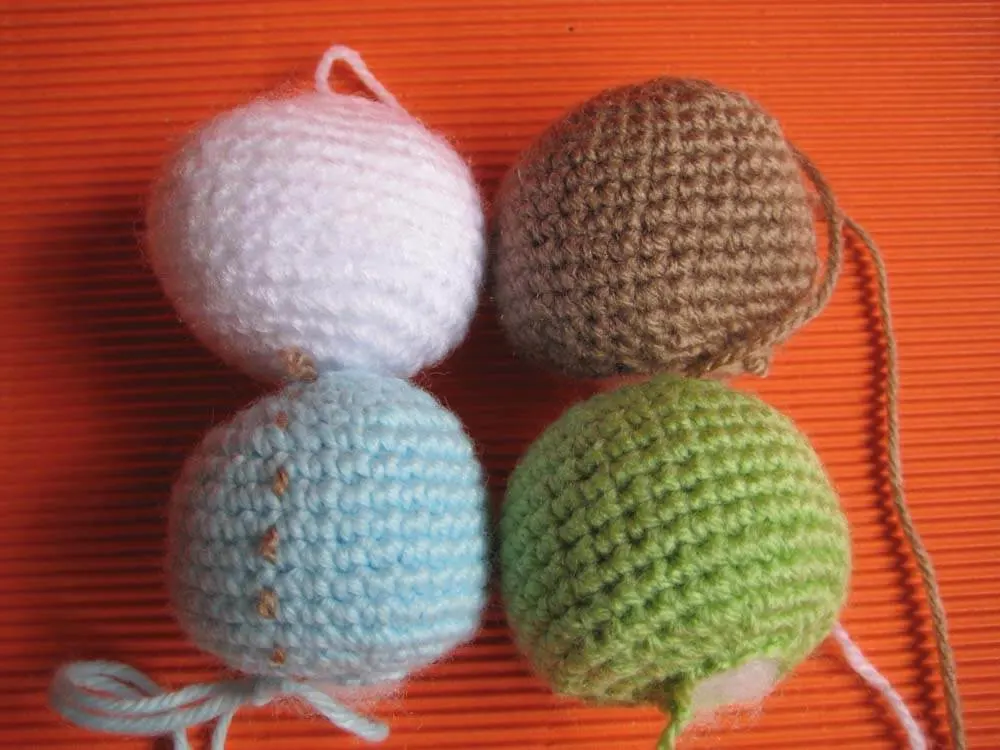
Bear Body.
Body, we make by stitching 2 legs together.
For the body, we start to count round 1 by stitching 2 legs together.
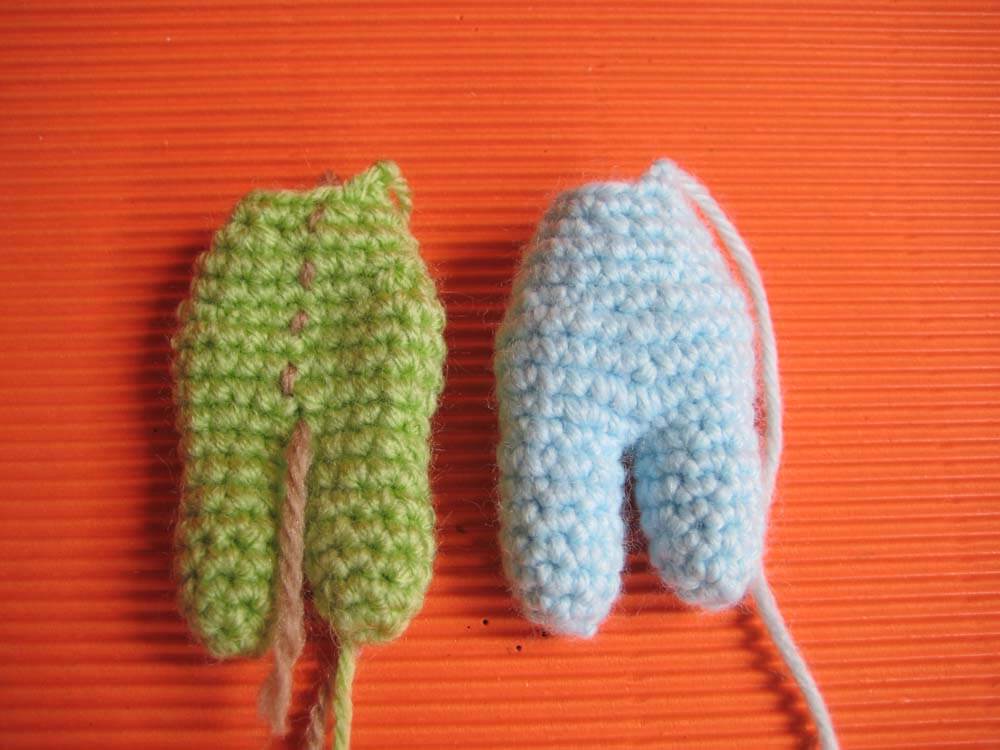

Brown color for teddy
White color for panda
Green color for frog
Round1. sc in each st around 2 legs and (18)
Round2. *Sc in next 2 st, 2sc in next st* and repeat from * around ( 24)
Round3-5. sc in each st around (24)
Round6. *sc in each of next 2 st,dec 1* and repeat from * around (18 )
Round7-8. Sc in each st around (18)
Round9. *sc in each of next st,dec 1* and repeat from * around (12)
Round10. Sc in each st around (12) ( this round is black color for panda)
Round11. Sc in each st around (12) ( this round is black color for panda)
Finish of leave long tail for sewing.
And stuffing polyester firmly.
Nose for brownie bear & blue bear (white).

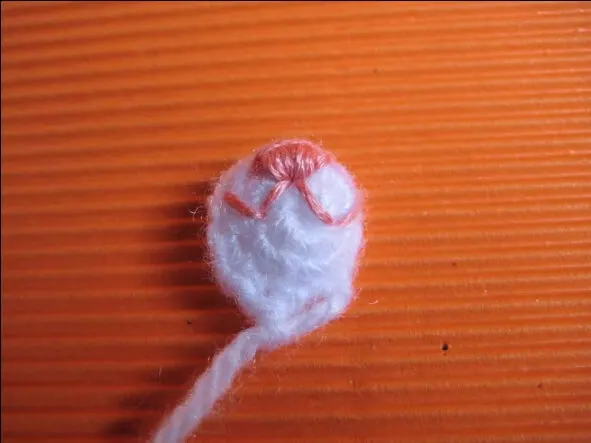
Make 1 piece
Round1. Make a magic ring and 5sc in the ring (5)
Round2. 2Sc in each st around (10)
Round3. sc in each st around (10)
Finish the long tail for sewing.
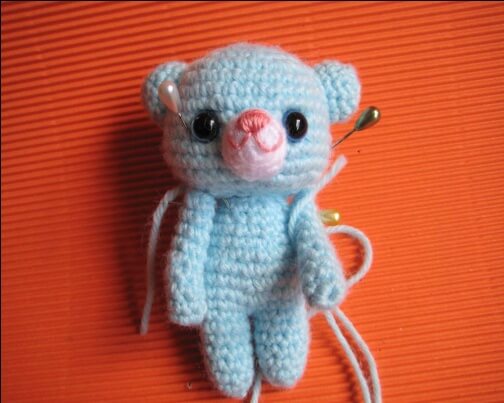
Assemble bear Finishing.
Sew nose to the face and ears to the head.
Then, attach the body to the head and arms.

Thank You.
Bethany Breach
Thursday 17th of August 2023
Is this uk terminology? Sorry beginner over here!! Just wanna know if single crochet is actually single crochet or double crochet
jane
Monday 28th of August 2023
HI Bethany it a us crochet term.
Joan
Sunday 3rd of May 2020
Thank you for sharing this pattern.
Marie
Sunday 15th of October 2017
thank you for sharing Jane! Your patterns are so cute! I'm making a set of these for my 2 grandchildren, who LOVE stuffed toy animals!
jane
Sunday 15th of October 2017
Aww you so sweet Marie.
Jenny
Friday 1st of April 2016
You are so generous sharing these. Thankyou. It takes all the stress out of it for those who are not good at innovation.
Becky
Wednesday 14th of January 2015
I can't believe how cute and easy this little guy was! I'm starting on my second now! Do you have any clothes patterns for these precious creatures? :)
jane
Wednesday 14th of January 2015
hi Becky thank you for stopping by, I so glad that you like my pattern and great to hear the feedback that they are easy to make. Sorry,I donot have dress pattern for doll.