
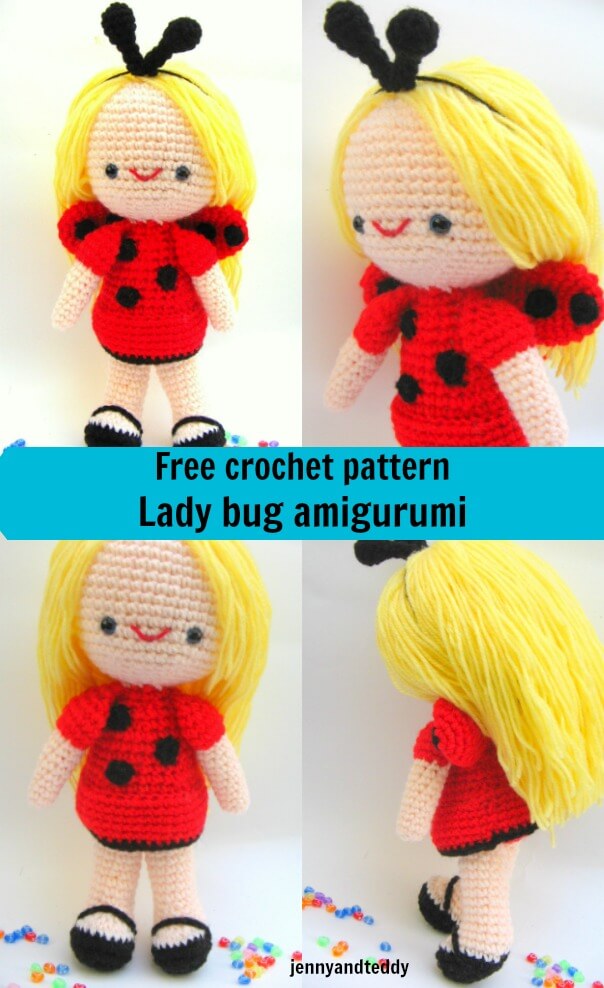

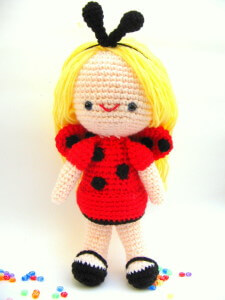
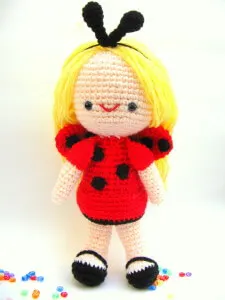
Brigthen up your summer with this cute Ladybug Sofia Amigurumi free Pattern.Sofia is a sweet little girl who like to dress up and gets excited. She loves allthing sweet, M&M chocolate is her favorite candy she can eat lots of them.


Finish Size
-Approximately 7.5-8 inch tall
-Size varies depending on the size of yarn and crochet hook
Materials
To make you will need
1. Acrylic yarn, for this pattern, I normally used 8 ply
2. Plastic eyes with safety backing 7.5mm (you can find it at any craft shop)
3. Polyester fiberfill for stuffing
4. Sewing yarn needle and embroidery
5. Ribbon or button
7. Crochet hook size1.25mm and craft glue
Note
For the size of the crochet hook really does not matter. The doll design will work just fine with different sizes crochet of hooks, only the end size of the creation will different slightly.
In this pattern, you will be working in the round continuously, you may use a contrasting colour short piece of yarn to mark the beginning of each round. When you end a round, do not join at the end of each round; you will begin the second round in the next stitch.
At the end of each round, I have given the number of stitches you should have .If you are off by 1or 2 stitches, do not worry about it.
Skill and abbreviations
You will need to know how to make a magic ring or adjustable ring
-Single crochet (sc)
-Crochet increase (inc) which mean-make 2 single crochet in same stitch
-Crochet decrease (dec) which mean-Crochet 2 stitches together
-Stitch (st)
* = Repeat stitches from * to end of *
-Chain (ch)
-Slip stitch (sl st)
-change colour
My beginner tutorial check it out here
Beginner guide to making your first ever amigurumi
How to start magic ring or adjustable ring
How to put an eyes on amigurumi
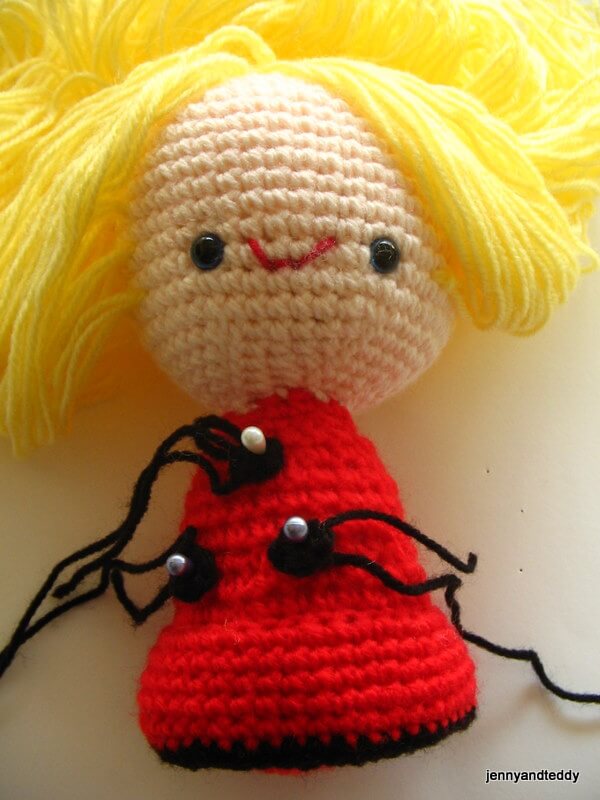
Let’s start with head Colour of your choice
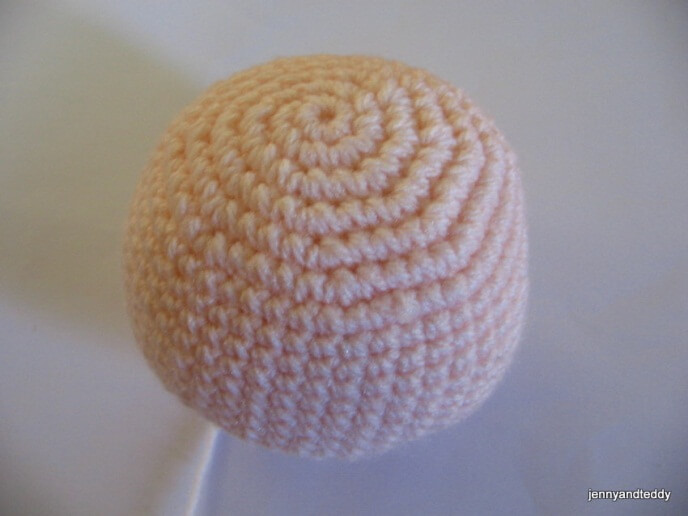
You will work from top to bottom
Round1. Make magic ring and 8sc in ring (8)
Round2. 2sc in each st around (16)
Round3. *Sc in next st, 2sc in next st* and repeat from * around (24)
Round4. *Sc in next 2 st,2sc in next st* and repeat from * around (32)
Round5. *Sc in next 3 st,2sc in next st* and repeat from * around (40)
Round6. *Sc in next 4 st,2sc in next st* and repeat from * around (48)
Round7-16. Sc in each st around (48)
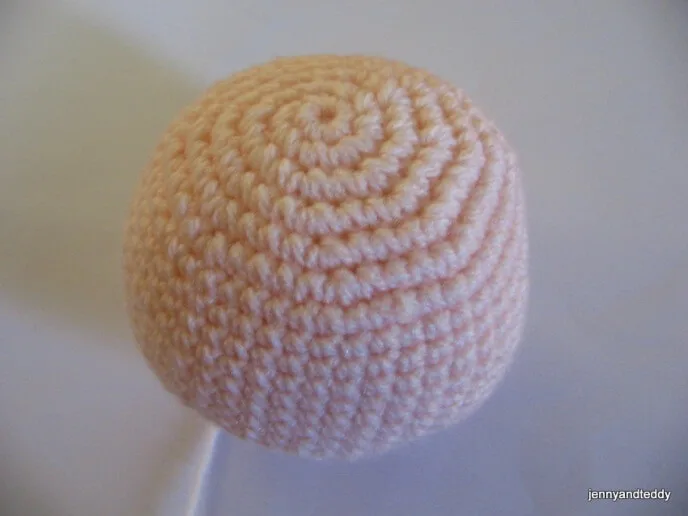
Round17. *sc in each of next 6 st,dec 1* and repeat from * around (42)
Round18. *sc in each of next 5 st,dec 1* and repeat from * around (36)
Round19. *sc in each of next 4 st,dec 1* and repeat from * around (30)
Round20. *sc in each of next 3 st,dec 1* and repeat from * around (24)
Round21. *sc in each of next 2 st,dec 1* and repeat from * around (18)
Round22. *sc in next st,dec 1* and repeat from * around (12), then finish off and leave long tail for sewing. And stuffing polyester firmly.
Hair more detail with lots of photo in pdf pattern.

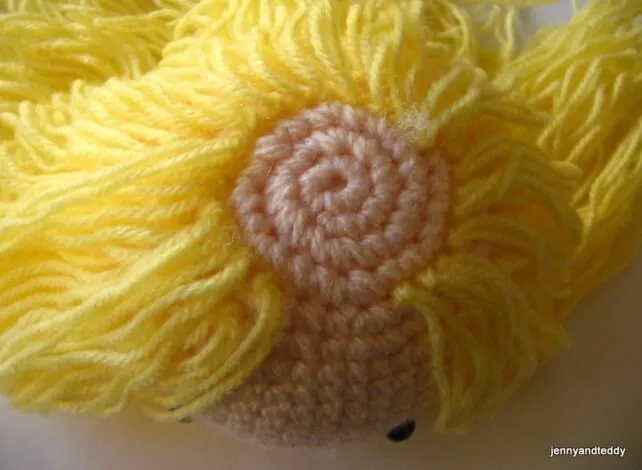
When making hair for the doll, my technique I normally used a small book or you can use a piece of card board to hold yarn together it depend on how long of doll hair you want. For me my hair doll approximately 4 inch each side.
Body colour of your choice (red)

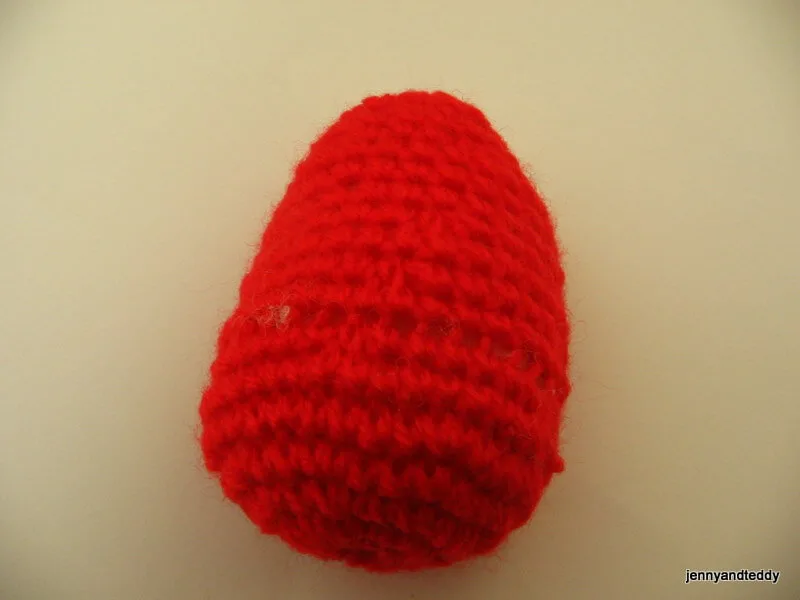
You will work from bottom to top
Round1. Make magic ring and 8sc in ring (8)
Round2. 2sc in each st around (16)
Round3. *Sc in next st, 2sc in next st* and repeat from * around (24)
Round4. *Sc in next 2 st,2sc in next st* and repeat from * around (32)
Round5. *Sc in next 3 st,2sc in next st* and repeat from * around (40)
Round6. Sc in each st around (40)
Round7. *sc in each of next 6 st,dec 1* and repeat from * around (35)
Round8. Sc in each st around (35)
Round9. *sc in each of next 5 st,dec 1* and repeat from * around (30)
Round10. Sc in each st around (30)
Round11. *sc in each of next 4 st,dec 1* and repeat from * around (25)
Round12-14. Sc in each st around (25)
Round15. *sc in each of next 3 st,dec 1* and repeat from * around (20)
Round16. Sc in each st around (20)
Round17. *sc in each of next 2 st,dec 1* and repeat from * around (15)
Round18. Sc in each st around (15)
Then finish off and leave long tail for sewing. And stuffing polyester firmly.
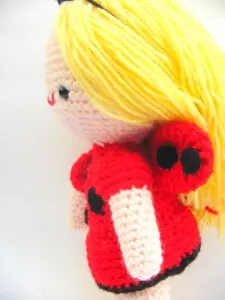
Skirt
We make skirt by crochet outside of the body as the picture demonstration.
Insert crochet hook on round8. And make single crochet in each st around the boby.
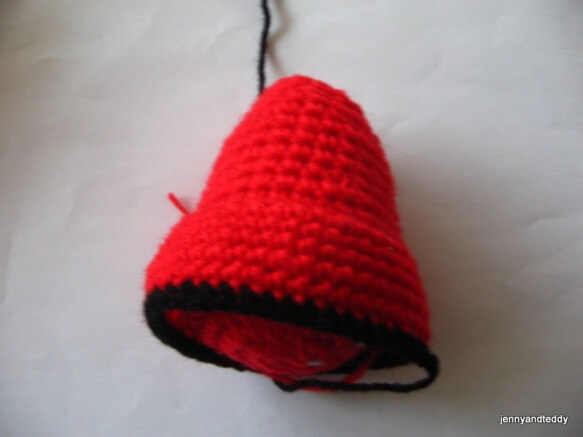

Start at round.8of the body. Count from bottom to top
Then we count back from round 8,7,6,5,4,3 of the body because skirt is going down from round8.
Round8. Sc in each st around (counting st in this round is not important)
Round7.*Sc in next 4 st,2sc in next st* and repeat from * around
(counting st in this round is not important)
Round6. sc in each st around (counting st in this round is not important)
Round5. Sc in each st around (counting st in this round is not important)
Round4. Sc in each st around (counting st in this round is not important)
Round3. Sc in each st around (counting st in this round is not important) black Then finish off.
Arms colour of your choice
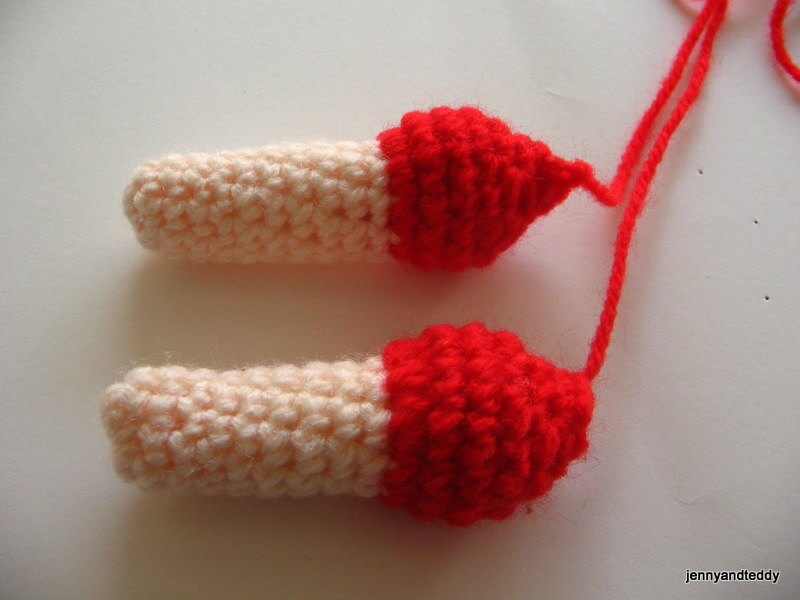

Make 2 pieces
Round1. Make magic ring and 9sc in ring (9) skin colour
Round2-10. sc in each st around (9) skin colour
Round11. 2sc in each st around (18) red
Round12-13. Sc in each st around (18) red
Round14. *sc in next st,dec 1* and repeat from * around (12) red
Round15. *dec 1* and repeat from * around (6) red
Round16. sc in each st around (6) red
Then finish off and leave long tail for sewing. And stuffing polyester just a little.
Legs colour of your choice Make 2 pieces
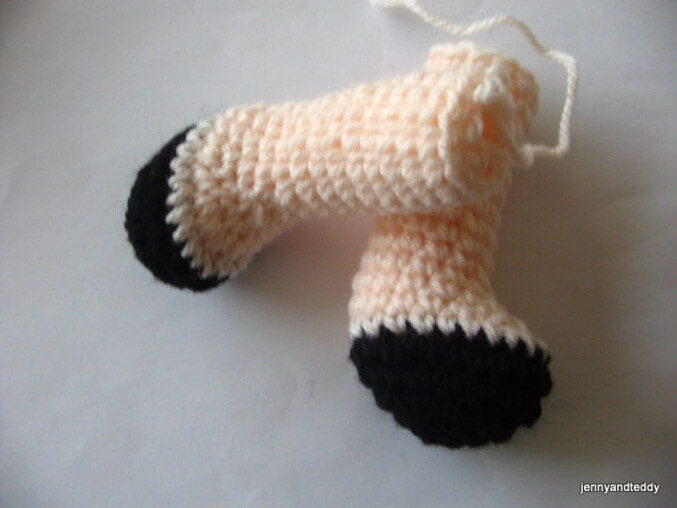
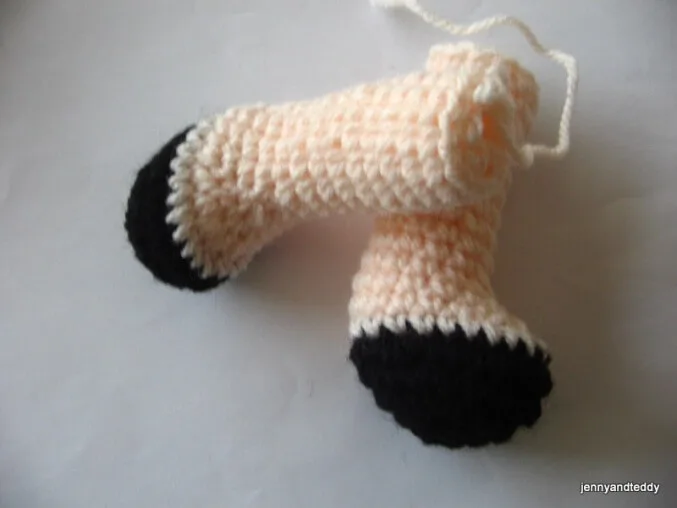
You will work from bottom to top
Round1. Make magic ring and 6sc in ring (6) black
Round2. 2sc in each st around (12) black
Round3. *Sc in next st, 2sc in next st* and repeat from * around (18) black
Round4. *Sc in next 2 st, 2sc in next st* and repeat from * around (24) black
Round5. Sc in each st around (24) black
Round6. Sc in each st around (24) skin colour
Round7. (sc in each of next6 st) then (dec 6 time)
(sc in each of next 6 st) (18) skin colour
Round8. (sc in each of next6 st) then (dec 3 time)
(sc in each of next 6 st) (15) skin colour
Round9. (sc in each of next7 st) then (dec 1 time)
(sc in each of next 6 st) (14) skin colour
Round10. (sc in each of next6 st) then (dec 1 time)
(sc in each of next 6 st) (13) skin colour
Round11-17. Sc in each st around (13) skin colour
Then finish off and leave long tail for sewing. And stuffing polyester firmly.
Shoes strip ( black)

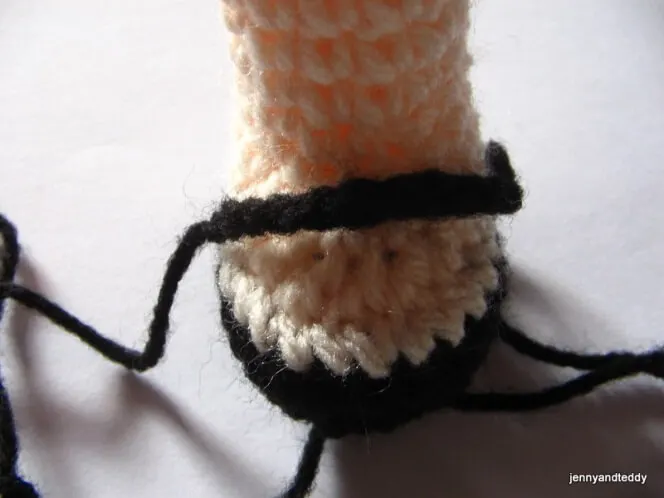
Make 2 pieces.
Start with 10 chains and finish off, leave long tail for sewing.
Wings make 2 pieces (red)

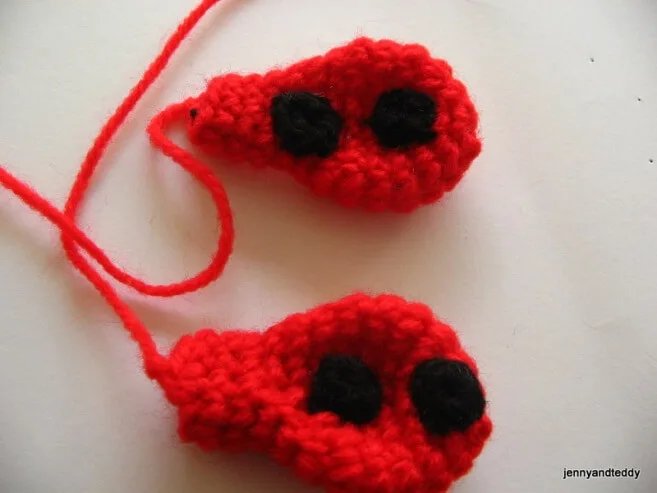
Round1. Make magic ring and 6sc in ring (6)
Round2. 2sc in each st around (12)
Round3. *Sc in next st, 2sc in next st* and repeat from * around (18)
Round4-6. Sc in each st around (18)
Round7. *sc in each of next 4 st,dec 1* and repeat from * around (15)
Round8. *sc in each of next 3 st,dec 1* and repeat from * around (12)
Round9. *sc in each of next 2 st,dec 1* and repeat from * around (9)
Round10-13. Sc in each st around (9)
Then finish off and leave long tail for sewing. And do not stuffing polyester.
Then we are going to join 2 wings together by sewing.
Antennae make 2 pieces (black)
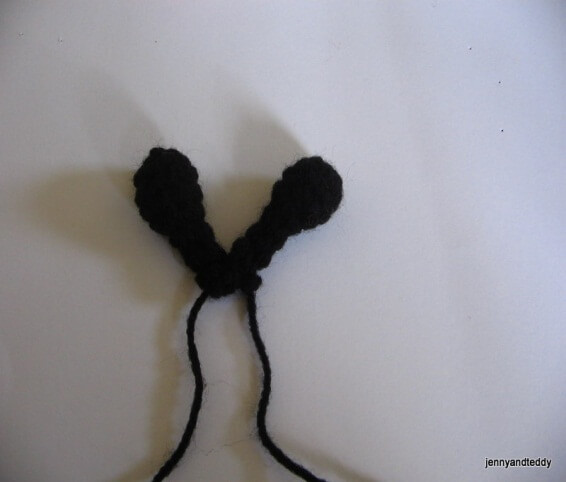
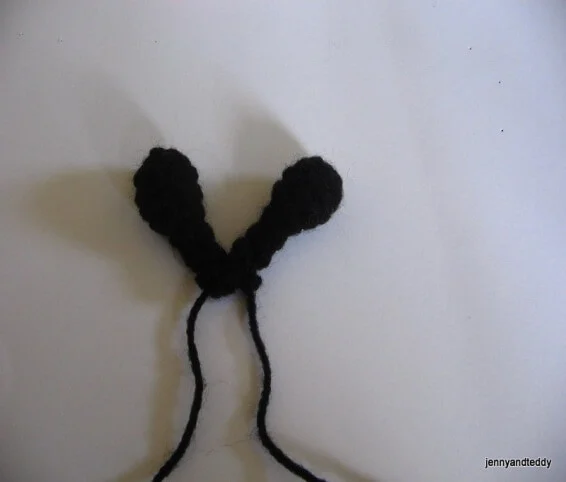
Round1. Make magic ring and 5sc in ring (5)
Round2. 2sc in each st around (10)
Round3-4. Sc in each st around (10)
Round5. *dec 1* and repeat from * around (5)
Round6-9. Sc in each st around (5)
Then finish off and leave long tail for sewing. And do not stuffing polyester.
Then we are going to join antennae together by sewing.

Black dot make 8-10 pieces
Round1. Make magic ring and 5sc in ring (5) and join with sl st.
Then finish off and leave long tail for sewing. And do not stuffing polyester.

Finishing.
Sewing body to the head. Then arms and legs.

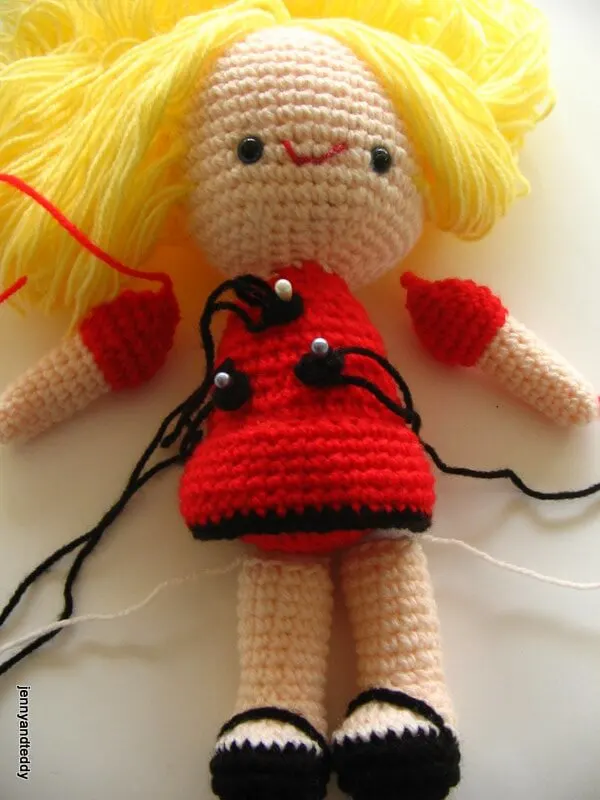
Happy crocheting!
Sharon@Blue Willow House
Tuesday 9th of December 2014
So cute. Thank you for sharing the pattern at The Southern Special.
Jann Olson
Monday 18th of August 2014
What a sweet little ladybug girl you have created! Thanks for sharing her with SYC. hugs, Jann
jane
Tuesday 19th of August 2014
thanks you Jann!
Megan Walker
Sunday 17th of August 2014
Such an adorable dolly! I love her hair. Thanks for sharing on Hump Day Happenings : )
Susan
Thursday 31st of July 2014
I enjoy crochet but have never tried an amigurumi pattern. Now I can't wait to try this adorable pattern. Thanks for sharing at Inspire us Thursday on Organized 31. Congrats on being featured this week.
jane
Friday 1st of August 2014
Thank you Susan.
Emily
Thursday 24th of July 2014
This is the cutest dolly. Thanks for sharing the pattern!
jane
Thursday 24th of July 2014
Thanks Emily.