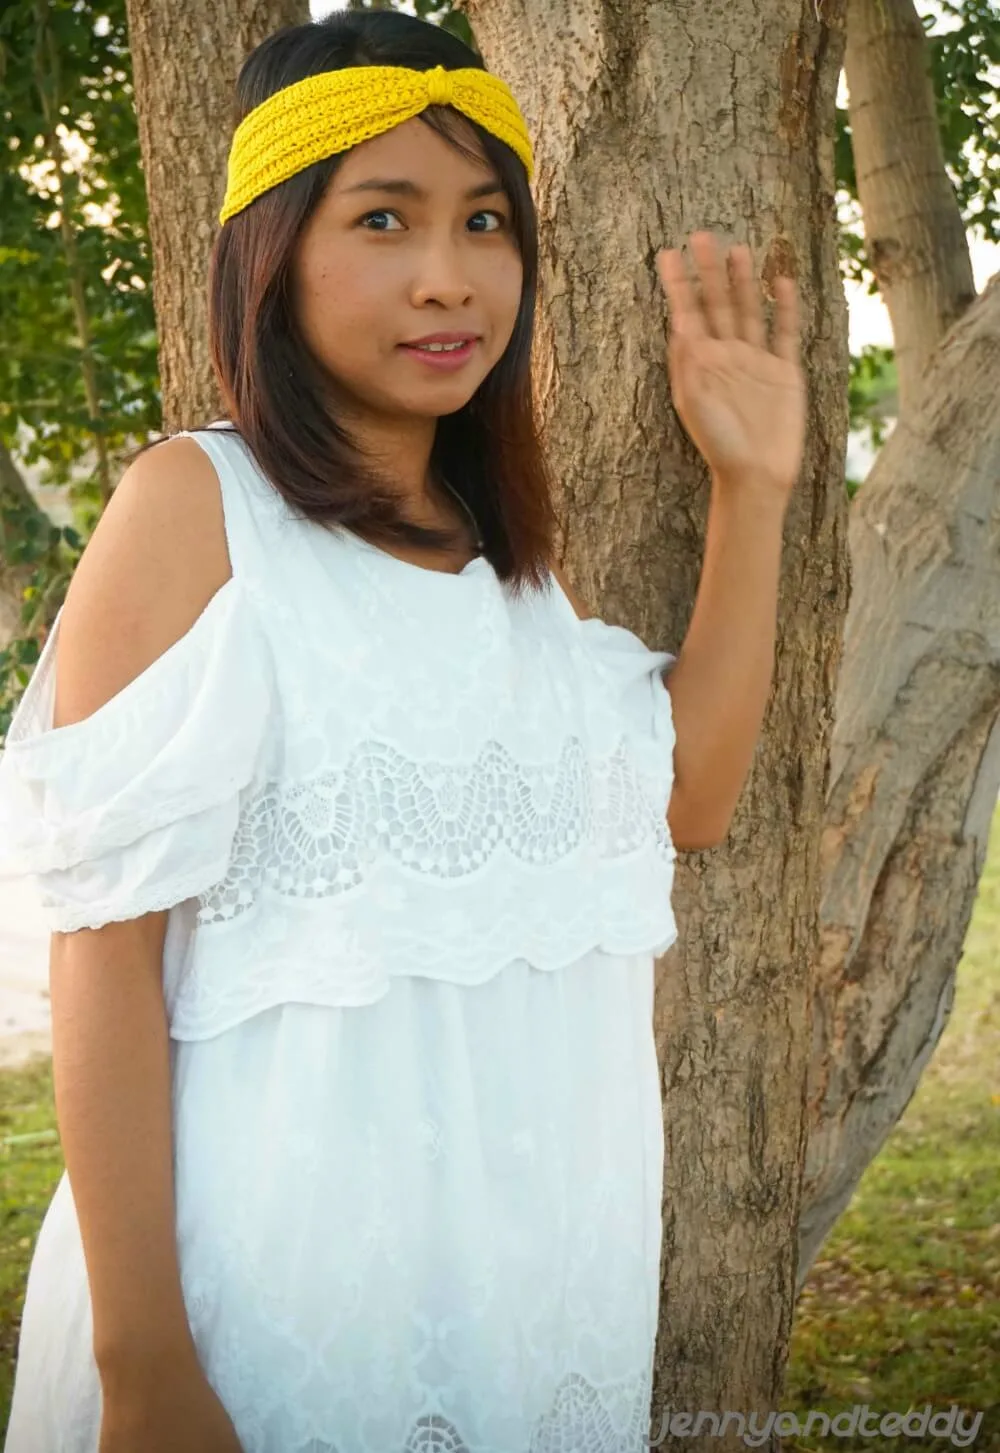
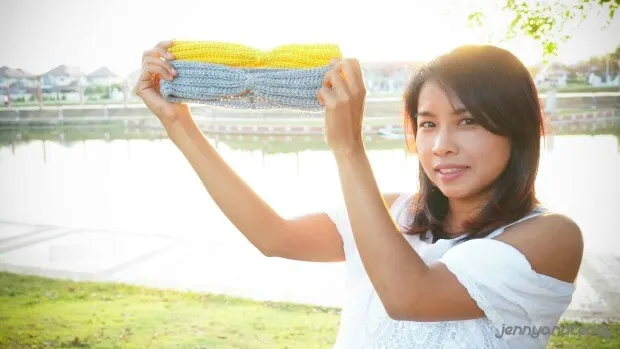
Hi! Guys. I am welcoming spring with this lovely yellow headband as it is my favorite color. I was spending time reading my favorite novel in a public park while my sweet son was running around and playing near me.
After few hours, I wanted to rest my eyes so I closed my eyes for a minute then looked around to see beautiful nature in the park. Little yellow flowers suddenly caught my eyes then this beautiful yellow headband just popped in my thought.
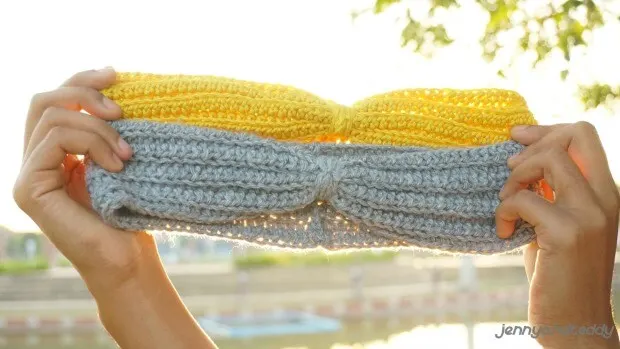
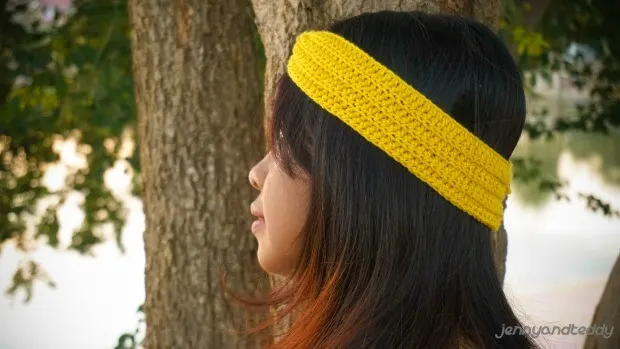
I must admit that I am totally in love with the crochet in back loop that create beautiful texture of ribbing to the headband.
I think it’s about time for beginners to move on to the next step. This super easy crochet could be one of your choices to begin. You can whip up with no time and you will see a perfect result! I believe you guys can totally do it.
You can actually wear this headband in any occasion you like. Hanging out with friends, spending time with your family, shopping, or travel.
Get the free pattern below or this pattern is also available as an inexpensive, ad-free, PDF printable instant download in my etsy shop. Thank you so much for your love and support. I am really appreciate you.
Skill and abbreviations
You will need to know how to make
-Sl st (slip knot)
-hdc which mean-half double crochet
-sc which mean single crochet
-ch, Chain
-Blo which mean work in back loop only
This pattern is made for beginners! There is a basic skill level required to make the design.
Let’s get start!
– I used Lion brand 24/7 cotton
– 3.50mm crochet hook or E/4 US hook size
– Sewing yarn needle
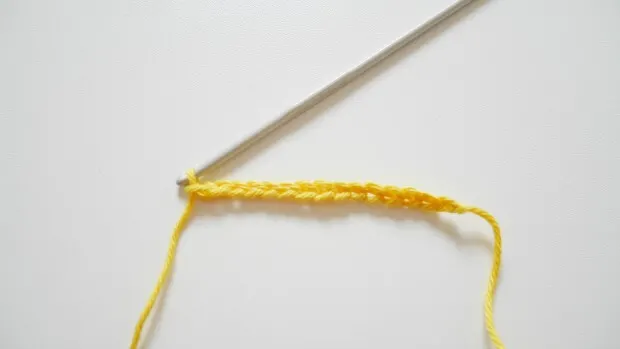
Grab your 3.5 mm crochet hook make a slip knot then 91 chains.
Row 1 – hdc in the next chain from hook and make hdc in each chain until the end of the row. Ch 1 turn.
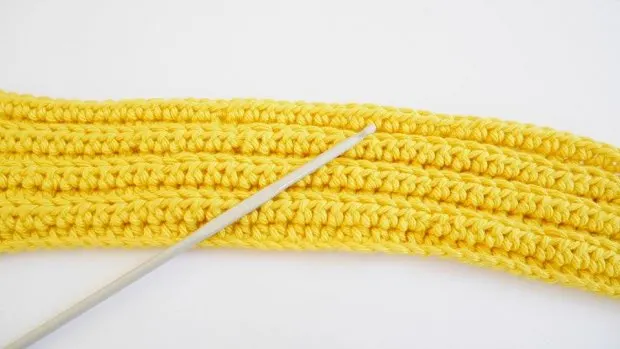
Row 2 – hdc blo only in the next stitch from hook and make hdc blo only in each stitch until the end of the row. Ch1 turn.
Rows 3-8: Repeat row 2.
Rows 9: Repeat row 2. Fasten off and leave long tail for sewing.
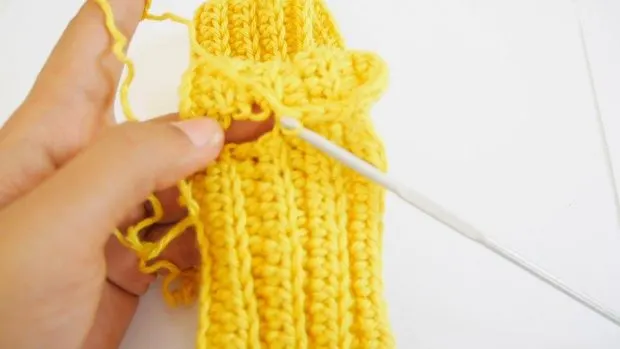
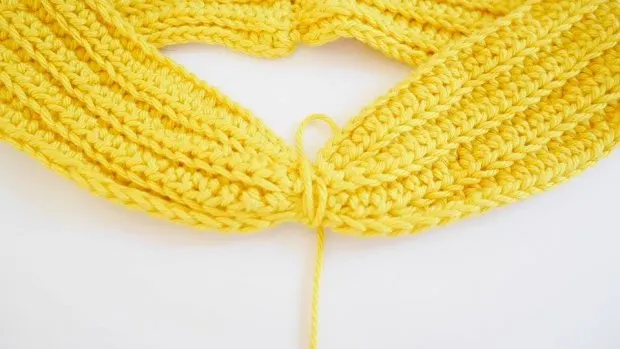
Then you use a yarn needle to stitch the ends together or make single crochet to connect the end together. Then wrap the yarn in the middle of the headband to create the knot.
Be sure to snap a picture and share your finished headband with me on social media! I’d love to see how it turned out!



Marielle
Saturday 13th of May 2017
Hey Jane, thanks for sharing this pattern. Just finished one and LOVE the turn out!! Super easy, fast, and cute! Can't wait to make another one!
jane
Saturday 13th of May 2017
Awwwww thanks you so much for let me knew Marielle, you so sweet . I would love to see your creation if you on instragram please tag me.^^ love love.