


Of course you can sell the finished dolls that are made out of my original pattern* Beacuse I love to support crafter, who made the doll with love and care
Finish Size
-Approximately 5-6 inch.
-Size varies depending on the size of yarn and crochet hook
Materials To make you will need
- Acrylic yarn, for this pattern, I normally used 8 ply
- Plastic eyes with safety backing 7.5 mm (you can find it at any craft shop)
- Polyester fiberfill for stuffing
- Sewing yarn needle and embroidery
- Ribbon or button
- Crochet hook size1.25mm and craft glue
Note
In this pattern, you will be working in the round continuously, you may use a contrasting colour short piece of yarn to mark the beginning of each round. When you end a round, do not join at the end of each round; you will begin the second round in the next stitch.
At the end of each round, I have given the number of stitches you should have .If you are off by 1or 2 stitches, do not worry about it.
Skill and abbreviations
You will need to know how to make a magic ring or adjustable ring
-Single crochet (sc)
-Crochet increase (inc) which mean-make 2 single crochet in same stitch
-Crochet decrease (dec) which mean-Crochet 2 stitches together
-Stitch (st)
* = Repeat stitches from * to end of *
-Chain (ch)
-Slip stitch (sl st)
-change colour
-work in front loop and back loop
My beginner tutorial check it out here
Beginner guide to making your first ever amigurumi
How to start magic ring or adjustable ring
How to put an eyes on amigurumi
Let’s start with head Colour of your choice
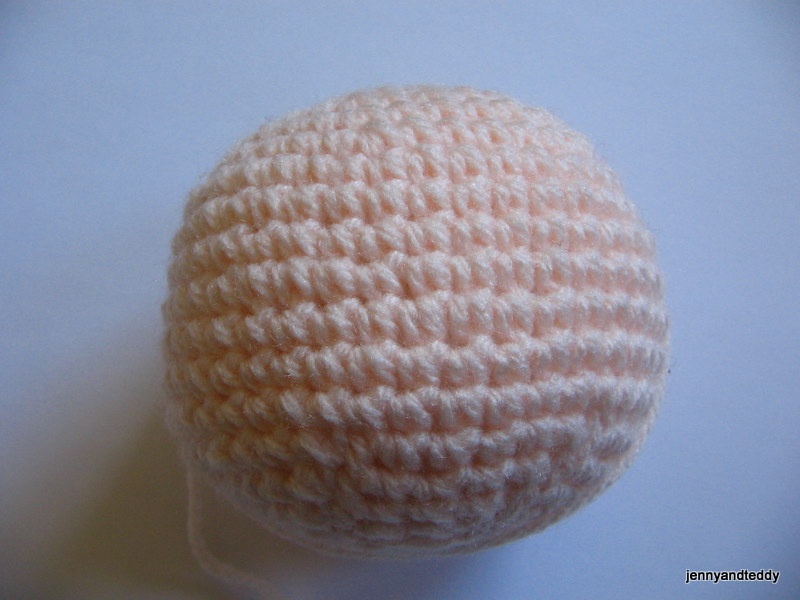
You will work from top to bottom
Round1. Make magic ring and 6sc in ring (6)
Round2. 2sc in each st around (12)
Round3. *Sc in next st, 2sc in next st* and repeat from * around (18)
Round4. *Sc in next 2 st,2sc in next st* and repeat from * around (24)
Round5. *Sc in next 3 st,2sc in next st* and repeat from * around (30)
Round6. *Sc in next 4 st,2sc in next st* and repeat from * around (36)
Round7. *Sc in next 5 st,2sc in next st* and repeat from * around (42)
Round8-14. Sc in each st around (42)
Round15. *sc in each of next 5 st,dec 1* and repeat from * around (36)
Round16. *sc in each of next 4 st,dec 1* and repeat from * around (30)
Round17. *sc in each of next 3 st,dec 1* and repeat from * around (24)
Round18. *sc in each of next 2 st,dec 1* and repeat from * around (18)
Round19. *sc in next st,dec 1* and repeat from * around (12), then finish off and leave long tail for sewing. And stuffing polyester firmly.
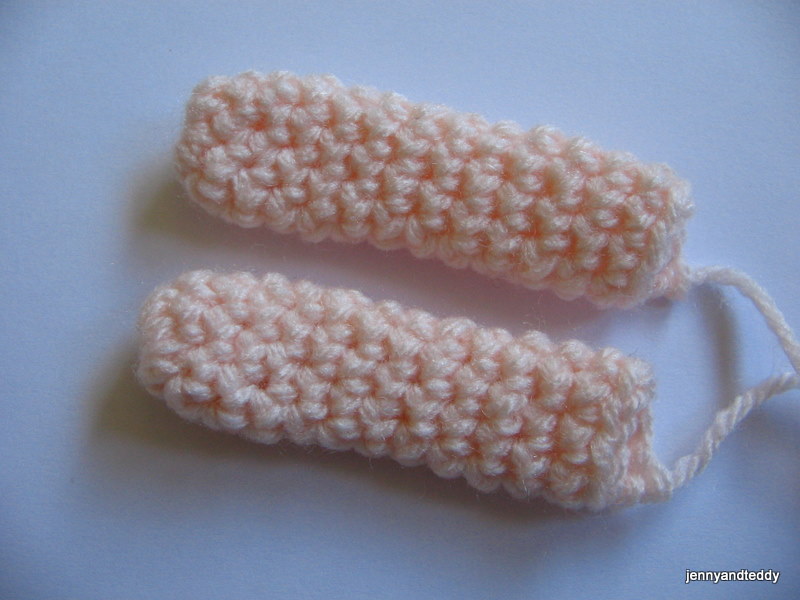
Legs colour of your choice Make 2 pieces
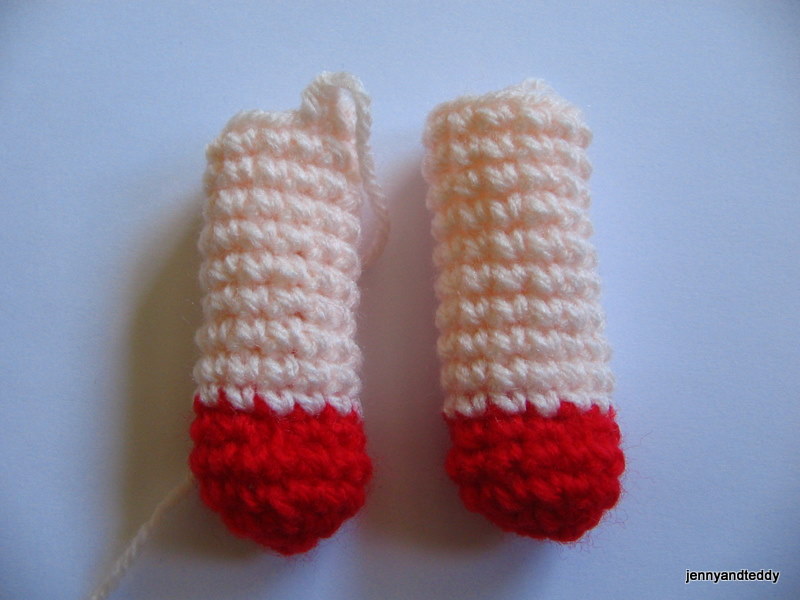
You will work from bottom to top
Round1. Make magic ring and 5sc in ring (5) red
Round2. Sc in each st around (10) red
Round3. *Sc in next st, 2sc in next st* and repeat from * around (15) red
Round4. sc in each st around (15) red
Round5. *sc in each of next 3 st, dec 1*and repeat from * around (12) red
Round6-15. sc in each st around (12) skin colour
Then finish off and leave long tail for sewing. And stuffing polyester firmly.
Body colour of your choice
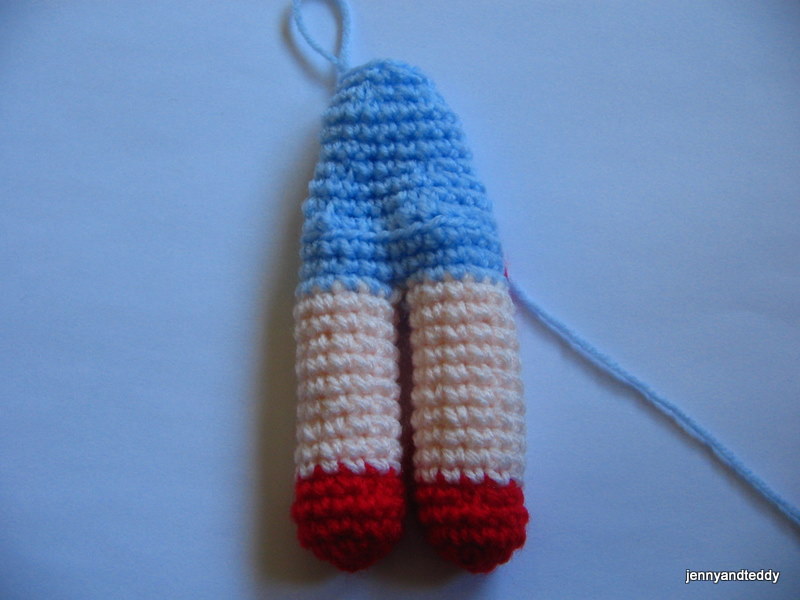
My other tutorial on how to joined legs for amigurumi doll.
You will work from bottom to top by joining two leg together.
Round1-3. sc in each st around two leg (24)
Round4. Sc in each st around (24) blue (blo of round 3)
Round5. *sc in each of next 4 st, dec 1*and repeat from * around (20)
Round6. Sc in each st around (20)
Round7. *sc in each of next 3 st, dec 1*and repeat from * around (16)
Round8-10. Sc in each st around (16)
Round11. *sc in each of next 2 st, dec 1*and repeat from * around (12)
Round12. Sc in each st around (12)
Then finish off and leave long tail for sewing. And stuffing polyester firmly.
For the skirt
We will make by crochet in front loop of round 4.
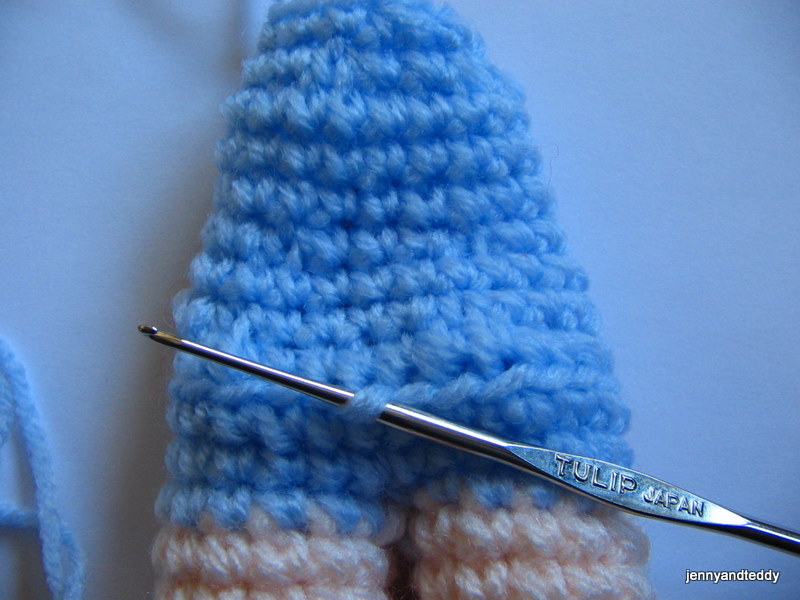
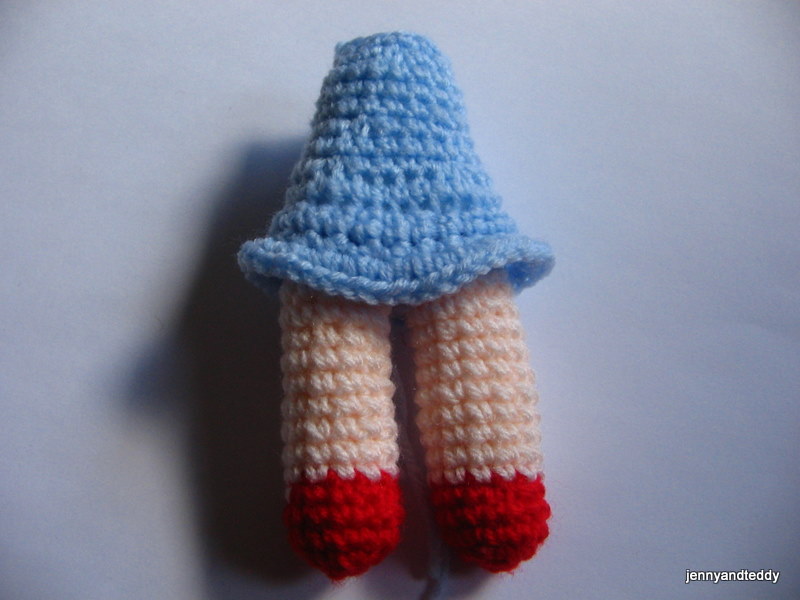
Round1-3. sc in each st around body (24)
Round4. 2Sc in each st around (48) and finish off.
Arms colour of your choice
Make 2 pieces
Round1. Make magic ring and 6sc in ring (6) skin colour
Round2. 2sc in each st around (12) skin colour
Round3-13. Sc in each st around (12) skin colour
Then finish off and leave long tail for sewing. And stuffing polyester.
Bag. Make 1 piece (colour of your choice)
Round1. Make magic ring and 6sc in ring (6)
Round2. 2sc in each st around (12)
Round3. *Sc in next st, 2sc in next st* and repeat from * around (18)
Round4-6. sc in each st around (18) and making a strip of the bag by make a chain to fit your baby doll body.
Finish off and leave long tail for sewing. And do not stuffing polyester.
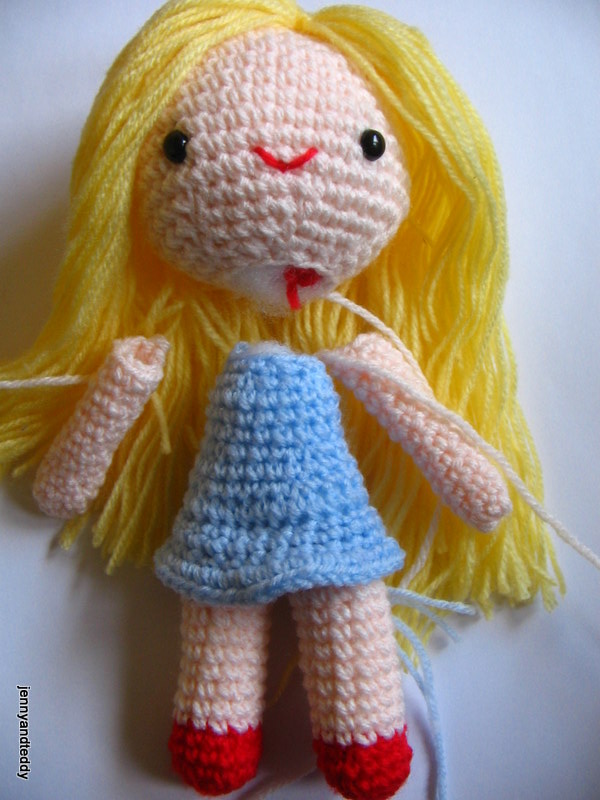
Finishing
Sewing body to the head. Then arms.
For the doll hair have a look at my tutorial on how to attach hair to ami doll.
Thank you for the lovely comment.
Violeta
Tuesday 13th of February 2024
Your little crochet doll turned out so cute, what a wonderful idea! I wanted to drop a quick message to let you know that I’ve featured your pattern on Crafts on Display, hope you enjoy it! https://craftsondisplay.com/crochet/free-amigurumi-doll-pattern-93410/
Lou Lou Girls
Sunday 4th of January 2015
Super cute Pinned and tweeted. We appreciate you taking the time to stop by our party. We love partying with you! I hope to see you on Monday at 7 pm. Happy Sunday! Lou Lou Girls
katie
Monday 13th of October 2014
hi my name is Katie I am new at crochet things for a left-hander it really hard for someone to teach me I dnt know how to do decrease or increase I wanted to make a kate dolls for me and my daughter.........
jane
Tuesday 14th of October 2014
Hi Katie, There are lots of good tutorial in youtube that you might find it helpful.
Ginger
Monday 8th of September 2014
Isn't she just adorable! I can see some very happy little girls getting a doll like this for Christmas. Thanks for linking up at Gingerly Made!
Jenny
Monday 18th of August 2014
What a cute project! I would love for you to share a post on my Meet Up Monday Blog Party!
http://jennymaire.blogspot.com/