
I made this fancy-looking yet also simple crochet cat ear in the previous post and this easy crochet bunny ears headband free pattern is inspired by the upcoming Easter Bunny and Halloween seasons.
I was thinking about crocheting something quick, easy, and bunny-related like a crochet accessory that is fast to whip up, like this cute bunny amigurumi doll.
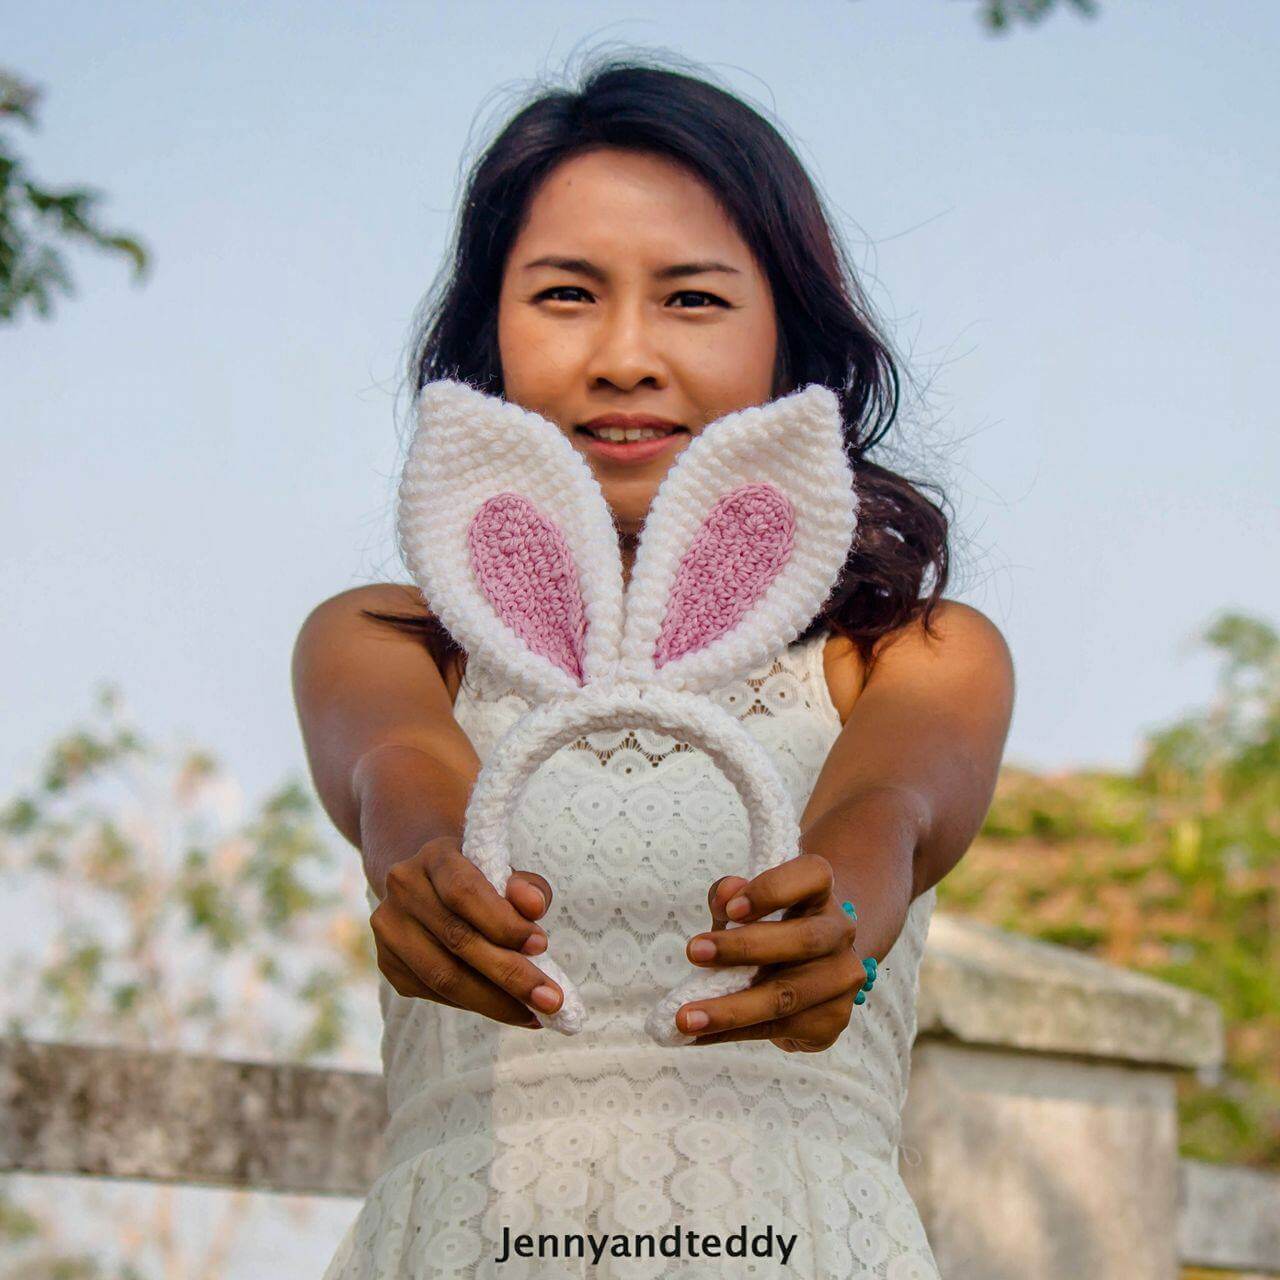
Since it’s too warm (and weird!) to wear an entire easter bunny costume, I decided to try my hand at making a long eared bunny headband instead.
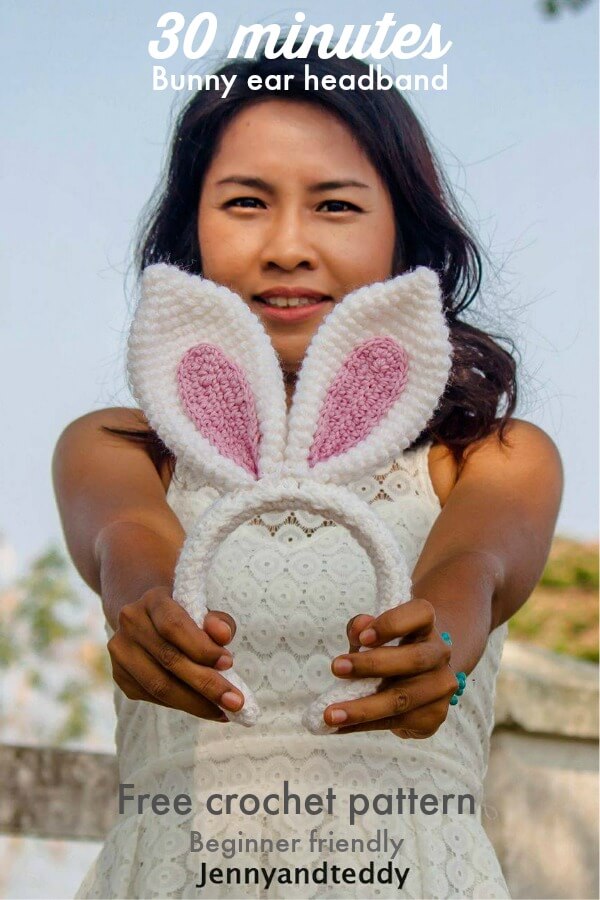
Beginner-friendly rabbit ears headband
It turned out so cute! It’s a little different from my usual patterns, but I made sure that it was beginner friendly.
Even if you’re new to crocheting, you can still make one within 30 minutes.
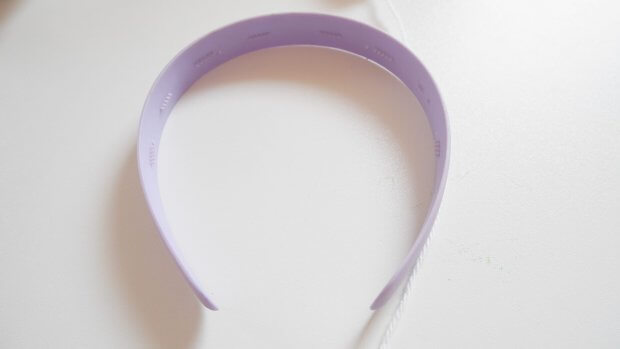
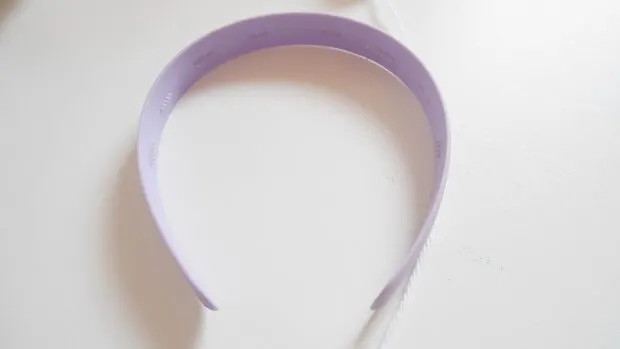
For this easy crochet easter bunny ears headband pattern, you’ll need to pick up some plain headbands.
I got the inexpensive plastic kind at the craft store, but if you have an old one at home that you’re not in love with, feel free to upcycle it.
Unlike a lot of my patterns that use cotton yarn, this one really works better with acrylic yarn, because it helps the bunny ears stand up.
You can also use the cotton yarn with one strand to crochet this bunny ear and you will get the long floppy bunny ears instead.
So, while you’re at the craft store, grab a skein of both white and pink acrylic yarn.
Best yarn for crochet bunny ears headband
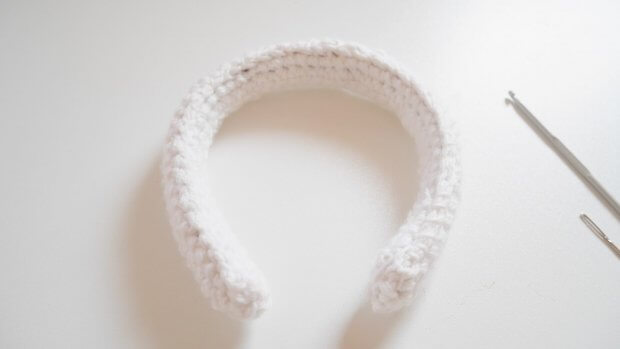
One of the first things you’ll do is wrap the headband in the white yarn.
It really makes the piece stand out and gives it a lot more stability.
Another thing to note about this pattern is that you’ll need to double up on the yarn as you’re crocheting.

You’ll actually be holding two strands of yarn in your hand at all times. This is really important because if you don’t use two, you’ll wind up with floppy bunny ears. No one wants that.
The great news is that the free crochet pattern just uses a simple stitch – hence why it’s great for beginners.
As it’s a larger pattern than a lot of my other ones, expect to spend 30 minutes on it if you’re an intermediate to advanced crocheter.
If this is your first crochet attempt, it’s probably going to take you about an hour or so.
The trick with this pattern is to be patient, watch your stitches, and have fun with it. Before you know it, you’ll have your own bunny ear headband!
If you make one, be sure to snap a picture and tag me on Instagram! I’d love to see your bunny ear headband masterpiece!
More of my crochet bunny-free patterns
- Bunny crochet hat for baby
- Bunny hat free crochet pattern child size
- Huggy bunny love doll amigurumi.
Material for crocheting bunny rabbit ears headband
- I used 100% acrylic dk weight to hold double when crocheting.
- 3.50mm crochet hook
- Yarn needle
- If you are crochet baby level which means beginner! This pattern is made for you! This is the skill required to make this bunny ear single crochet, slip knot, and make a chain.
- 30 minutes bunny ear headband
Get the free pattern below or this pattern is also available as an inexpensive, ad-free, PDF printable instant download in my etsy shop. Thank you so much for your love and support. I am really appreciate you.
Skill and abbreviations
- (American crochet terms)
- You will need to know how to make
- magic ring or adjustable ring
- sc which means single crochet
- Crochet decrease (dec) which mean-Crochet 2 stitches together
- ch, Chain
- slip knot
DIY crochet bunny ears headband video tutorial.

How to crochet Easter bunny ears headband step by step
Headband
We will need to cover them up

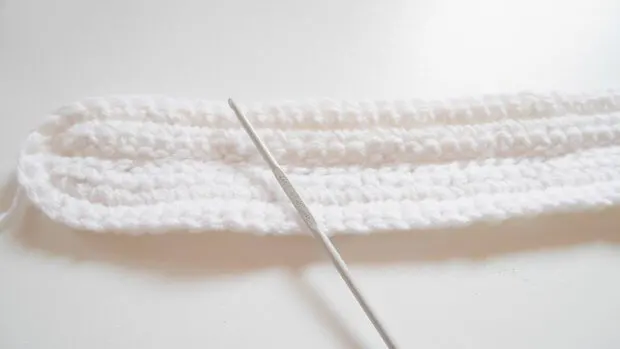
Start by making a slip knot then make chains long enough for the length of the band. (Hold 2 stands of yarn while crocheting)

Round1. Sc in the next chain from hook and across, Note: You are now going to be working on the opposite side of the foundation chain.} and Sc in the next chain from hook and across until the end.
Round2. Sc in the next stitch from hook and around until they are wide enough to cover the band
(no need to stitch count). Then stitch them up using a yarn needle.
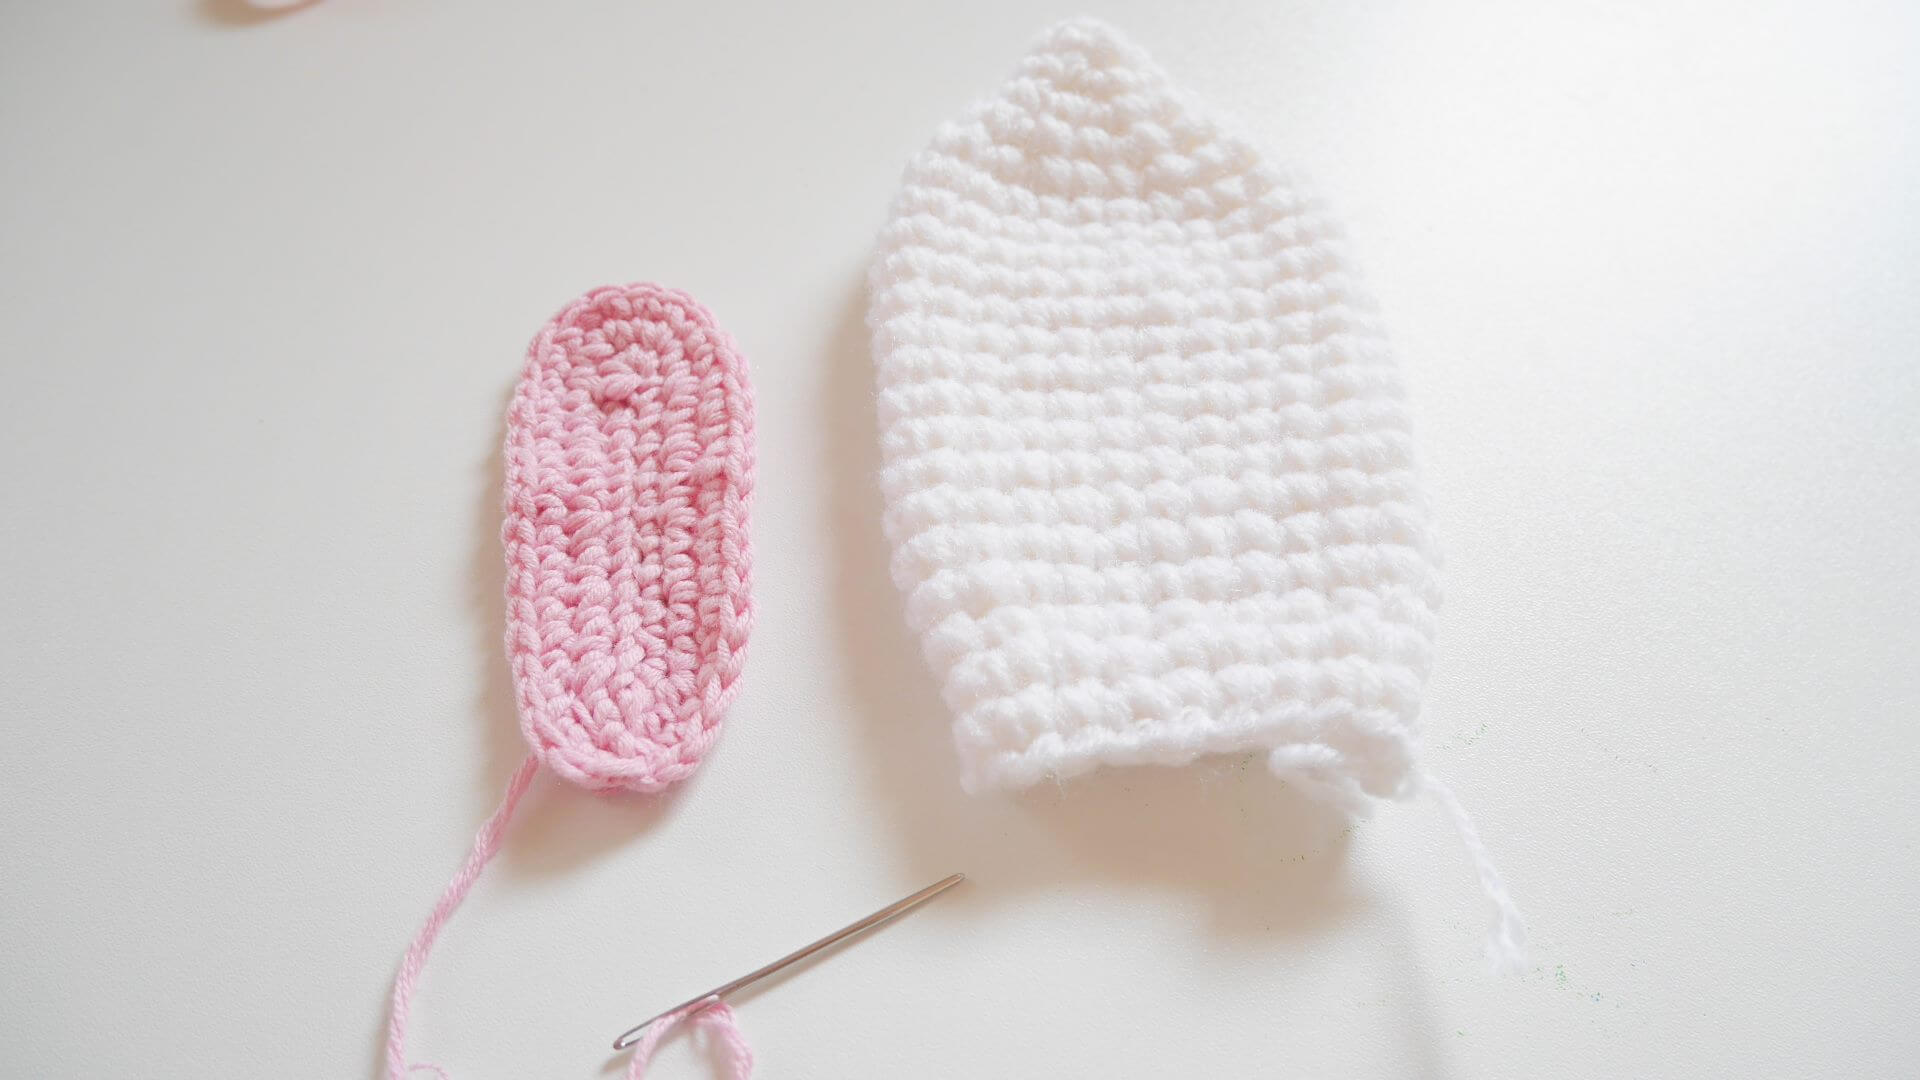
Outer Bunny ear makes 2 pieces
(hold 2 stands of yarn while crocheting) Around 6 inches tall)

You will work from top to bottom
Round1. Make magic ring and 3sc in ring (3)
Round2. 2sc in each st around (6)
Round3. *Sc in next st, 2sc in next st* and repeat from * around (9)
Round4. *Sc in next 2 st,2sc in next st* and repeat from * around (12)
Round5. *Sc in next st, 2sc in next st* and repeat from * around (18)
Round6. *Sc in next 2 st,2sc in next st* and repeat from * around (24)
Round7-18. Sc in each st around (24)
Round19. *sc in each of next 2 st,dec 1* and repeat from * around (18)
Round20-21. Sc in each st around (18)
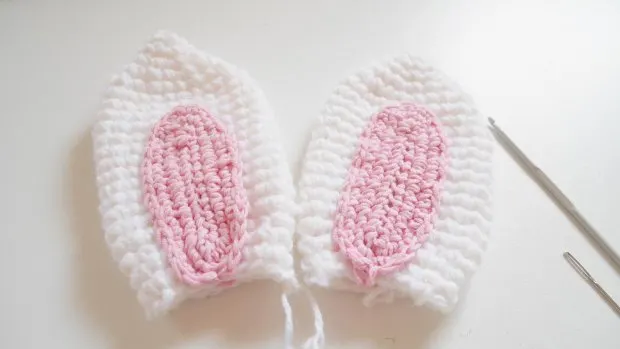
The inner of the bunny ear.
Make 2 pieces (color of your choice) or pink. (1 strand of yarn)
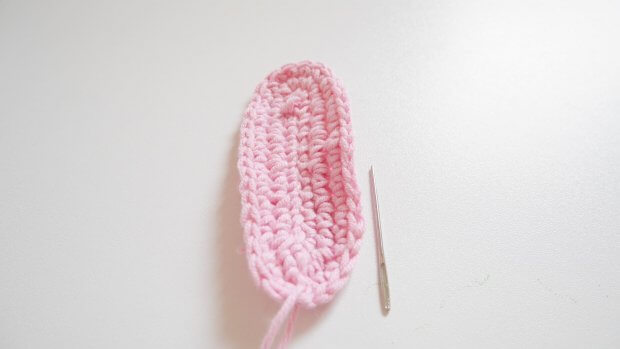
Start with a slip knot then crochet 12 chains.
Round1. crochet 1Sc into the next 11 chains, in the last stitch make 4 sc in the same stitch (15). (Note: You are now going to be working on the opposite side of the foundation chain.}
Crochet 1sc into the next 11 stitches.
You should have (26) stitches now. Do not slip stitch into the first stitch of this round.
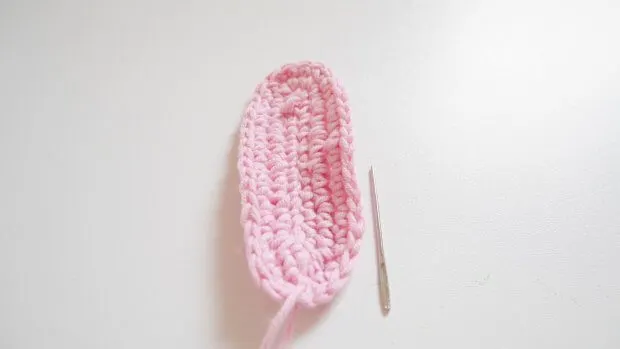
Round2. Start crocheting in the next stitch from the previous round. *Crochet 1 Single Crochet in the next stitch. Crochet 2 single Crochet into the next stitch*. Then repeat from the * all around.
You should have (39) stitches now. Do not slip stitch into the first stitch of this round.
Round3. Start crocheting in the next stitch from the previous round. *Crochet 1 Single Crochet in the next stitch*. Then repeat from the * all around.
You should have (39) stitches now. Slip stitch into the first stitch of this round.
Then finish off and leave the long tail for sewing.
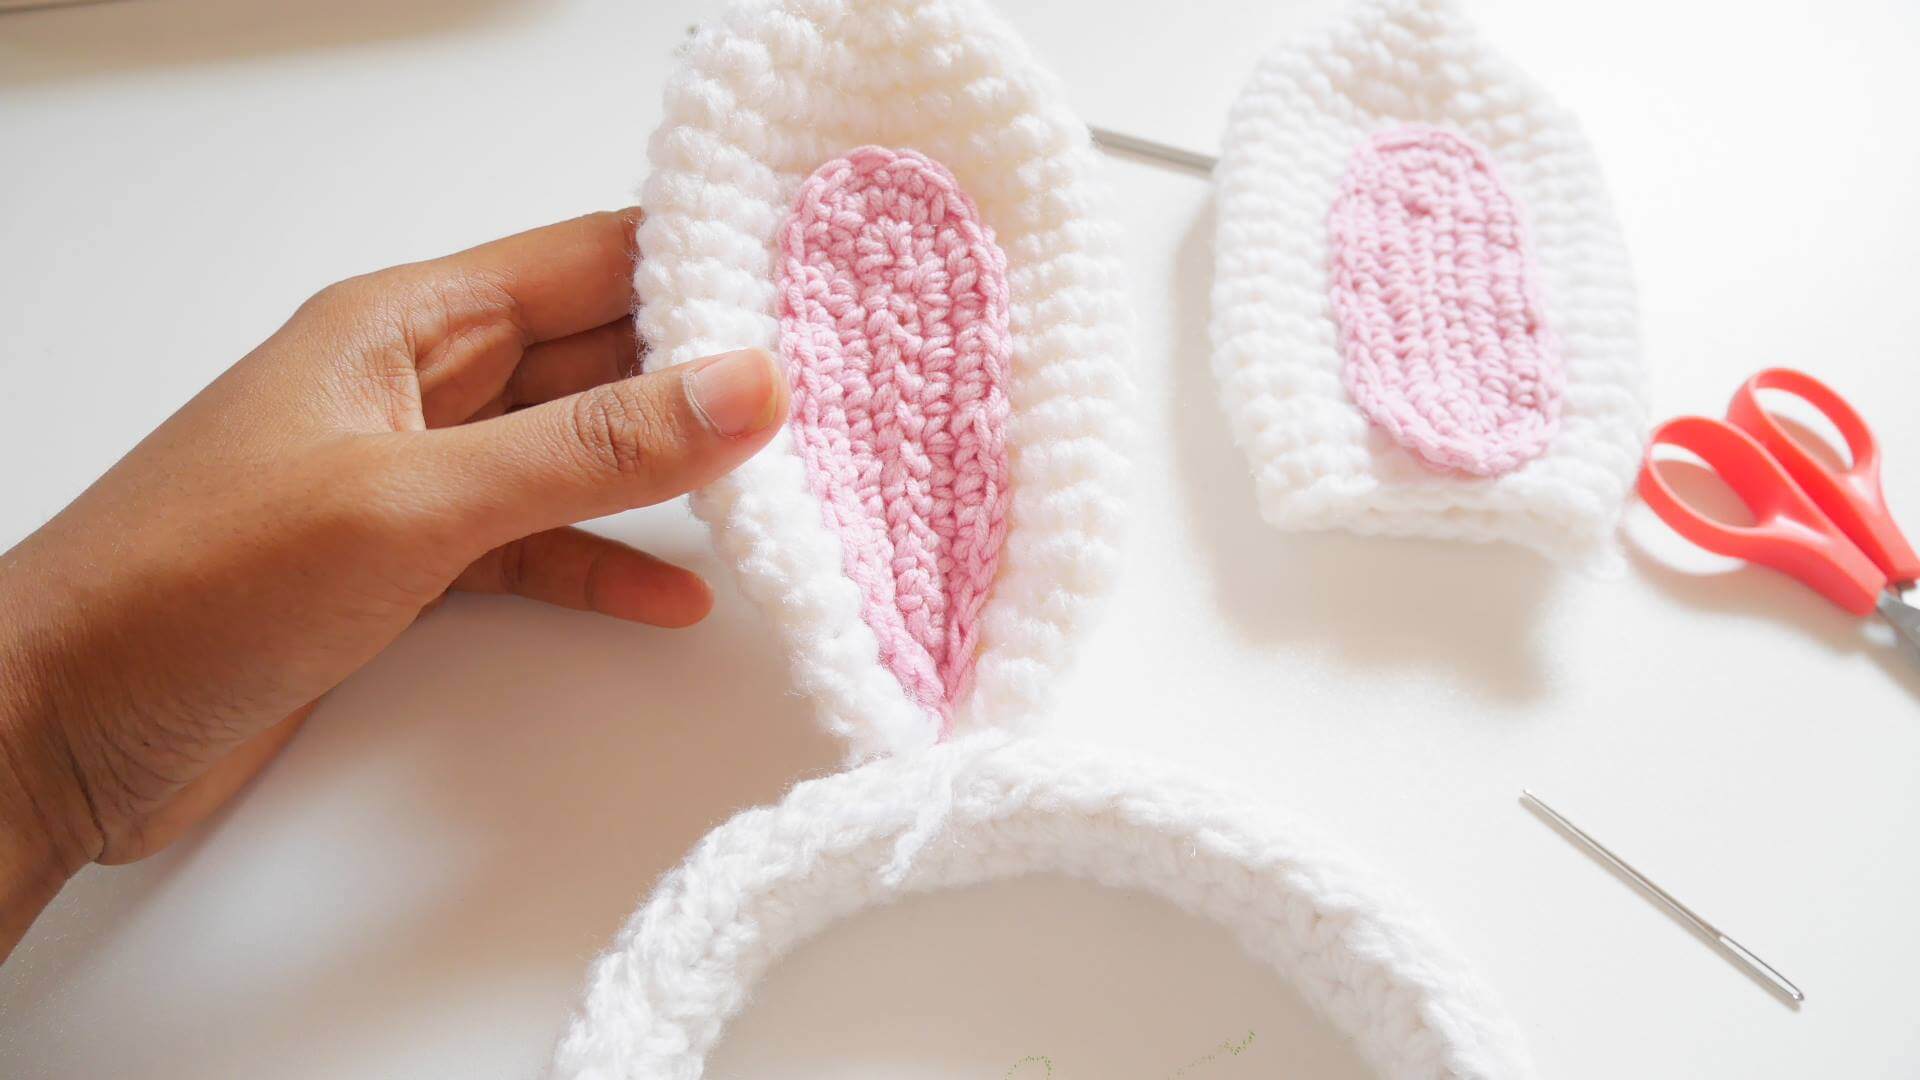
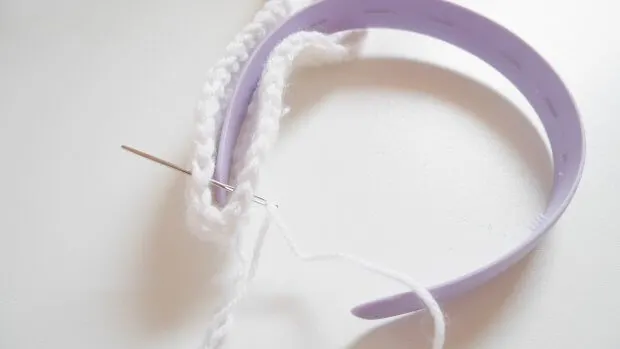
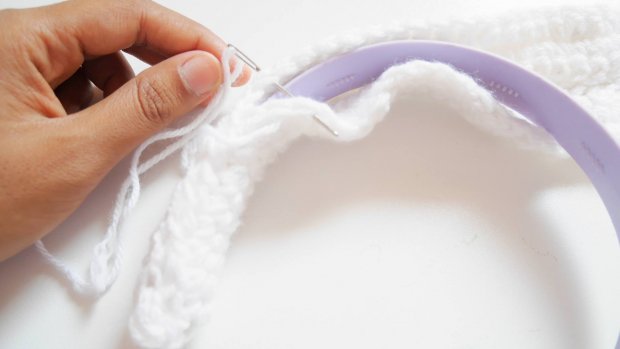
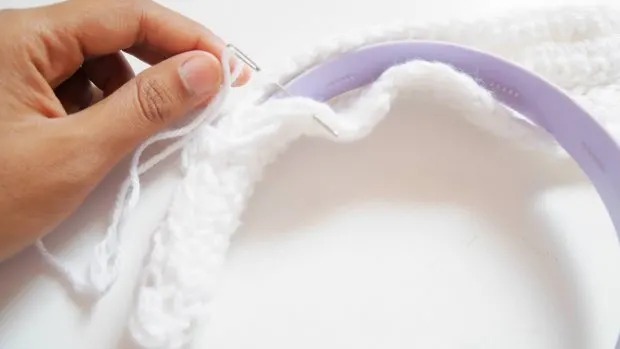
Assemble the bunny headband.
Then we are going to attach the inner ear to the outer ears by sewing.
And attach the bunny ear to the headband.
All done!
Sherry
Friday 5th of February 2021
Thank You I like your post on the bunnY ears my grandChild will love it . Sherry Magnusson😁
Danii
Friday 1st of March 2019
I'm having a problem with the ears falling down because the wool is turning on the headband. Any idea how to stop this. This is my 3rd attempt with two types of headbands now
MARION
Sunday 6th of January 2019
thank you so much for such a cute pattern. im making this while sitting at my desk at work for my headphones <3
jane
Tuesday 8th of January 2019
That so sweet of u thanks so much Marion.
mgomez5
Tuesday 9th of May 2017
"2sc in each st around (6)" I don't agree that http://inmyownstyle.com/2012/04/6-last-minute-easter-table-setting-ideas.html Mercedes
jane
Tuesday 9th of May 2017
yes they should be 6 single crochet because on the first round we did 3 single. So 3x2= 6 stitches