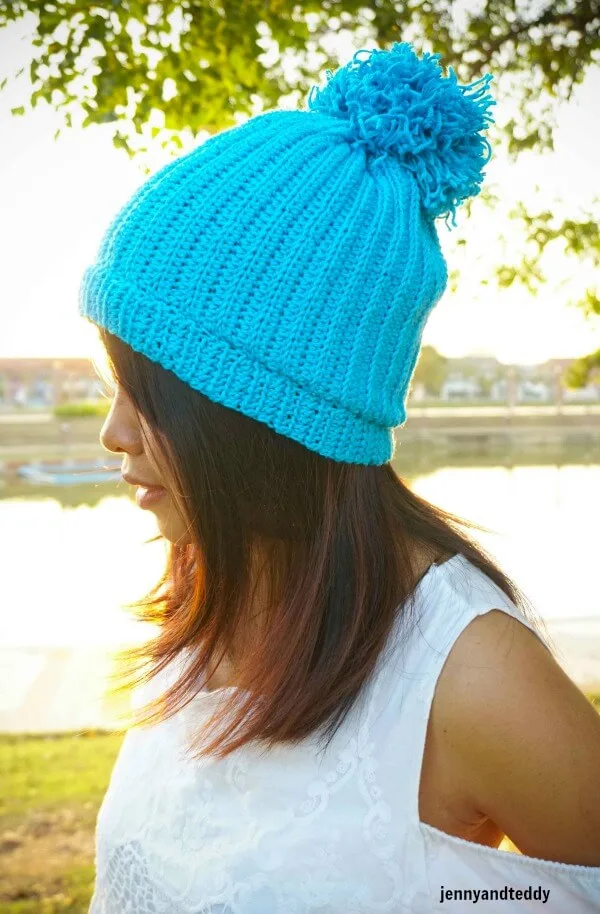
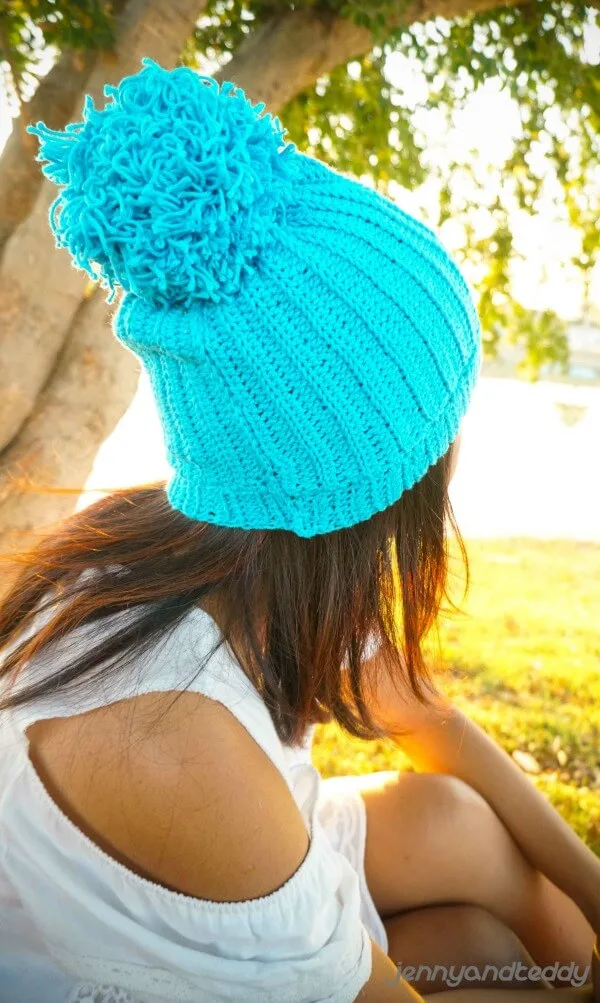
Hey Guys! Here is the super easy crochet design of a blue beanie hat. I was walking on the beach with my lovely son the other day. I saw the blue sky and the sea, which inspired this blue beanie.
Normally, I only crochet basic stitches like single or double crochet but this time I wanted to try something new and wonderful. I began my new experience with this adorable beanie.
I must say that I am so into this new stitch. It features ribbing stitch crochet that I just learned. This pattern is also perfect for beginners. I believe it shouldn’t take you too long to make it.
When I was making it, I was also at the beach. It kind of inspired the color and I love to work outdoors. So refreshing! You could go somewhere like the beach like I did or a nice garden.
You can wear a beanie on many occasions or seasons. You could make one for yourself and your favorite people. If you or your loved ones have a favorite color, then go for it!!!
I have been dreaming of having a beanie party. It would be very cute to have my friends and I wear a colorful beanie and take a selfie together. Hopefully, this party theme will come true soon.
Let’s get start!
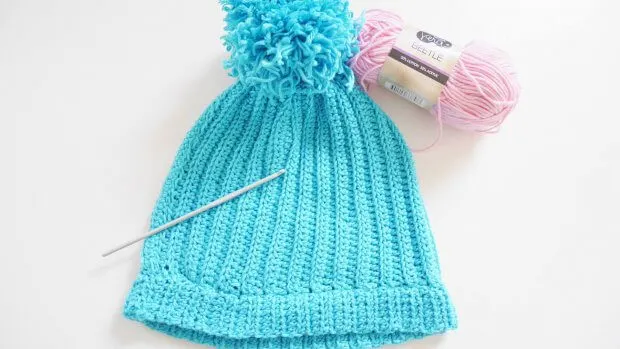
– I used Lion brand 24/7 cotton
– 3.50mm crochet hook or E/4 US hook size
– Sewing yarn needle
Skill and abbreviations
You will need to know how to make a magic ring or adjustable ring
-Sl st (slip stitch)
-hdc which mean-half double crochet
-blo which mean-crochet in back loop only
-flo which mean-crochet in front loop only
-ch, Chain
Get the free pattern below or this pattern is also available as an inexpensive, ad-free, PDF printable instant download in my etsy shop. Thank you so much for your love and support. I am really appreciate you.
This pattern is made for beginners! There is a basic skill level required to make the hat design.
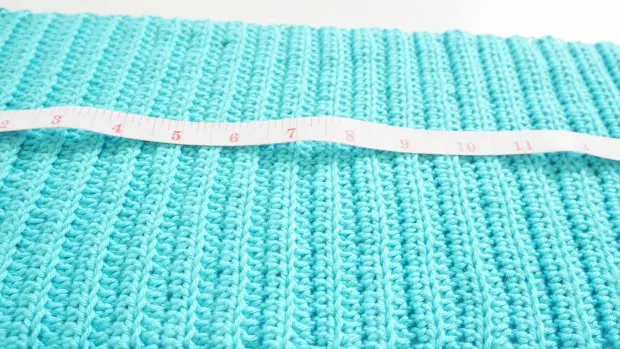
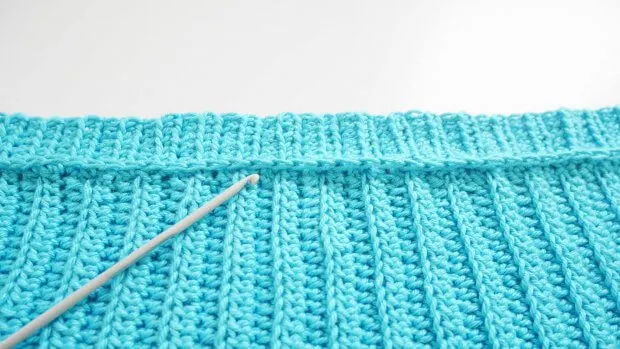
So, start making this design with 39 chains then crocheted row by row. And to achieve the beautiful ribbing effect, crochet in a back loop only on each row until a rectangular piece is seen.
Start with slip knot then crochet 39 chains.
Row1. crochet 1hdc in each of the next 38 chain from hook, ch1 turn (39)
Row2. crochet 1 hdc in each of the next 38 stitches from hook ( blo only), ch1 turn (39)
Repeat row 2 until the rectangular piece wraps around your head nicely! Leave a long tail for attaching the base to the brim.
So at the end, there is around 60 rows which measure 20 inches long in total.
Next make the brim by crocheting the second piece separate from the base of the hat.
Start with making a slip knot and 7 chains and crochet row by row the front loop only until you get the length that matches the length of the hat body.
Row1. crochet 1hdc in each of the next 6 chains from hook, ch1 turn (7)
Row2. crochet 1 hdc in each of the next 6 stitches from hook ( flo only), ch1 turn (7)
Repeat round 2 until you get the length matching the base!
So at the end there is around 61 rows measuring 20 inches in total.
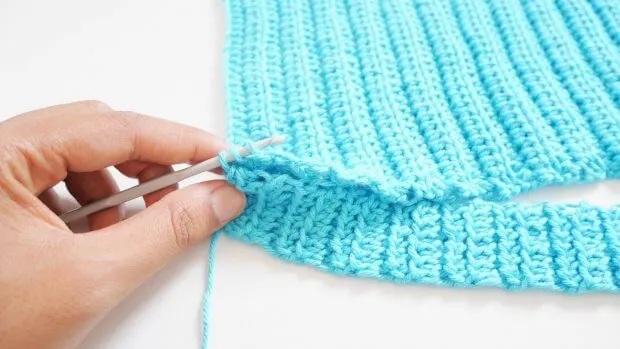
Attach the base and the brim together by single crochet.
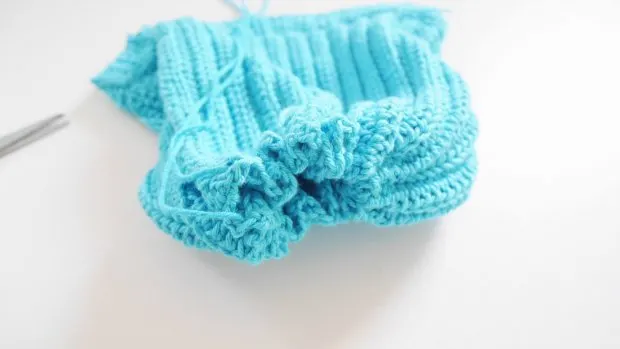
Then sew the short side of the rectangular piece and close the top of the hat by weaving the tail and pulling tight to close.
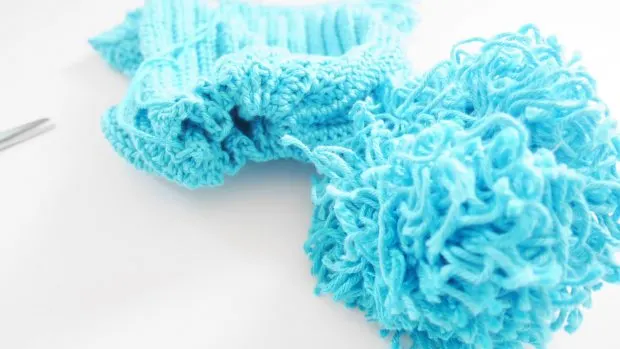
Finally add a nice pom-pom to it.
Easy isn’t it?
If you make one I would love to see your creation tag me on Instagram or Facebook!


