
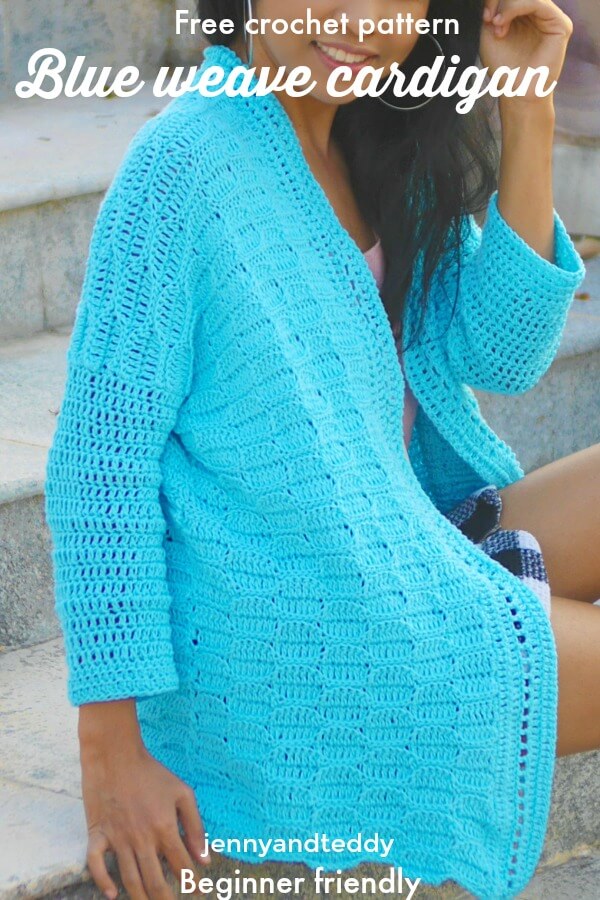
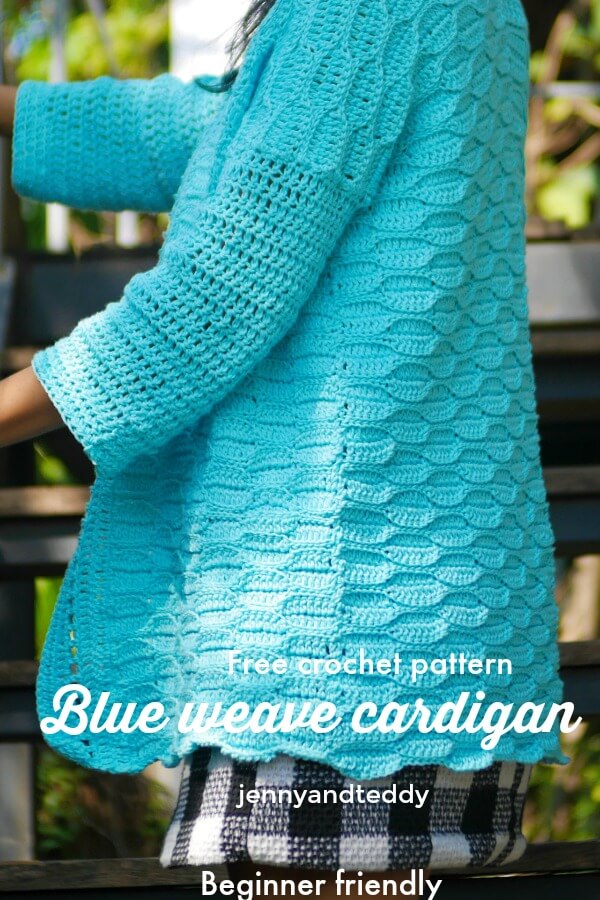
Easy crochet leaf stitch cardigan free pattern with video tutorial size S-3XL.
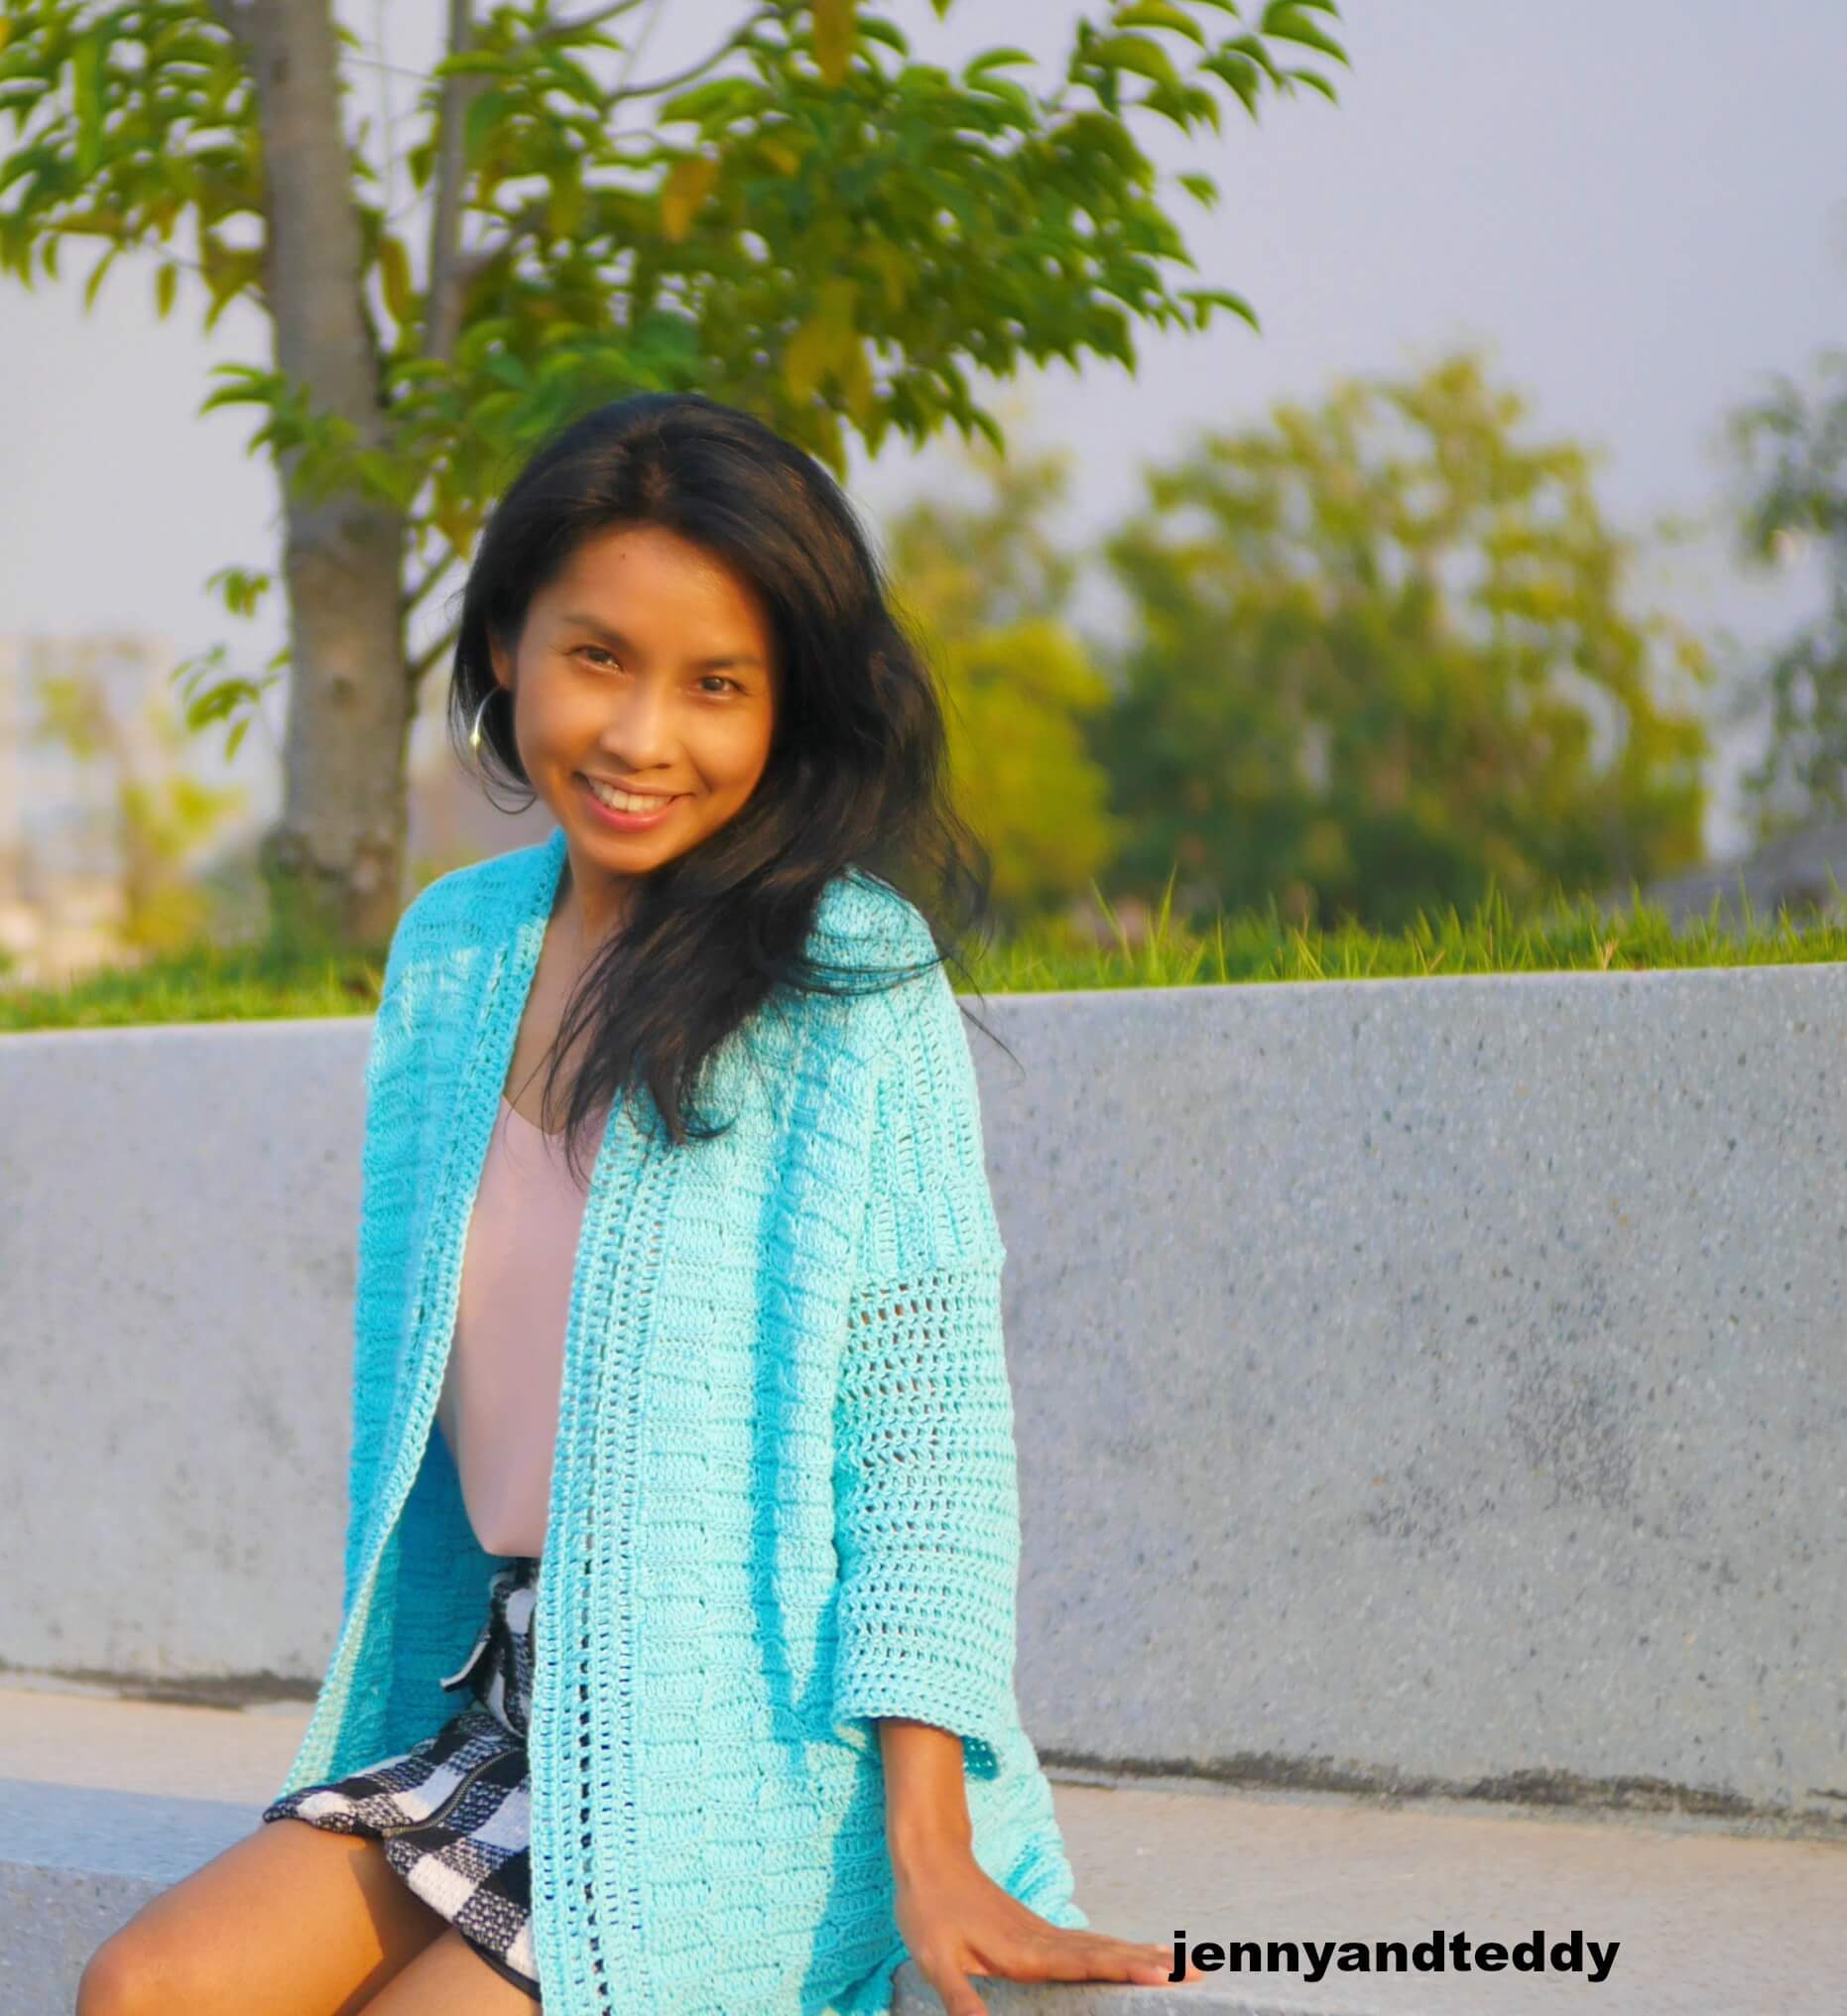
This blue weave crochet cardigan made from crochet mini leaf stitch or they have another name called almond stitch is finally finished! It’s took so long to finished , I nearly give up and move on to another project but but I manage to finished it!
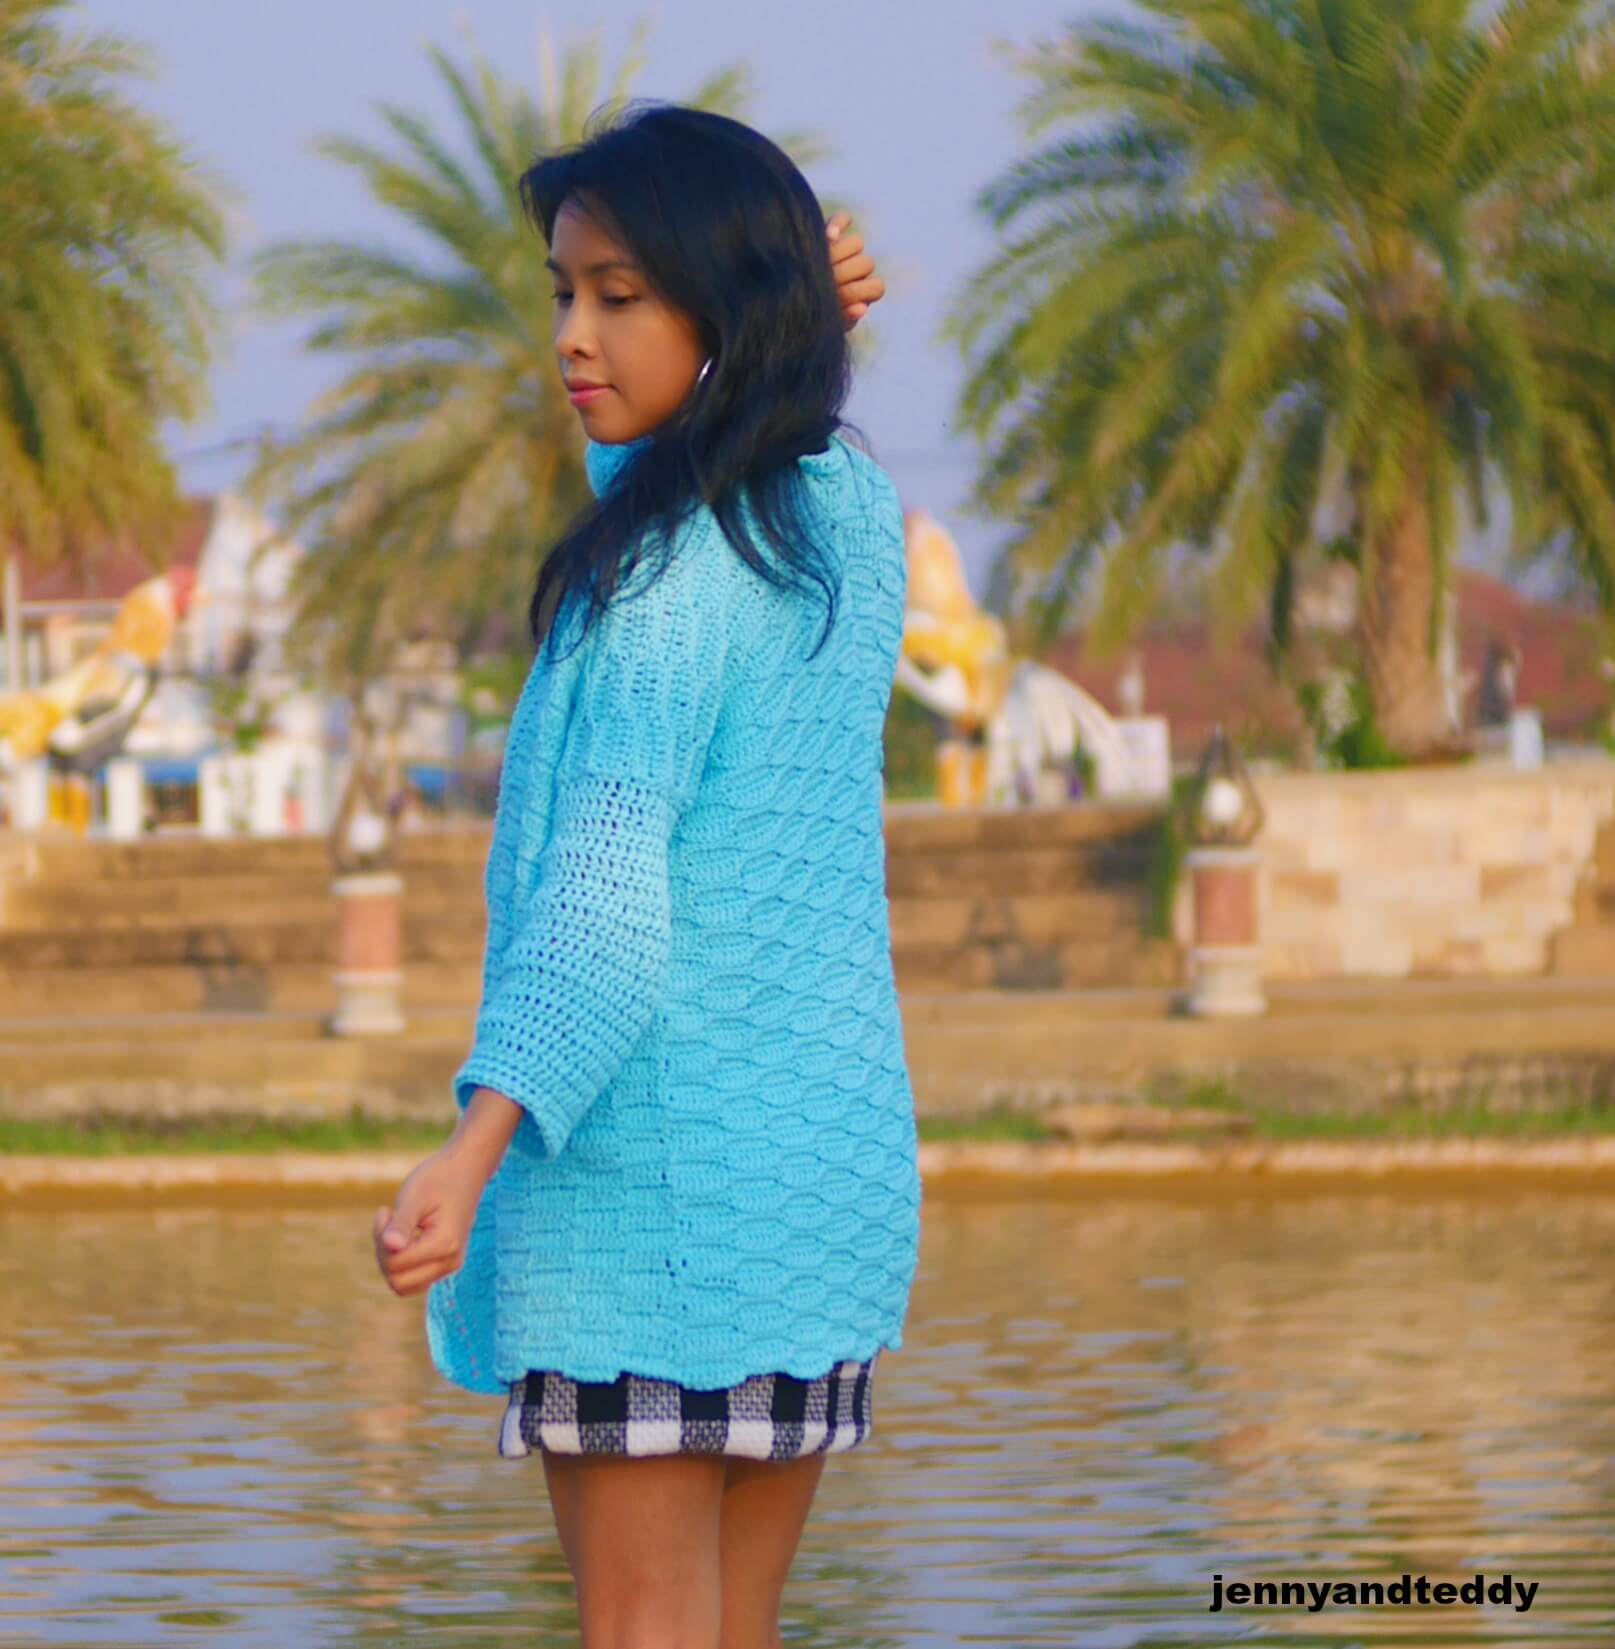
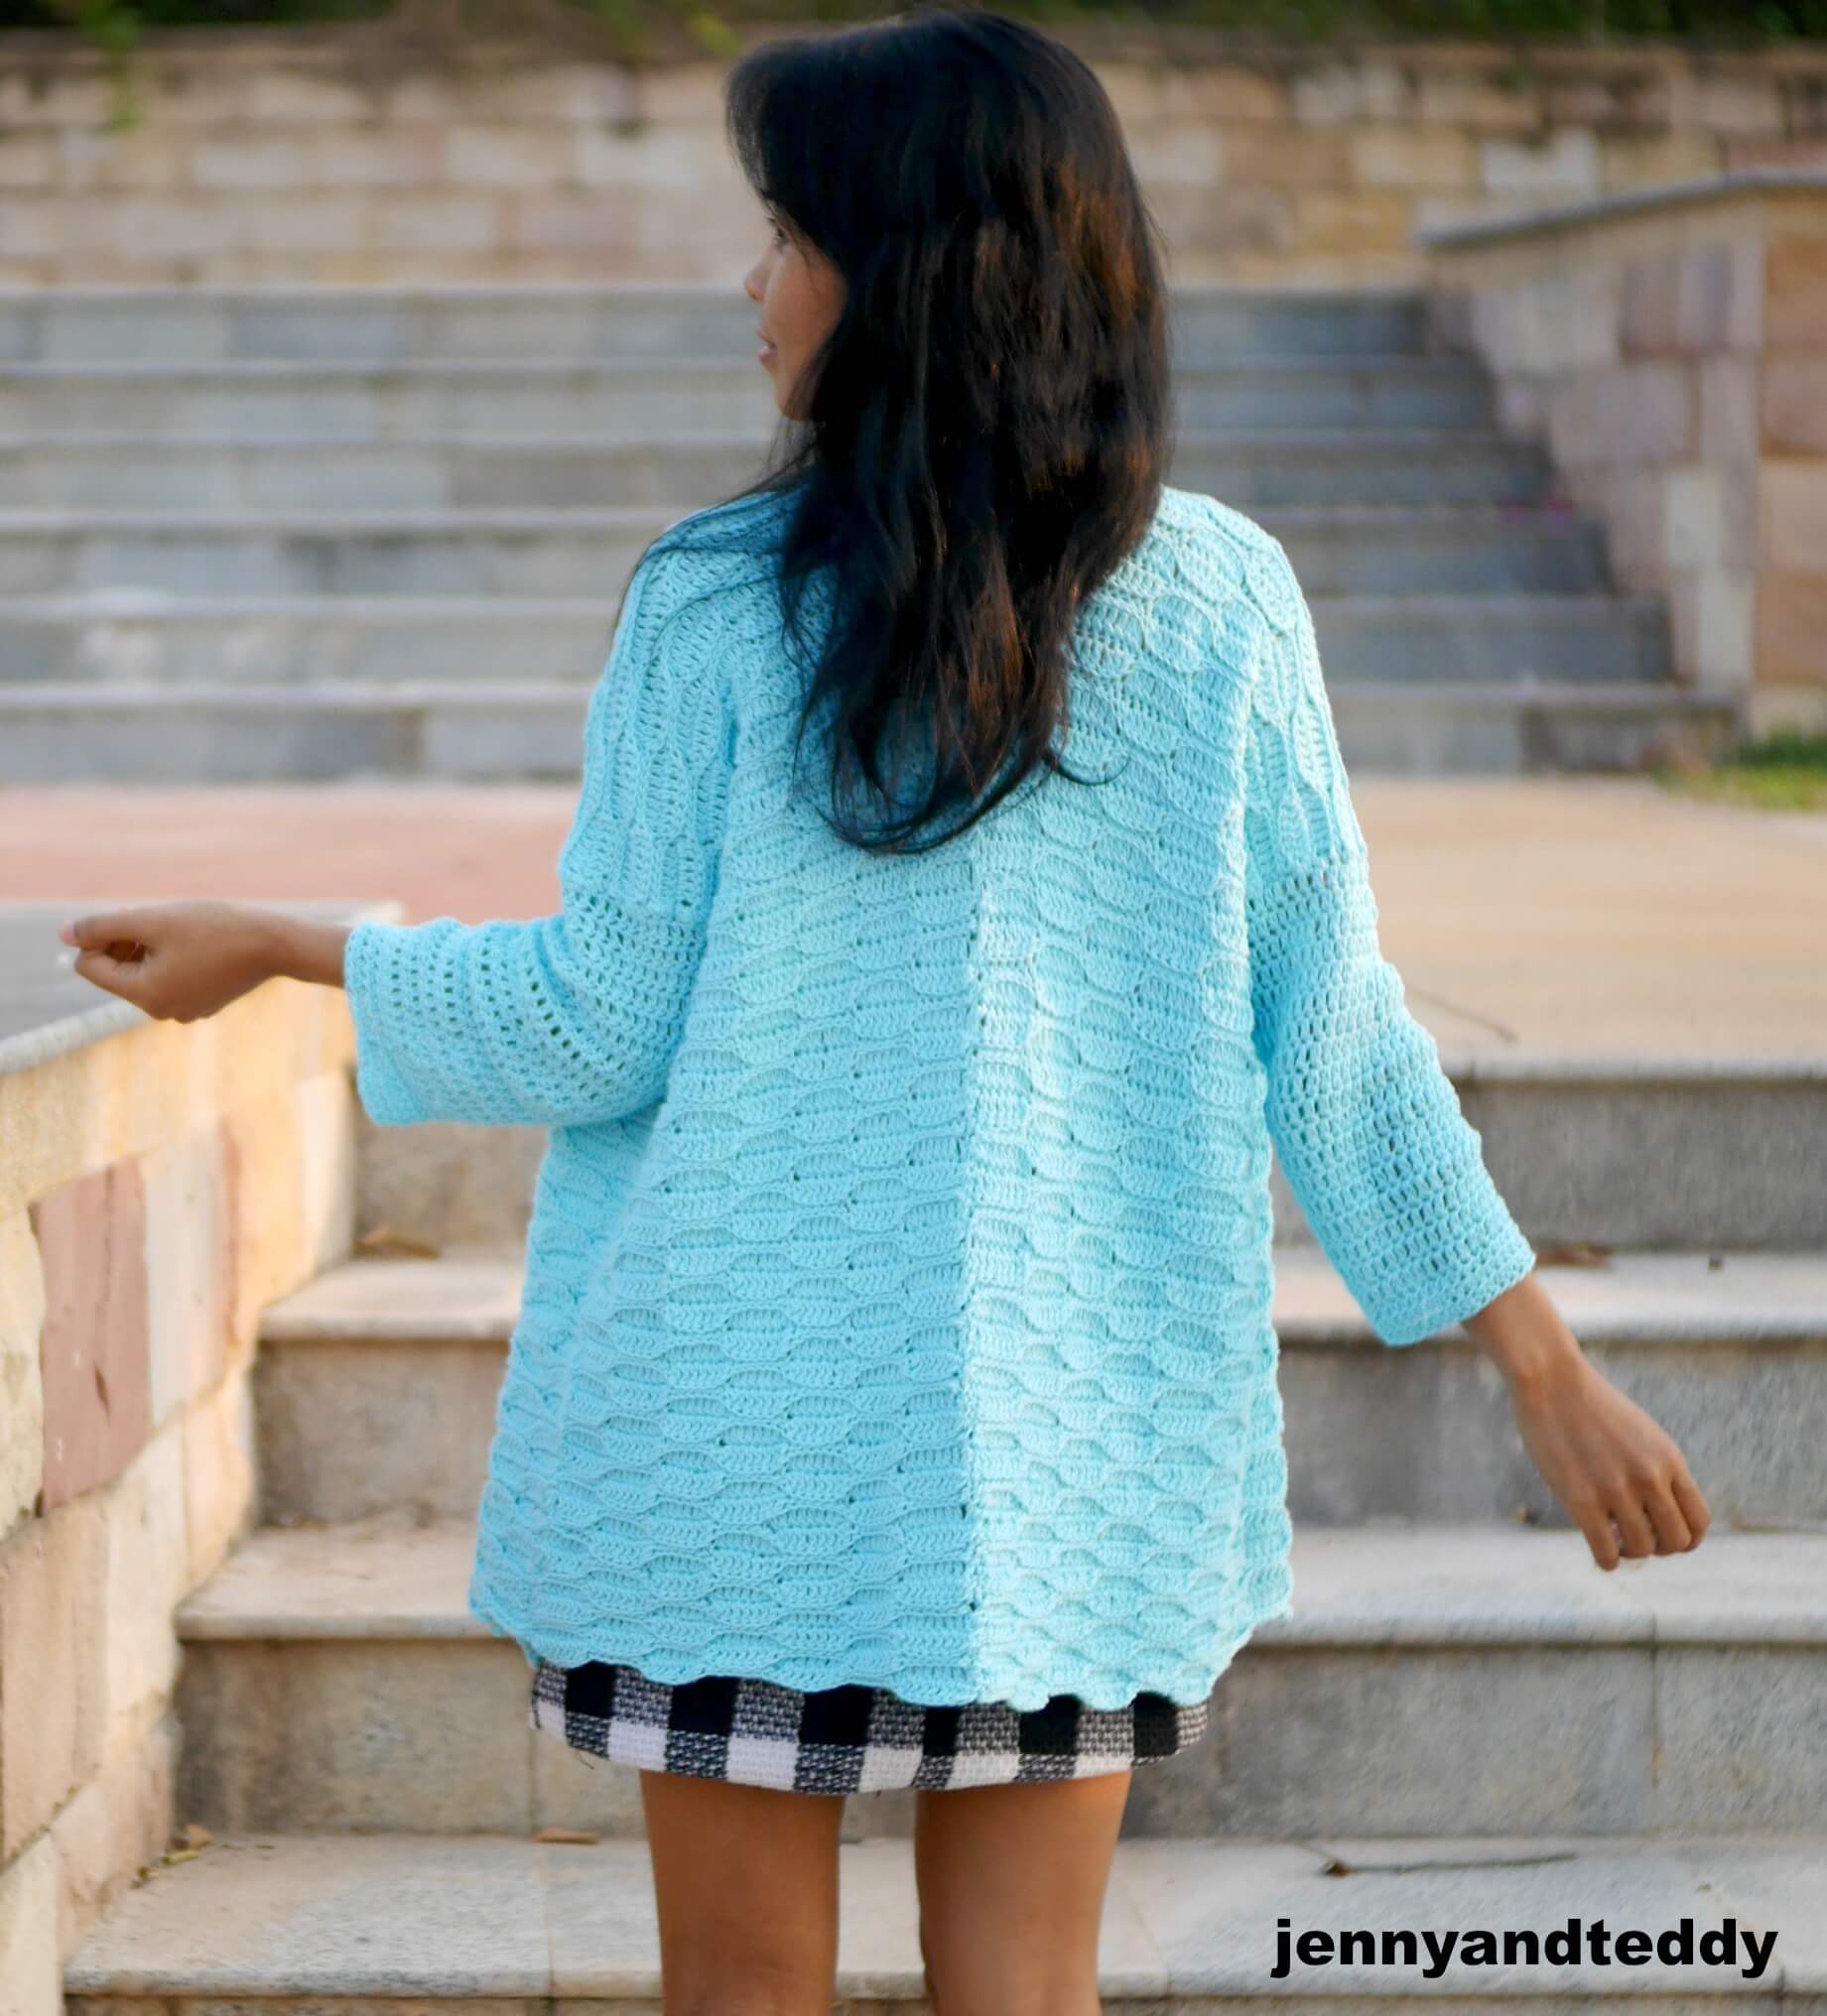
Well well well anway speaking of this stitch To me It’s look like leaf or a weave of blue ocean so I called this cardigan a “blue weave crochet cardigan” , they are made from just 2 rectangle! 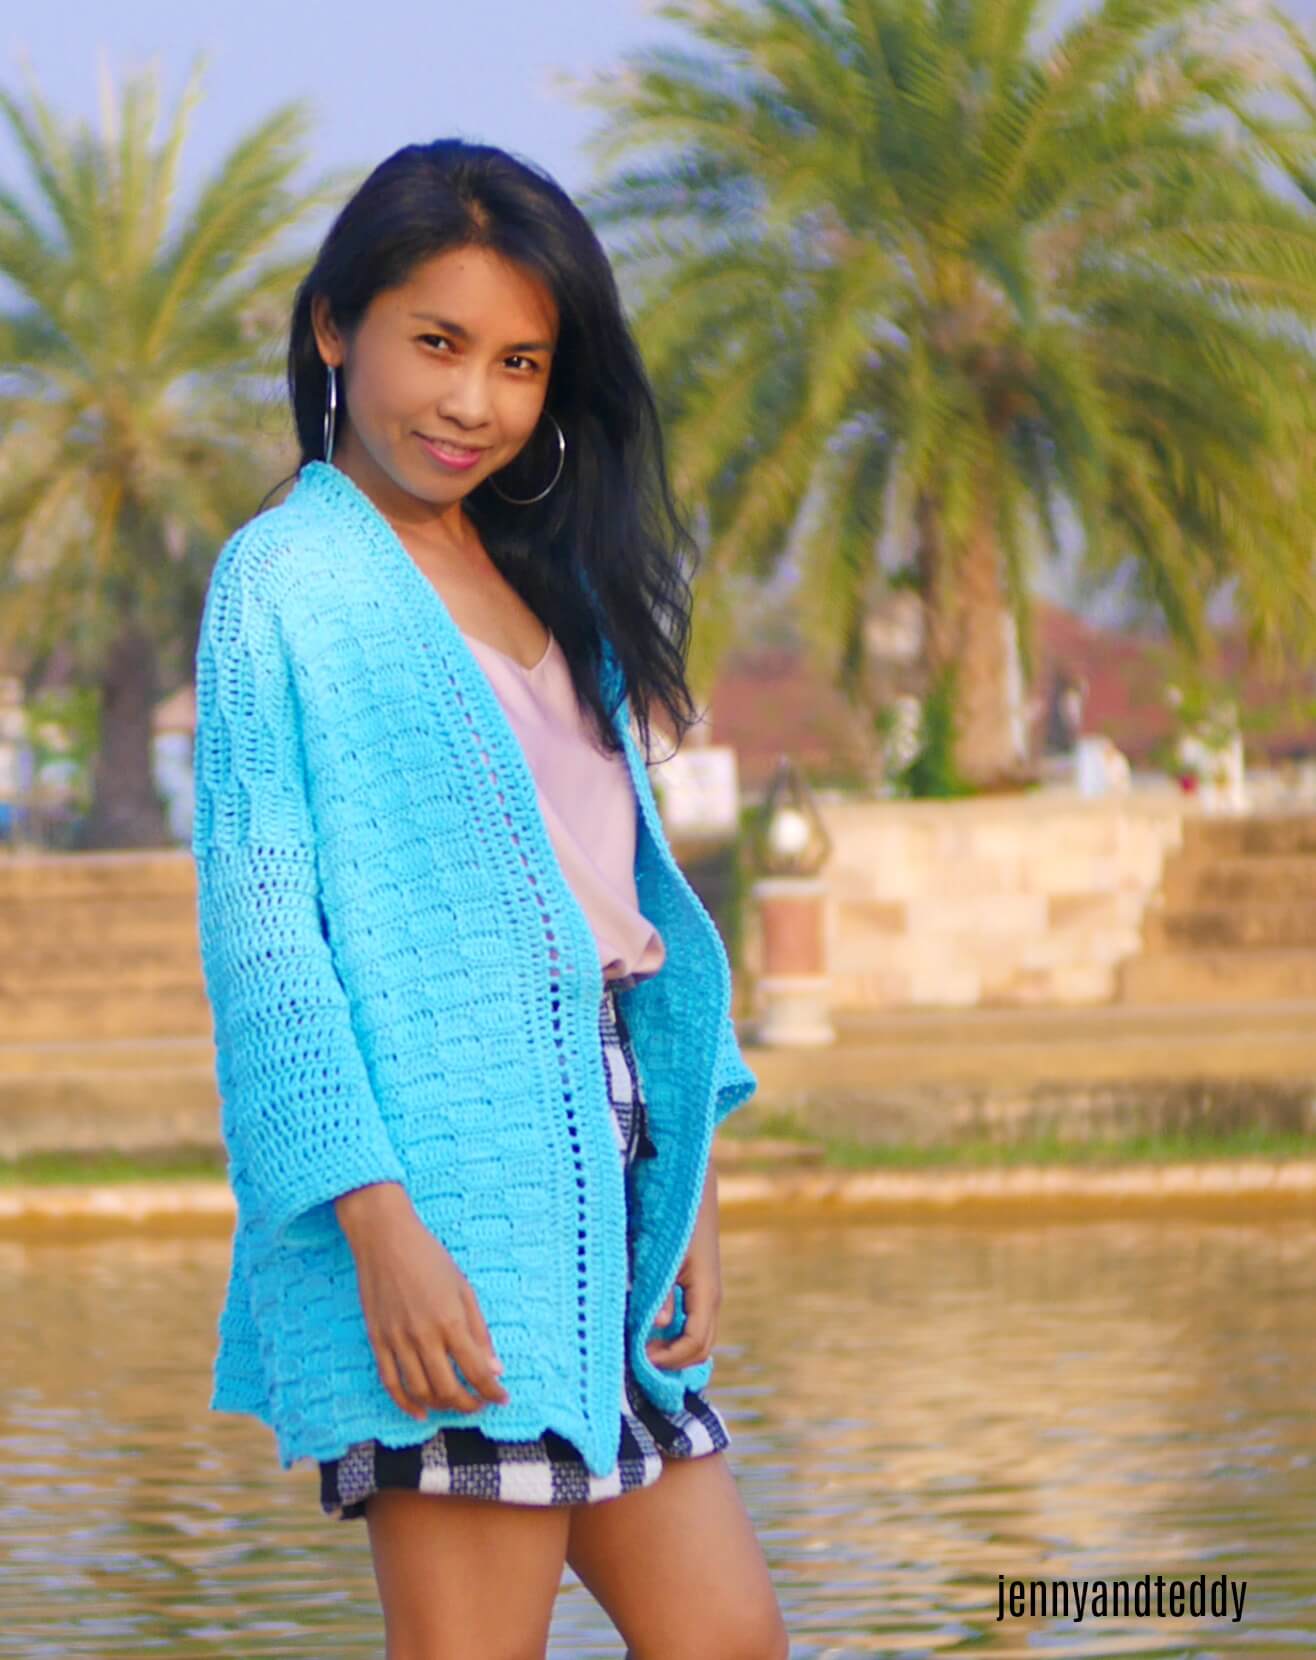
How cool and easy is that gonna be? Did you see the stitch pattern? it look beautiful hey and they are very very easy too beginner friendly also.
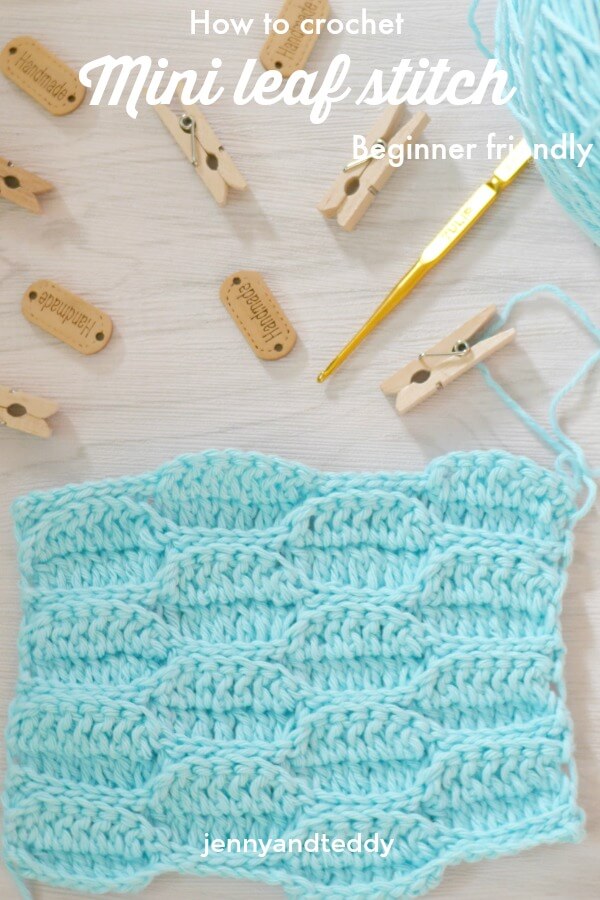
The stitch use in this beginner friendly crochet cardigan called “mini leaf crochet stitch or sometime they called mm weave stitch” . This stitch is basically combination of slip stitch and double crochet.
I did pick up the pretty blue color and a cotton yarn but if you guys prefer wool blend or acrylic yarn that also fine as well.
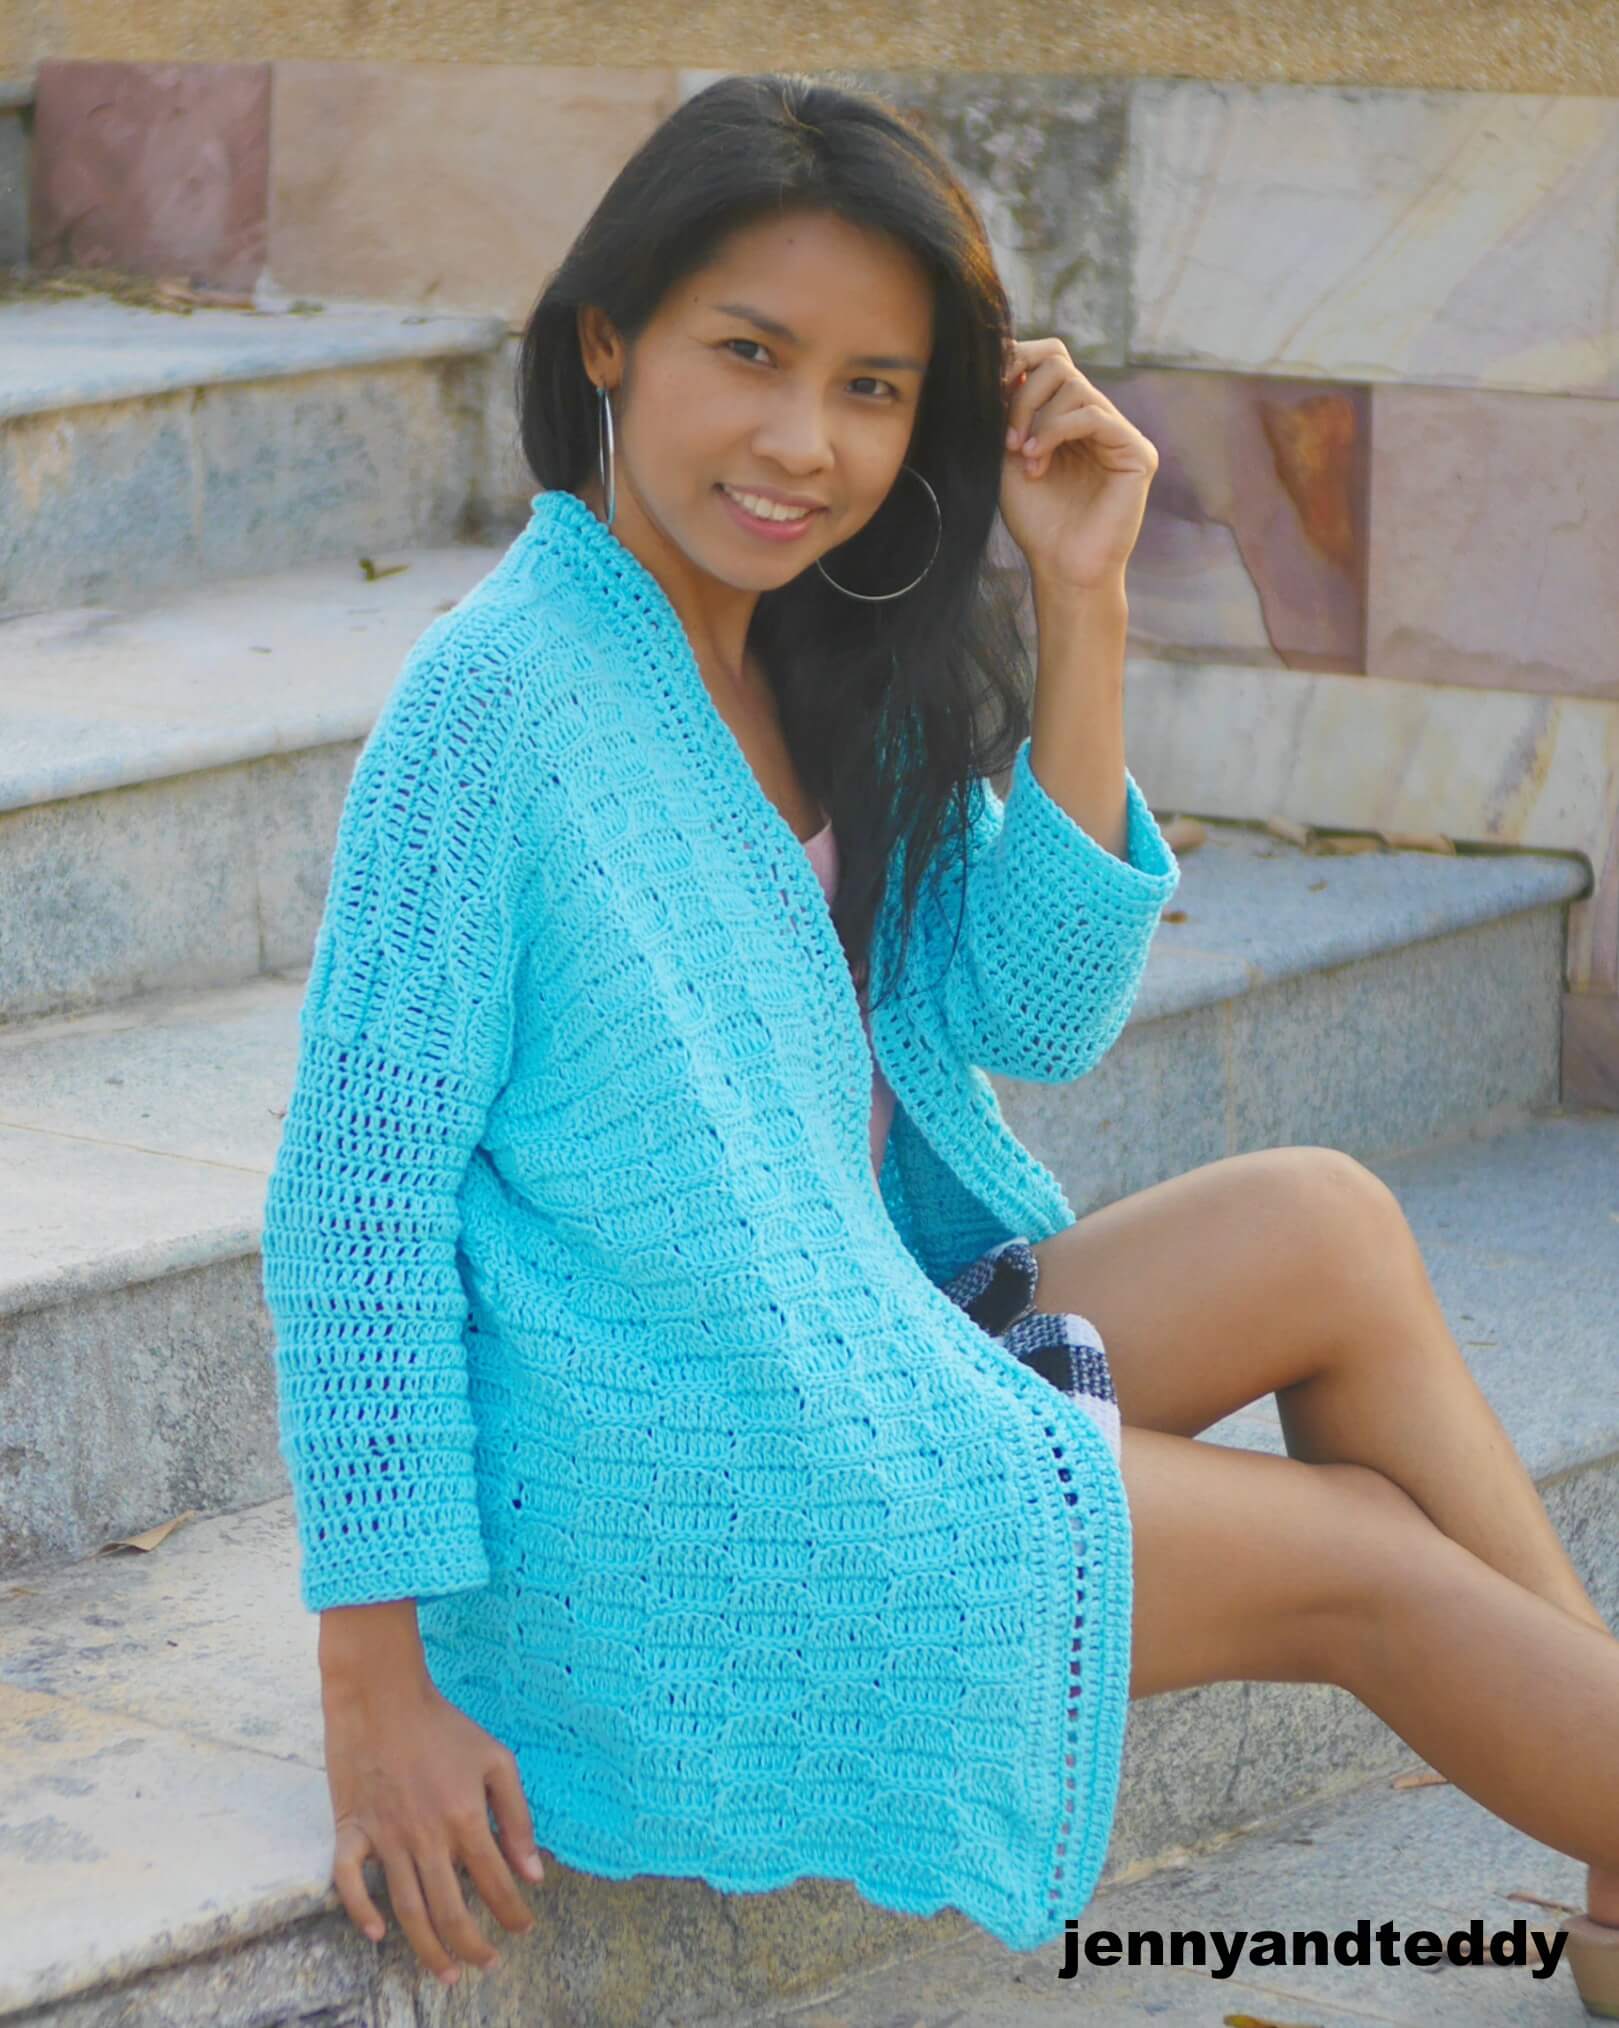
I Love love this cardigan wear it everywhere when I go out to shopping mall and about in the chilling cold day.
Get the free pattern below or this pattern is also available as an inexpensive, ad-free, PDF printable instant download in my etsy shop. Thank you so much for your love and support. I am really appreciate you.
Video tutorial for crochet leaf stitch cardigan.
Let’s get start!
– I used Lion brand coboo DK weight yarn . I am using about around 1,200 yard fit size small .( easy to adjust the size see pattern instruction below) yarn weight DK.
Or you could go for 4 medium weight should be fine but it will be a bit heavier not light weight as DK weight.
– 4.0 mm crochet hook
– Sewing yarn needle
– stitch marker
Gauge: 2 mini leaf stitch = 4 inch

Skill and abbreviations
You will need to know how to make
-slst which mean slip stitch
-dc which mean double crochet
-Blo which mean crochet in back loop only
Finished Size of the example Approximately:
Small ( Easy to adjust by add more chain to the foundation chain for bigger size)
For me the model wearing this piece, I am 4’9 feet tall.
Measurement.
of one rectangle.
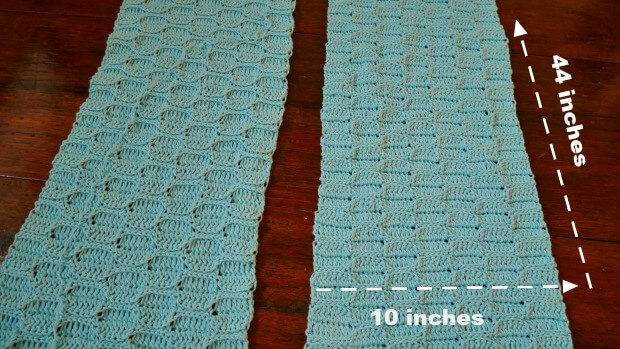
44 inches long
10-11 inches wide
For the width: If you need to make it wider ( bigger size) simply add more chain in number multiple of 7.
For the length: add more row.
Blue weave cardigan instruction.
Pick up crochet hook size 4.0 mm and Start of by making a slip knot Then make 49+1 chains (foundation chain multiple of 7+1)
Note.. every 7 chain you add to the foundation chain it= 1.5 inch
size small make 49 +1 chain
size medium make 63+1 chain
size large make 70+1 chain
size XL make 77+1 chain
size 2xl make 98+1 chain
3xl make 112+1 chain.
Row1. *slst in each of the next 7 ch, then 1dc in each of the next 7 ch * repeat from * to * across. ch1 and turn
Row2. Blo, * 1dc in each of the next 7st , slst in each of the next 7 st* repeat from * to * across, ch1 . turn
Row3. Blo, * 1dc in each of the next 7st , slst in each of the next 7 st* repeat from * to * across, ch1 . turn
Row4. Blo, * slst in each of the next 7 st, 1dc in each of the next 7st , * repeat from * to * across, ch1 . turn
Row5. Blo, * slst in each of the next 7 st, 1dc in each of the next 7st , * repeat from * to * across, ch1 . turn
Row6 and beyond repeat row 2-5 until your piece measures approximately 44 inches long , Fasten off.
repeat the same process for the second piece.
After finished 2 pieces of rectangle , it’s time to assembly.
Assembly.
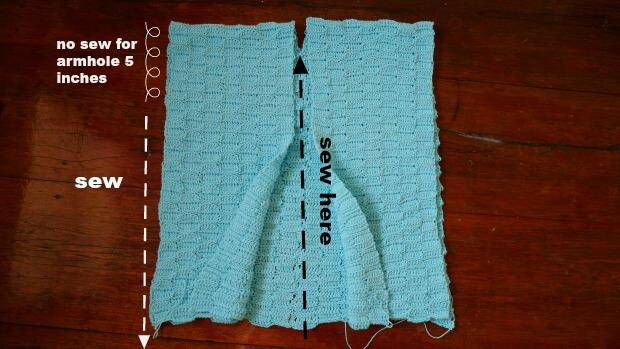
Center back Seam:
Lay 2 pieces of rectangles side by side. Now, using a yarn needle and whip stitch to seam up the middle part together ( the center back panels, from the bottom up around 20-21 inches. Tie off and weave in ends.
Side Seams to create the arm hole:
Seam up each side of the cardigan with a whip stitch or your prefer stitch method. Leave for the arm hole about 5 inch long at the top upper end . You may adjust the how long of the arm hole to fit your size.
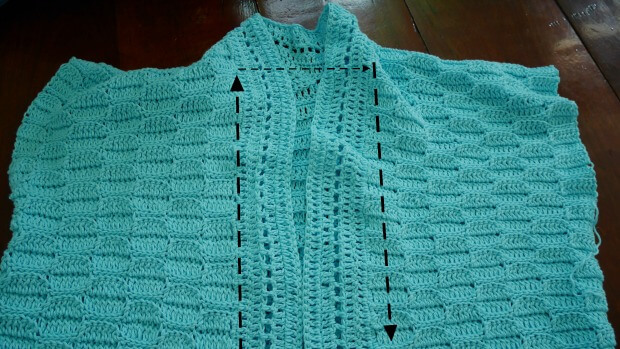
For the edging/collar.
For the collar we will worked along the edge of the opening of the cardigan back and forth in rows.
Start at the bottom front corner of the cardigan and working around the back of the neck to the bottom front corner on the other side where the second stitch marker place. (See photo below.)
Start by
Rejoin your yarn at the edge of the opening neck of the cardigan
Row1. sc all around the opening neck of the cardigan.

Row2. ch2 turn, then make dc in each stitch across all around the opening neck of the cardigan.
Row3. ch2 turn, then make dc in each stitch across all around the opening neck of the cardigan.
Row4. ch2 turn, then make dc in same st then * ch1, skip1 st then dc in next st* repeat this * to * across until the end of the row of the opening neck of the cardigan.

Row5. ch2 turn, then make dc in each stitch across all around the opening neck of the cardigan.
Row6. ch2 turn, then make dc in each stitch across all around the opening neck of the cardigan. And fasten off and weave in end.
Sleeve for the arm.
Rejoin your yarn at any stitch of the arm hole.
Round1. sc all around the opening of the armhole.
Round2. make dc in each stitch all around the arm hole. on the armhole work in spiral donot join yarn.
Round3. Repeat row2 until your sleeve measure around 14 inches long or your desired length. Fasten off and weave in end.
Now enjoy your new cardigan.
If you make one I would love to see your creation tag me on Instagram!
Happy crocheting.
Paddy
Saturday 30th of April 2022
I love it. Will try to crochet it.
Lorraine
Friday 4th of December 2020
This is a gorgeous pattern and it's in my favorite color, too. Can't wait to pick up the supplies and start making it. I'm carrying a bit extra weight and unfortunately, a little top-heavy for my 5' 2" height. Would you recommend large or XL for me? I'd hate to finish it only to find it was too snug.
jane
Friday 4th of December 2020
Hi Lorraine, thank you for the lovely comment, just made my day for your size would be Xl just for loose fit cardigan, foundation chain 77+1+78 chain on each rectangle. Note every 7 chain u add is add about 1.5 inch to the rectangle.
Linda
Friday 7th of August 2020
Jenny I am not seeing how you have 3 seams (1 back and 2 side seams) with just 2- 44x10 inch rectangles. Don’t you actually need 4- 44x10 inch rectangles? Thank you for your quick response. I love this pattern and am anxious to make this beautiful sweater. Linda
jane
Sunday 16th of August 2020
Hi linda, I only have 2 piece and 3 seams , one back seam to create back panel and 2 sides seams. if i have a 4 seams it will turn to be a poncho.
Janice Chrostoski
Monday 11th of February 2019
I want to thank you for making your sweaters to a 3X size. I have a hard time finding sweater to that size. I just Love your work. You're the greatest!!
Penney Langlois
Wednesday 30th of January 2019
This is absolutely beautiful!!!
jane
Thursday 7th of February 2019
Thank you so much Penney.