
Hey there! How are you guys doing? It is November already!
I have been very busy looking after my precious family. I got a new free amigurumi crochet pattern for you again, Woohoo! I am so excited to share this free design!
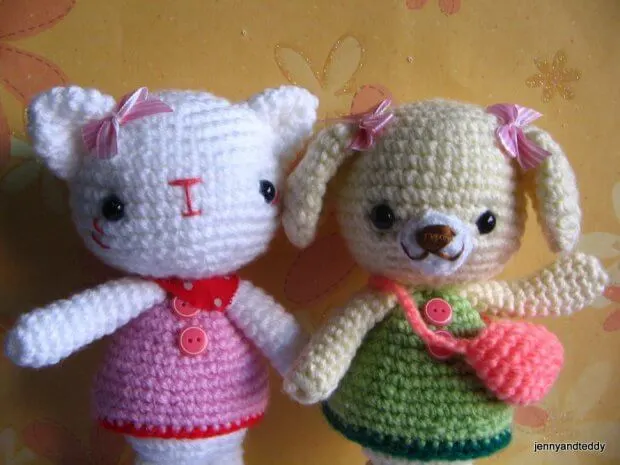
Let’s meet Emma and Emily. These are the sweetest bear and kitten that I have designed in a long time. I love that they are very easy to crochet but have a beautiful finish.
The crochet used for Emma and Emily is a simple pattern that is a pleasure for both the beginner and the well-seasoned hobbyist.
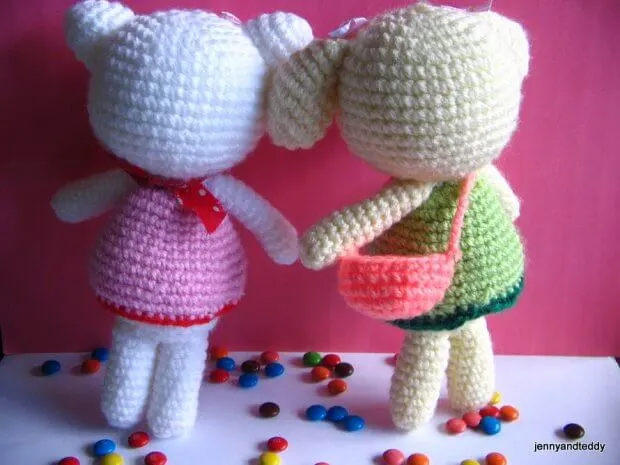
Emma and Emily are made of an acrylic yarn and there are numerous accessories available for you to personalise these lovely gifts.
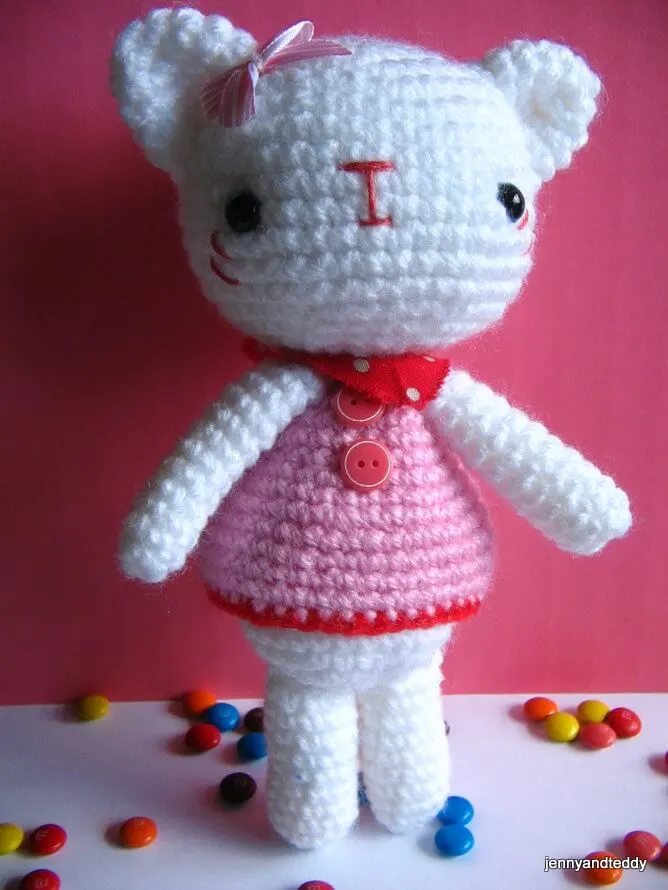
They are the perfect surprise for any occasion or just a personal reward for your decision to take crochet as your favourite past time.
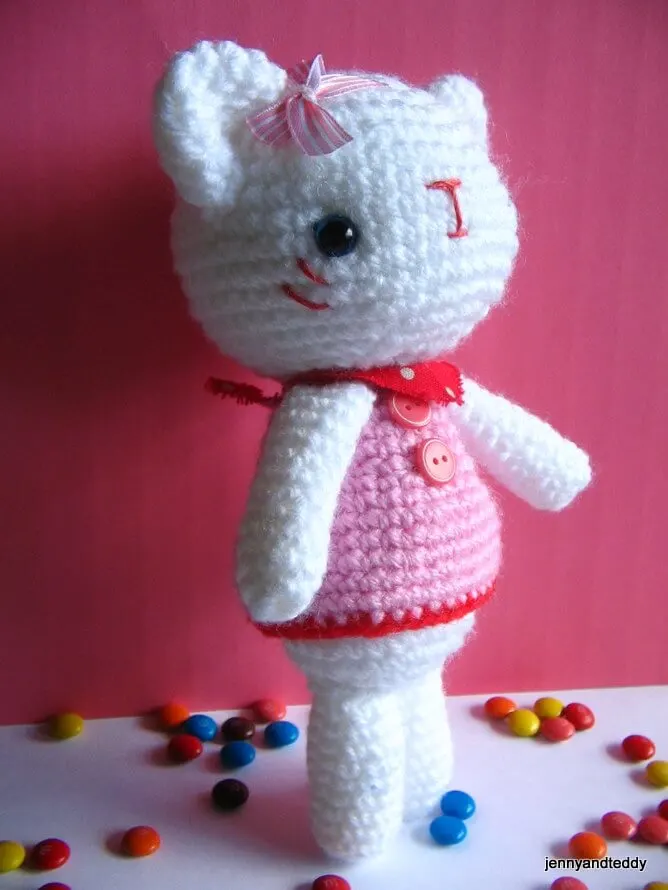
If you love bear amigurumi don’t forget to check out this as well.
Finish Size
-Approximately 6.5-7 inch tall
-Size of them may varies depend on size of yarn and crochet hook
Materials
To make you will need
- acrylic yarn of Lion brand Vanna’s Choice®
- Plastic eyes with safety backing 7.5mm (you can find it at any craft shop)
- Polyester Fiber fill for stuffing
- Sewing yarn needle and embroidery
- Ribbon or button
- Crochet hook size1.25mm and craft glue
Skill and abbreviations
You will need to know how to make a magic ring or adjustable ring
-Single crochet (sc)
-Crochet increase (inc) which mean-make 2 single crochet in same stitch
-Crochet decrease (dec) which mean-Crochet 2 stitches together
-Stitch (st)
* = Repeat stitches from * to end of *
-Chain (ch)
-Slip stitch (sl st)
-change colour
My beginner tutorial check it out here
Beginner guide to making your first ever amigurumi
How to start magic ring or adjustable ring
How to put an eyes on amigurumi
Let’s start with head Colour of your choice
You will work from top to bottom
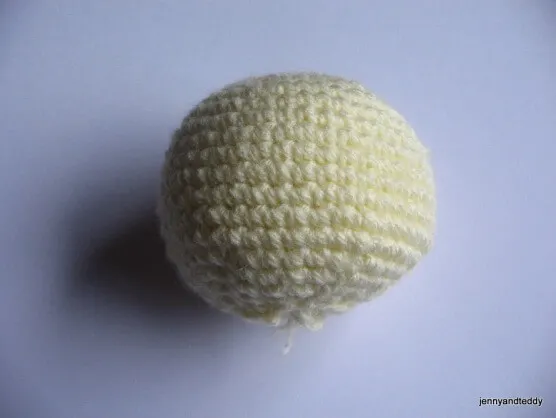
Round1. Make magic ring and 7sc in ring (7)
Round2. 2sc in each st around (14)
Round3. *Sc in next st, 2sc in next st* and repeat from * around (21)
Round4. *Sc in next 2 st,2sc in next st* and repeat from * around (28)
Round5. *Sc in next 3 st,2sc in next st* and repeat from * around (35)
Round6. *Sc in next 4 st,2sc in next st* and repeat from * around (42)
Round7-14. Sc in each st around (42)
Round15. *sc in each of next 5 st,dec 1* and repeat from * around (36)
Round16. *sc in each of next 4 st,dec 1* and repeat from * around (30)
Round17. *sc in each of next 3 st,dec 1* and repeat from * around (24)
Round18. *sc in each of next 2 st,dec 1* and repeat from * around (18)
Round19. *sc in each of next st,dec 1* and repeat from * around (12) then finish of and leave long tail for sewing. And stuffing polyester firmly.
Arms colour of your choice
Make 2 pieces
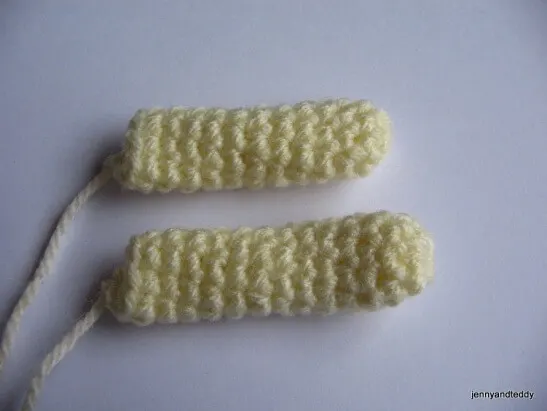
Round1. Make magic ring and 8sc in ring (8)
Round2-12. sc in each st around (8)
Then finish of leave long tail for sewing and stuffing polyester just a little.
Ears
For Emma bear make 2 pieces (colour of your choice)
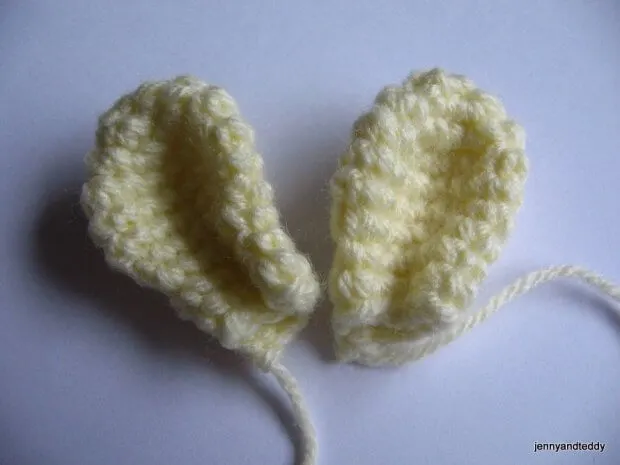
Round1. Make magic ring and 6sc in ring (6)
Round2. 2sc in each st around (12)
Round3. *Sc in next st, 2sc in next st* and repeat from * around (18)
Round4-5. sc in each st around (18)
Round6. *sc in each of next 4 st,dec 1* and repeat from * around (15)
Round7. *sc in each of next 3 st,dec 1* and repeat from * around (12)
Round8-10. sc in each st around (12)
Then finish of leave long tail for sewing and do not stuffing polyester.
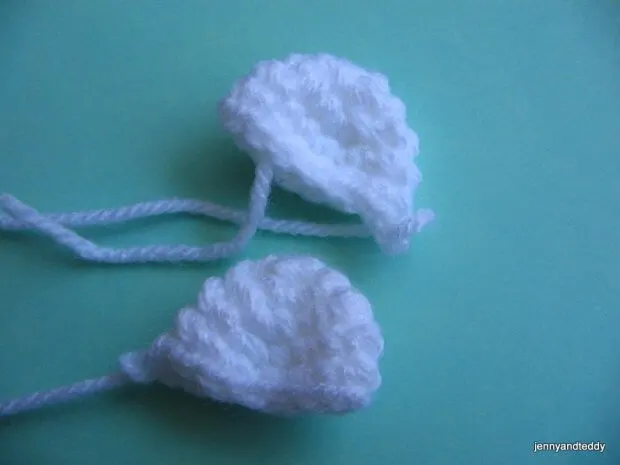
For Emily kitten make 2 pieces (colour of your choice)
Round1. Make magic ring and 5sc in ring (5)
Round2. 2sc in each st around (10)
Round3. *Sc in next st, 2sc in next st* and repeat from * around (15)
Round4-5. sc in each st around (15)
Then finish of leave long tail for sewing and do not stuffing polyester.
Legs colour of your choice
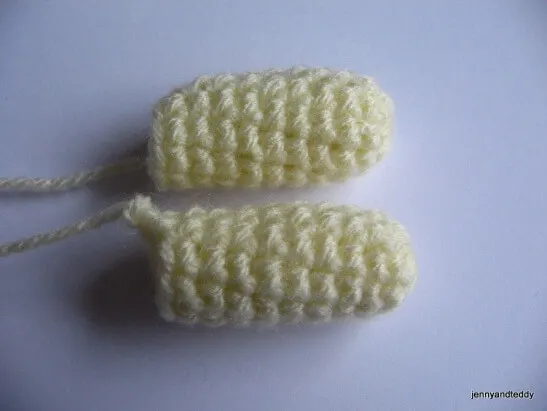
Make 2 pieces
Round1. Make magic ring and 10sc in ring (10)
Round2. sc in each st around (10)
Round3. sc in each st around (10)
Round4-10. sc in each st around (10)
Then finish of leave long tail for sewing and stuffing polyester just a little.
Body colour of your choice
You will work from bottom to top
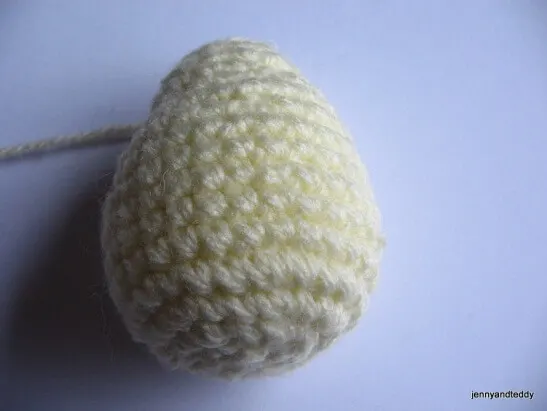
Round1. Make magic ring and 7sc in ring (7)
Round2. 2sc in each st around (14)
Round3. *Sc in next st, 2sc in next st* and repeat from * around (21)
Round4. *Sc in next 2 st,2sc in next st* and repeat from * around (28)
Round5-9. Sc in each st around (28)
Round10. *sc in each of next 5 st,dec 1* and repeat from * around (24)
Round11. Sc in each st around (24)
Round12. *sc in each of next 4 st,dec 1* and repeat from * around (20)
Round13. *sc in each of next 3 st,dec 1* and repeat from * around (16)
Round14-15. Sc in each st around (16)
Round16. *sc in each of next 2 st,dec 1* and repeat from * around (12)
Then finish of and leave long tail for sewing. And stuffing polyester firmly.
Nose for bear (white)
Make 1 piece
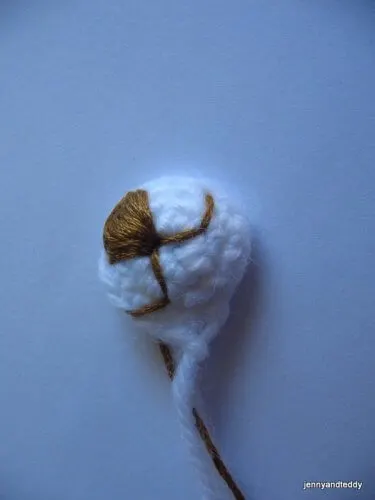
Round1. Make magic ring and 5sc in ring (5)
Round2. 2Sc in each st around (10)
Round3. sc in each st around (10)
Finish of leave and long tail for sewing.
Nose for Emily
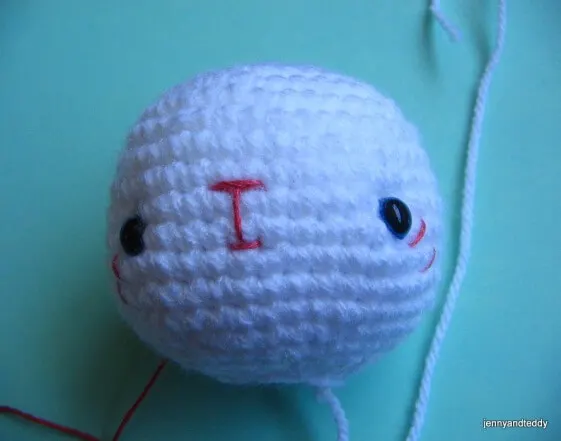
Dress we will work from top to bottom.
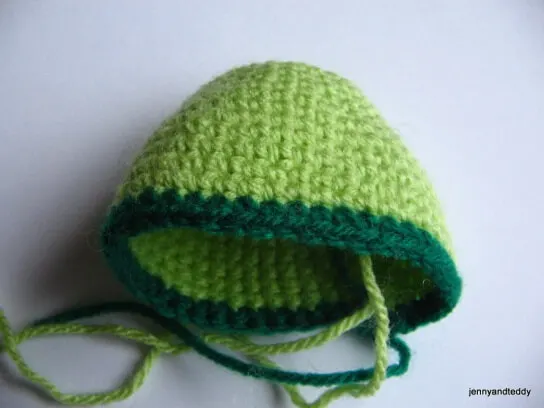
green for teddy
Pink for Kitten
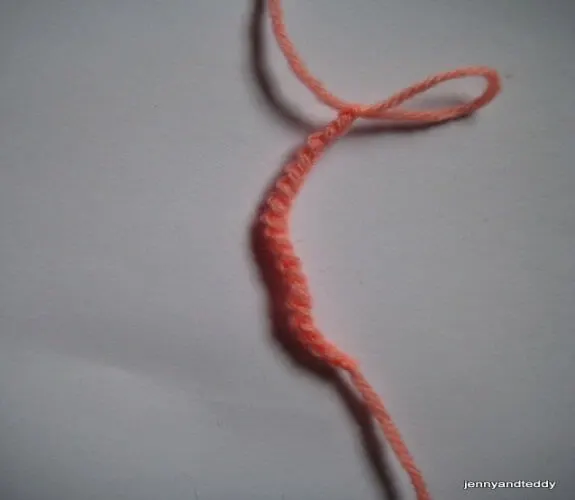
Start with chain 21 (21) .
Pic1.Start with 21 chain
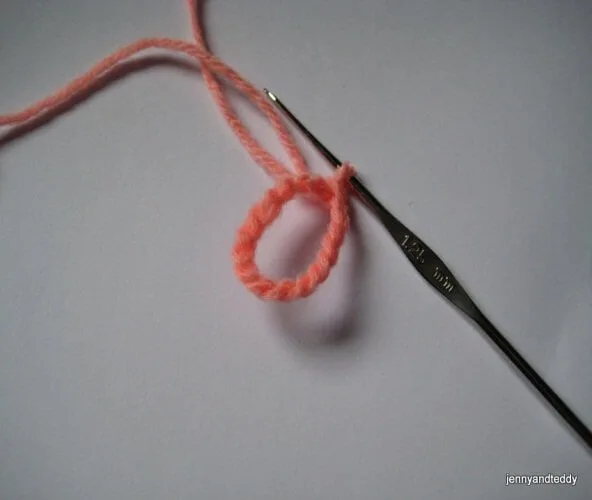
pic2. Join the chain
Round1. Sc in each st and around. (21)
Round2. *Sc in next 2st,2sc in next st* and repeat from * around (28)
Round3-5. sc in each st around (28)
Round6. *Sc in next 3 st,2sc in next st* and repeat from * around (35)
Round7. sc in each st around (35)
Round8. *Sc in next 4 st,2sc in next st* and repeat from * around (42)
Round9-11. sc in each st around (42)
Round12. sc in each st around (42) red or dark green colour
If you would like to make dress shorter just decrease round 9-12.
Bag make 1 piece colour of your choice
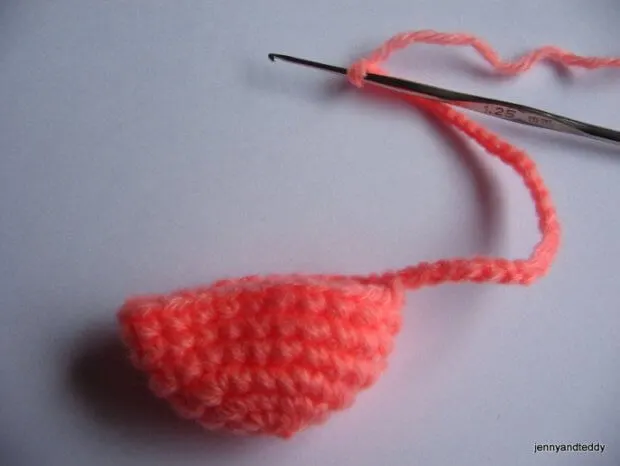
Round1. Make magic ring and 6sc in ring (6)
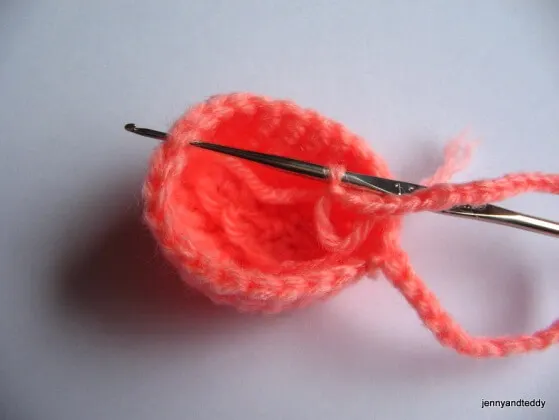
Round2. 2sc in each st around (12)
Round3. *Sc in next st, 2sc in next st* and repeat from * around (18)
Round4. *Sc in next 2st,2sc in next st* and repeat from * around (24)
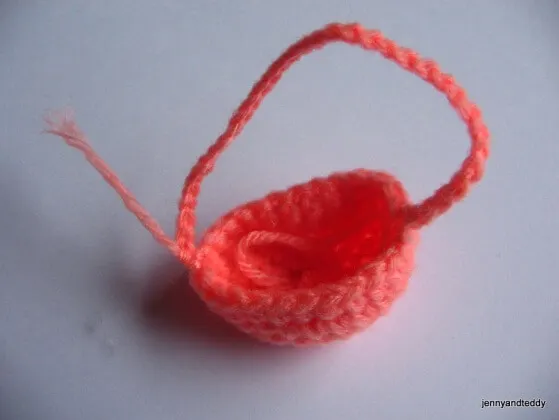
Round5-7. sc in each st around (24)
Make a strip by
- Chain 25 or length to fit your baby bear body
- Add decorative button, ribbon etc.
- fasten off
Finishing
Sew nose to the face and ears to the head.
Then attach dress to body by sewing, and then attach the head, arms and legs.
For scarf use fabric colour of your choice. For me I do not use a pattern for scarf because I like something quick and easy.
Happy crocheting.
