
Hello friends!
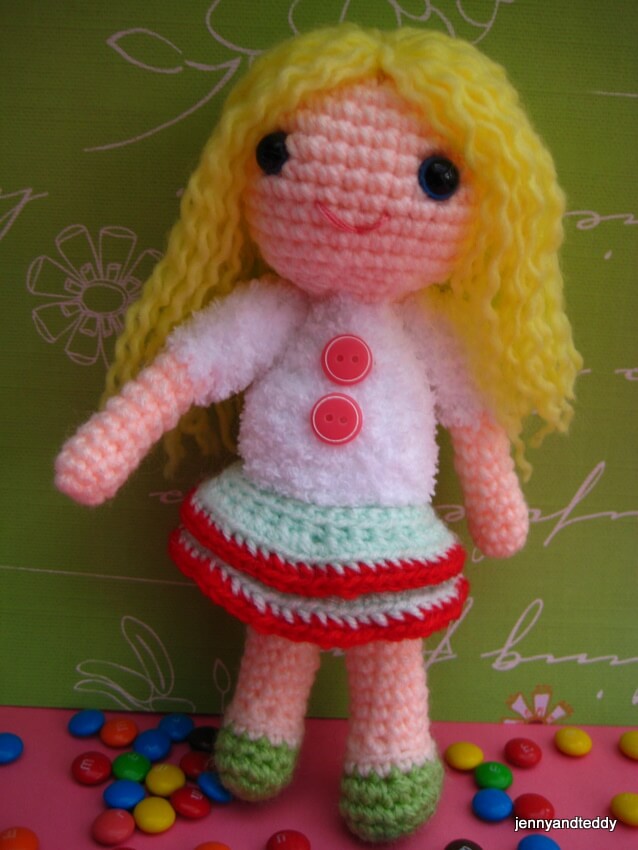

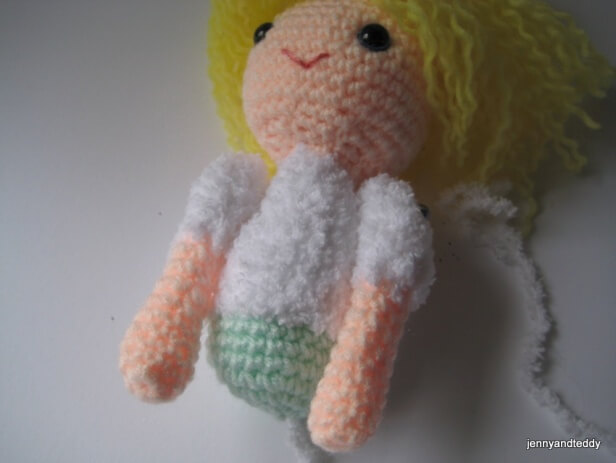
I got another one of free cute amigurumi girl doll pattern for you today! Her name is Amy, she the one that I start to have curly hair in amigurumi doll and of course I love blond hair colour so she came out very petty with her curly blond hair that I love.
Are you ready to make her?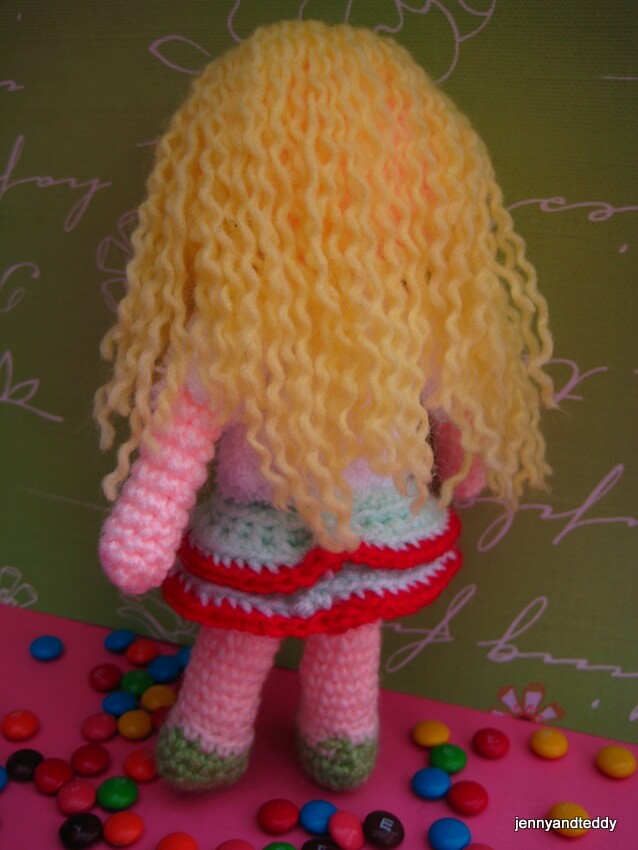

Finish Size
-Approximately 6 .5 inch tall
-Size of Amy may varies depend on size of yarn and crochet hook
Materials
Materials
To make you will need
- Acrylic yarn or Worsted weight in this pattern, I normally used 8 ply
- Plastic eyes with safety backing 7.5mm (you can find it at any craft shop)
- Polyester Fiber fill for stuffing
- Sewing yarn needle and embroidery
- Ribbon or button
- Crochet hook size1.25mm and craft glue
- Fancy yarn
Note
For the size of the crochet hook really does not matter. The doll designed will work just fine with different size of crochet hooks, only the end size of the creation will different slightly.
In this pattern is working in round continuously, you may use contrasting colour short piece of yarn to mark the beginning of each round. When round one end. Do not join at the end of each round; you will begin the second round in the next stitch.
At the end of each round, I have given the number of stitches you should have .If you are off by 1or 2 stitches, do not worry about it.
For instruction on how to make magic ring, change colour and basic technique to make amigurumi try this tutorial. It’s very helpful.
Use contrasting colour short piece of yarn to mark the beginning of each round.
Skill and abbreviations
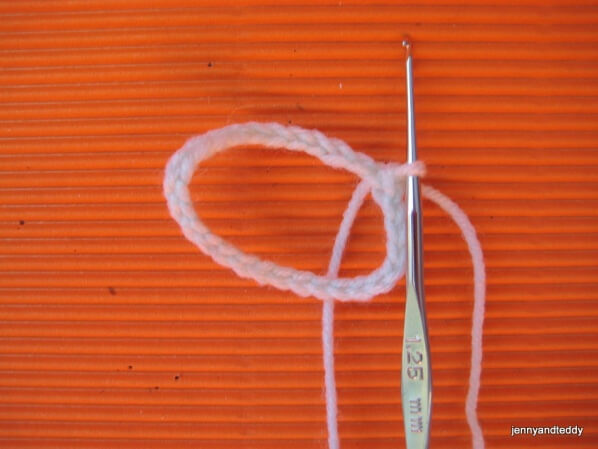
You will need to know how to make a magic ring or adjustable ring
-Single crochet (sc)
-Crochet increase (inc) which mean-make 2 single crochet in same stitch
-Crochet decrease (dec) which mean-Crochet 2 stitches together
-Stitch (st)
* = Repeat stitches from * to end of *
-Chain (ch)
-Slip stitch (sl st)
Work in front loops only (flo)
Work in back loops only (blo)
Change colour
My beginner tutorial check it out here
Beginner guide to making your first ever amigurumi
How to start magic ring or adjustable ring
How to put an eyes on amigurumi
Let’s start with head (colour orange)
You will work from top to bottom
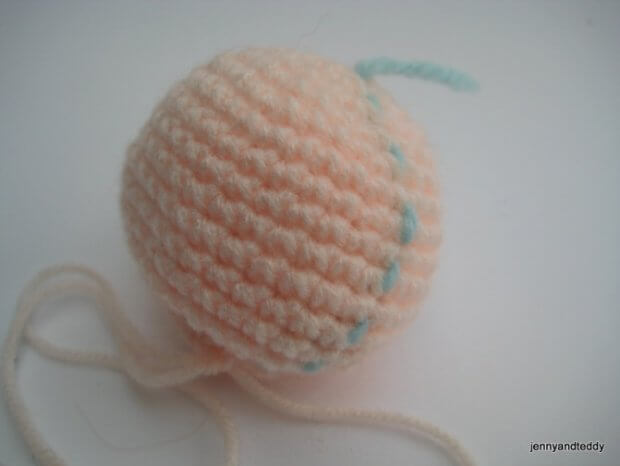
Round1. Make magic ring and 7sc in ring (7)
Round2. 2sc in each st around (14)
Round3. *Sc in next st, 2sc in next st* and repeat from * around (21)
Round4. *Sc in next 2 st,2sc in next st* and repeat from * around (28)
Round5.* Sc in next 3 st,2sc in next st* and repeat from * around (35)
Round6-13. Sc in each st around (35)
Round14. *sc in each of next 3 st,dec 1* and repeat from * around (28)
Round15. *sc in each of next 2 st,dec 1* and repeat from * around (21)
Round16. *sc in each of next st,dec 1* and repeat from * around (14)
Round17. *sc in each of next st,dec 1* and repeat from * around,then have last 2 st free make sc on that st and finish of leave long tail for sewing(10).
And stuffing polyester firmly.
Body
You will work from bottom to top
Round1. Make magic ring and 6sc in ring (6) green
Round2. 2sc in each st around (12) green
Round3. *Sc in next st, 2sc in next st * and repeat from * around (18) green
Round4.* Sc in next 2 st, 2sc in next st* and repeat from * around (24) green
Round5. *Sc in next 5 st, 2sc in next st* and repeat from * around (28) green
Round6-7. Sc in each st around (28) geen
Round8-9. Sc in each st around (28) white
Round10. *sc in each of next 5 st,dec 1* and repeat from * around (24) white
Round11. *sc in each of next 4 st,dec 1* and repeat from * around (20) white
Round12. *sc in each of next 3 st,dec 1* and repeat from * around (16) white
Round13. *sc in each of next 2 st,dec 1* and repeat from * around (12) white
Round14. Sc in each st around (12) white
And finish of leave long tail for sewing and stuffing polyester firmly.
Arms make 2 pieces
You will work from bottom to top
Round1. Make magic ring and 8sc in ring (8) orange
Round2-8. sc in each st around (8) orange
Round9-15. Sc in each st around ( 8) white
Then finish of leave long tail for sewing and stuffing polyester just a little.
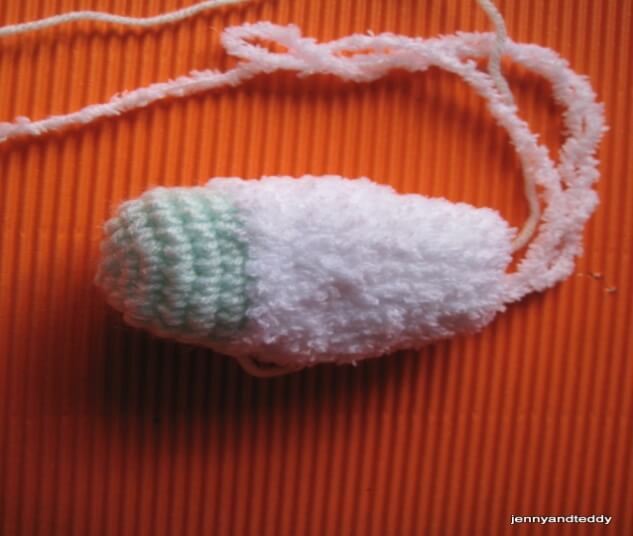
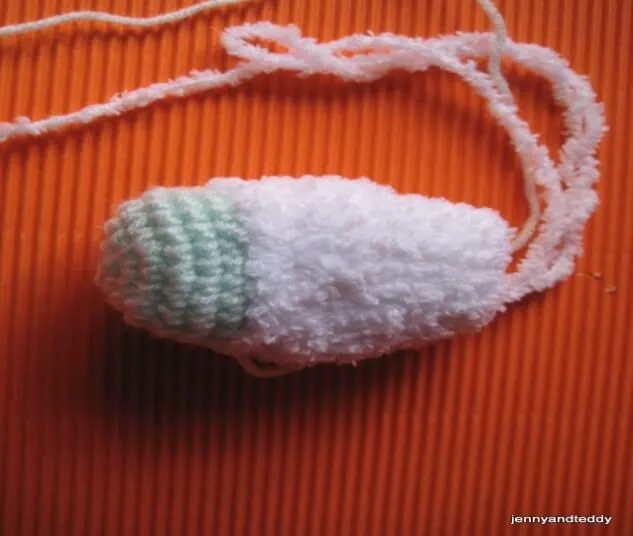
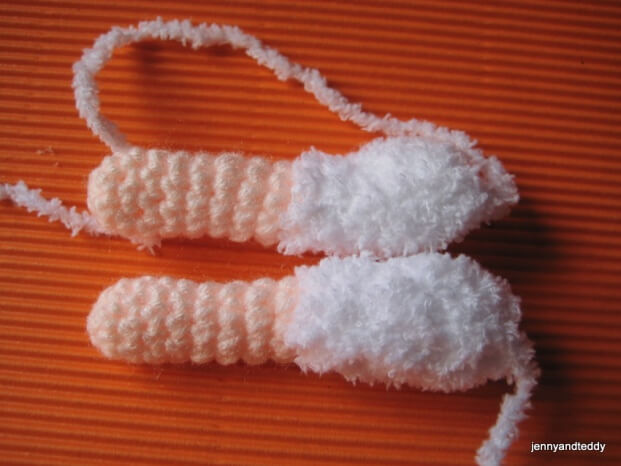
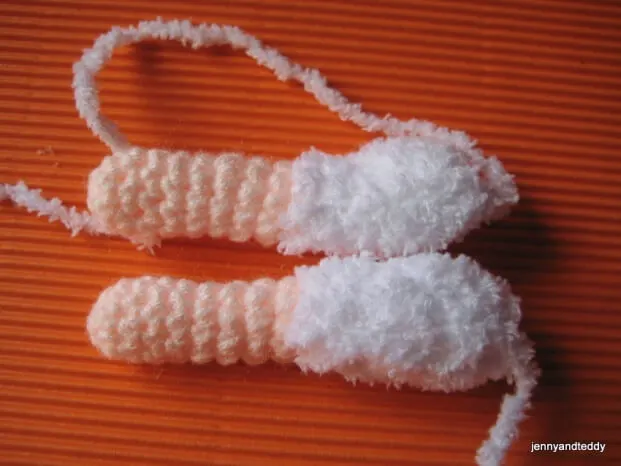
Legs
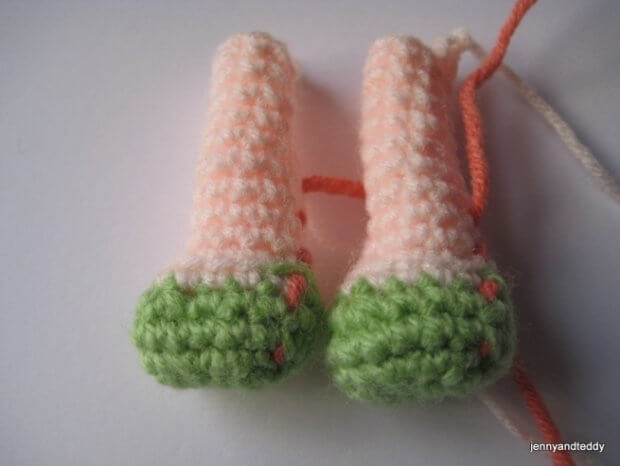
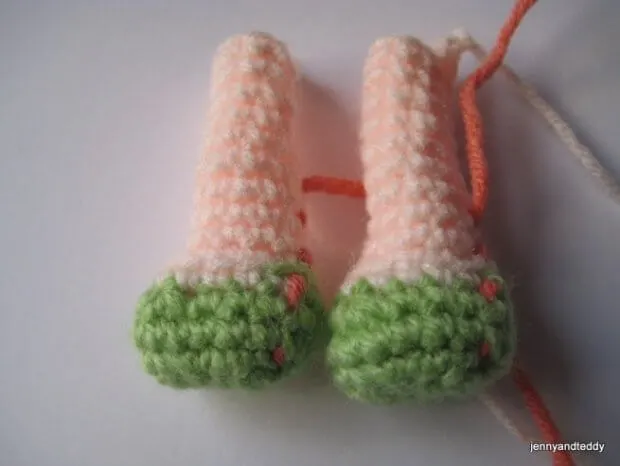
Make 2 pieces
Start with 7 chain (7)
Round1. Sc in next 6st from hook and around (12) green
Round2. *2Sc in next st, 2sc in next st * and repeat from * around (16) green
Round3. sc in each st around (16) green
Round4. * sc in each of next 3st,dec 1* and repeat from * around ,then have last 1st left make
sc in that st (13) green
Round5. sc in each st around (13) orange
Round6. ( sc in each of next 4st,dec 1), then (dec 1),then (dec1) after that have 3 st left make sc
on each of that st . (10 st) (blo of round 5) orange
Round7-15. sc in each st around (10) orange
Then finish of leave long tail for sewing and stuff polyester just a little.
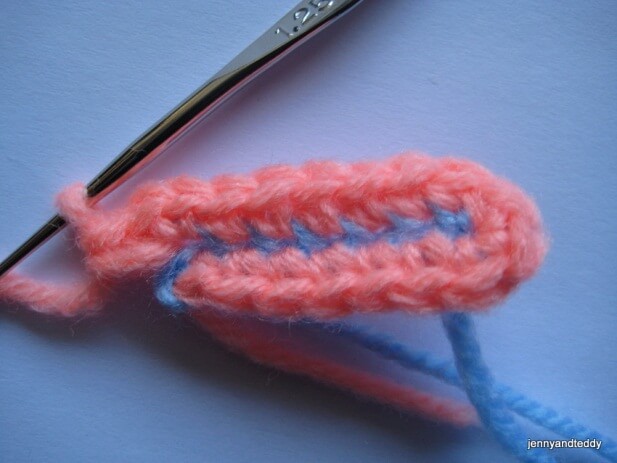
Note
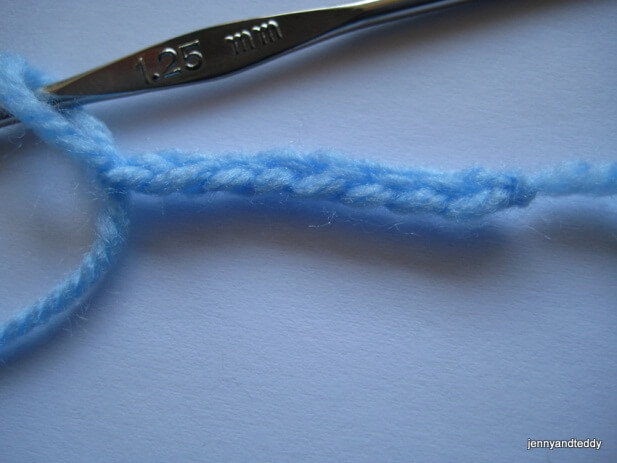
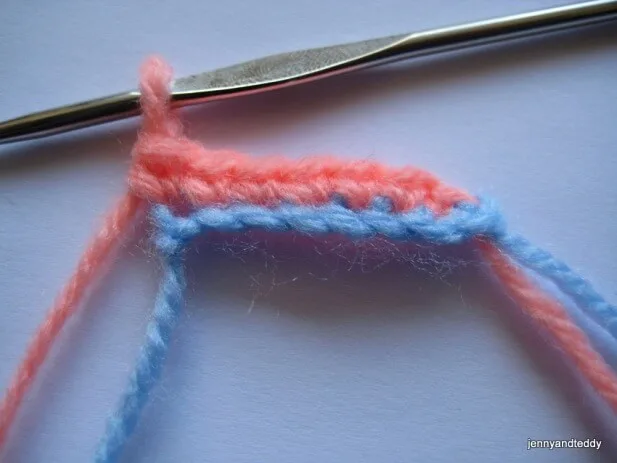
I have added photo’s to explain how to make legs.
In the pictures shown here I have used contrasting colour of yarn for demonstration purposes to make it look clear, as you might find it hard to see with same colour. However note that the following 3 pictures are for explanation of technique only and not part of this pattern.
In picture #1 start with chains (as shown in blue colour).

Pic#2-#3 I have started round 1 (as shown with orange colour).


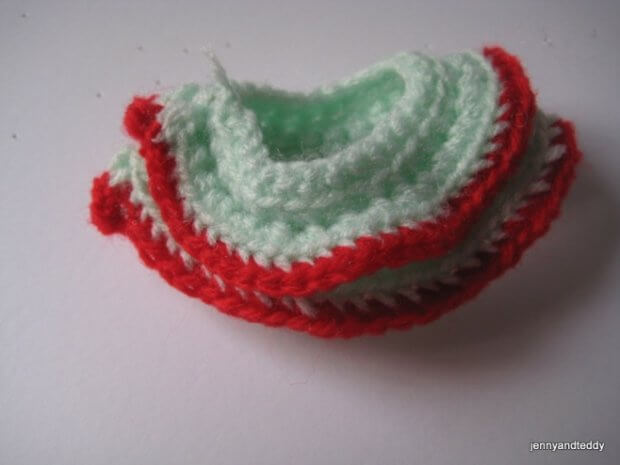
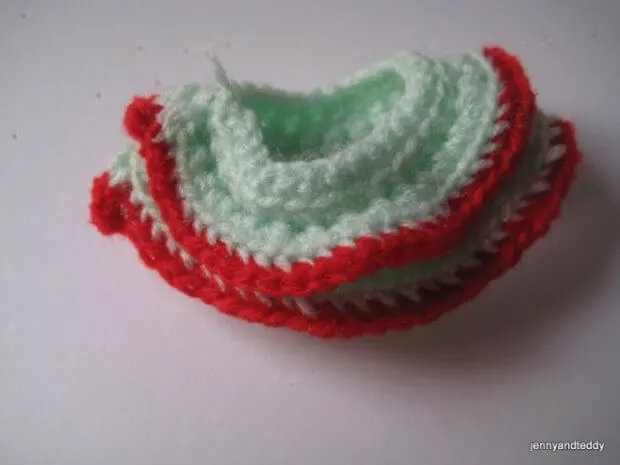
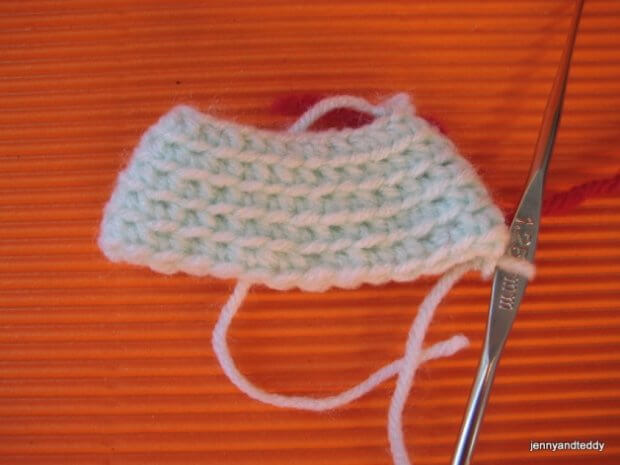
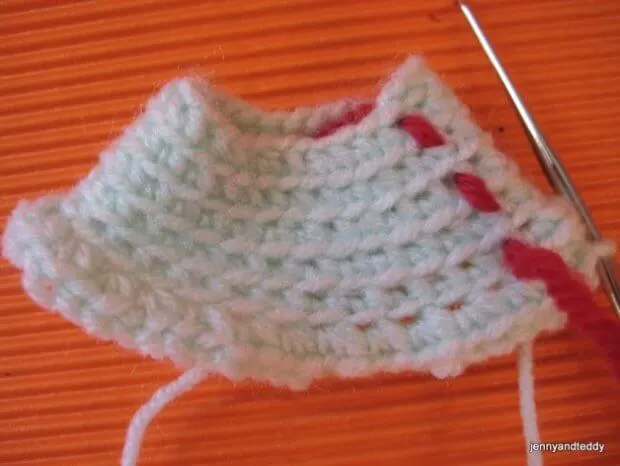
Skirt (green)
Start with 28 chain and join the chain .

Round1. sc in each st around (28)
Round2. sc in each st around (28) blo


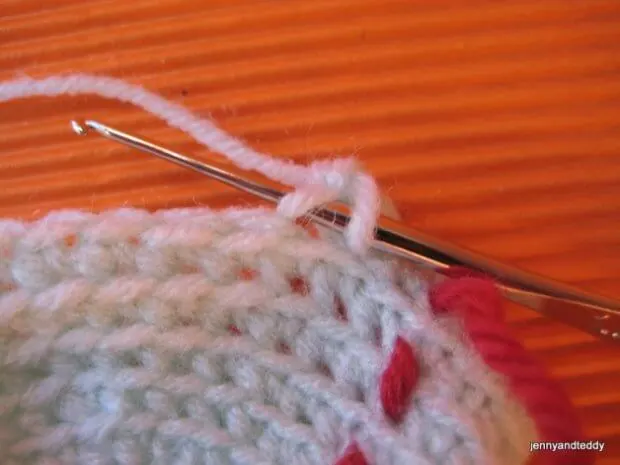
Round2.1. 2sc in each st around (56) ( flo of round 2)

Round2.2. sc in each st around (56) red
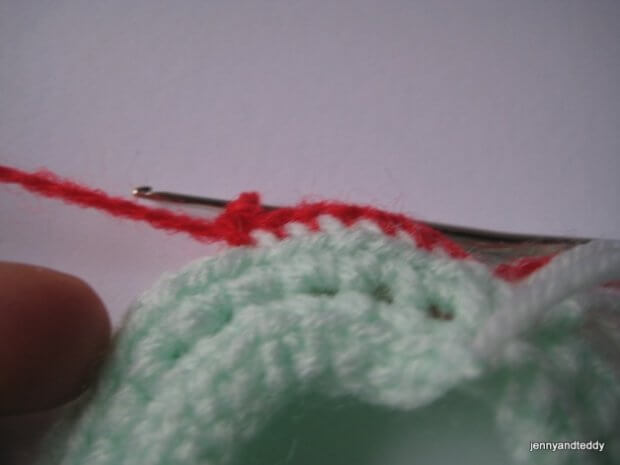

Round3. sc in each st around (28) blo
Round4. sc in each st around (28) blo
Round5. sc in each st around (28) blo
Round6. 2sc in each st around (56) blo
Round6.1. sc in each st around (56) red (blo of round 6) and finish off.
Note we do round 2.1 and 2.2 after we finished round 1-6.1.
We done round 1-6.1 first
Then we move to do flo in round 2.1-2.2.
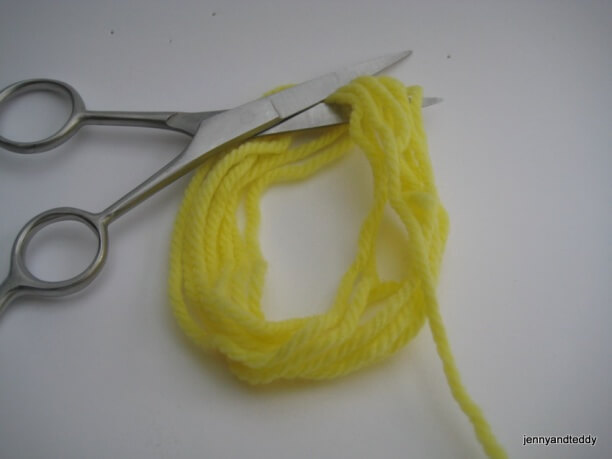
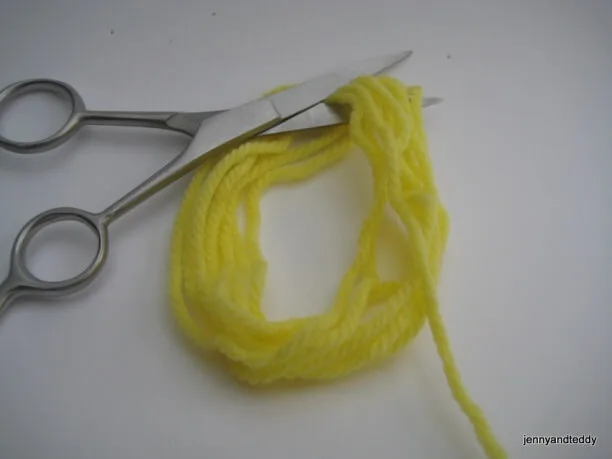
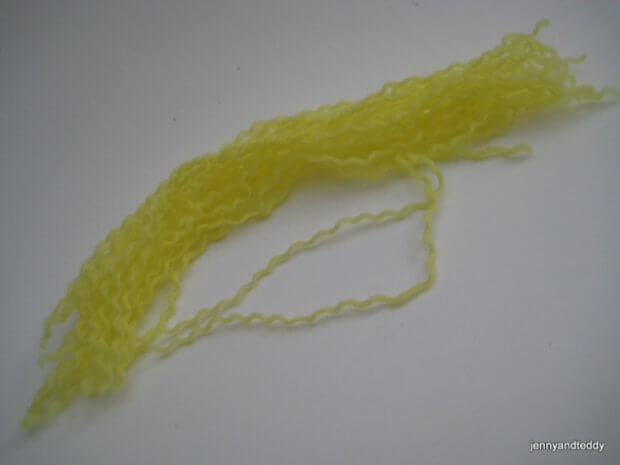
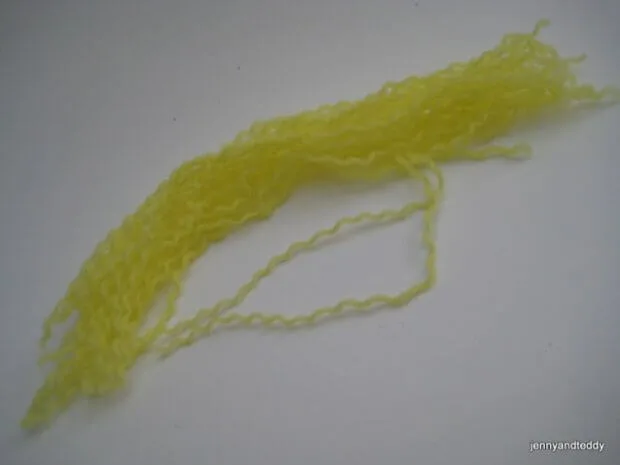
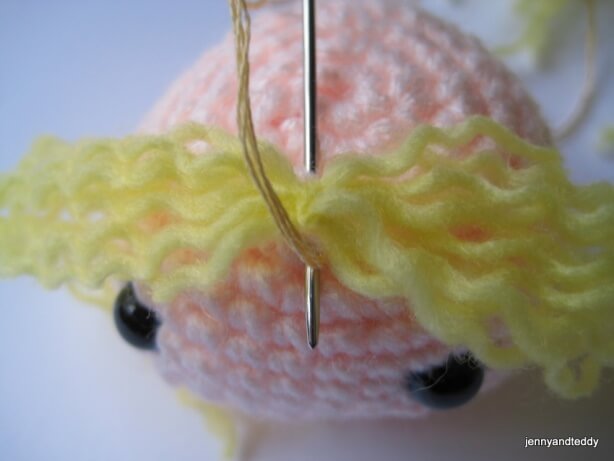
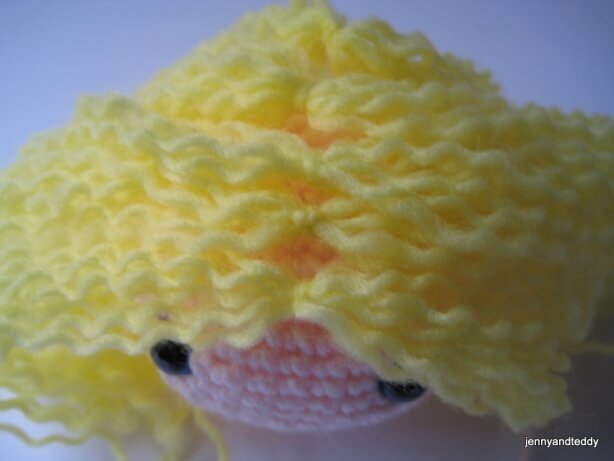
Hair
When making hair for the doll, my technique I normally used a small book or you can use a piece of card board to hold yarn together it depend on how long of doll hair you want.
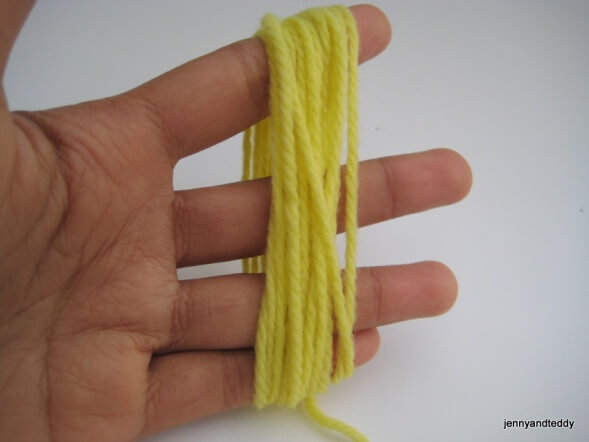
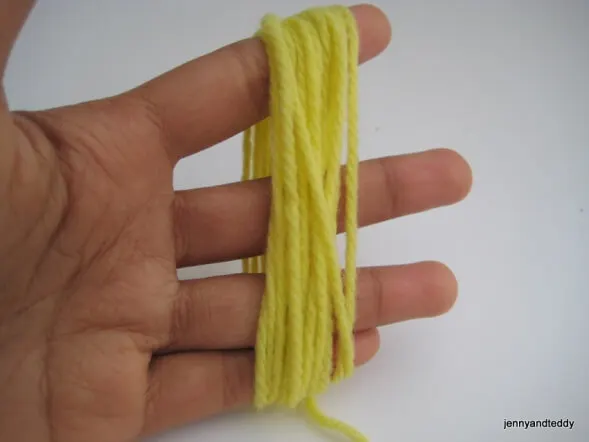
For me my hair doll approximately 4 inch each side.
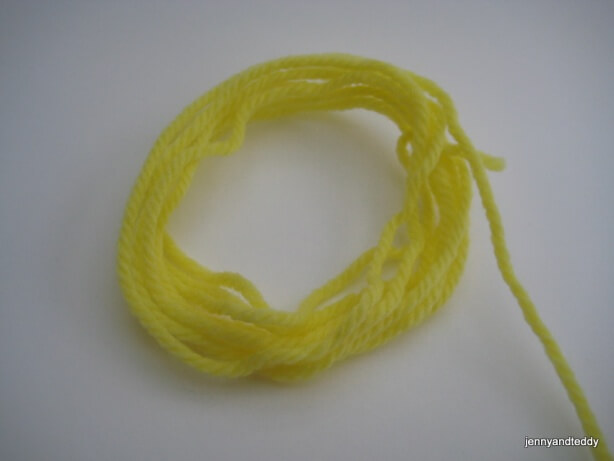
Then cut it one side.
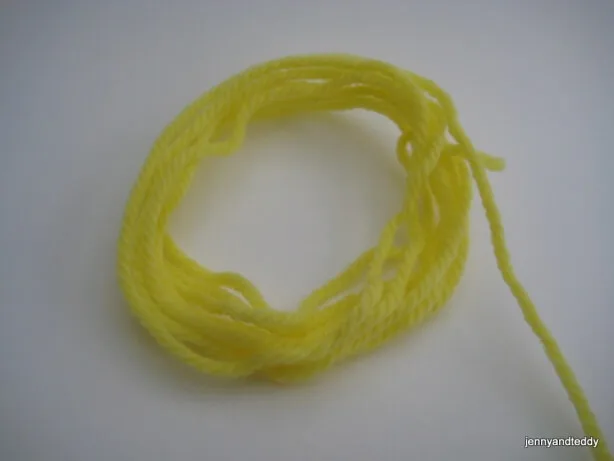
In each piece of yarn we will separate it into 3 pieces as seen in the picture.
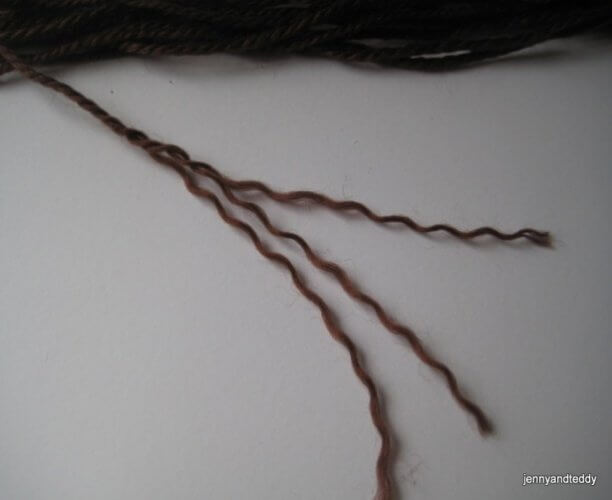
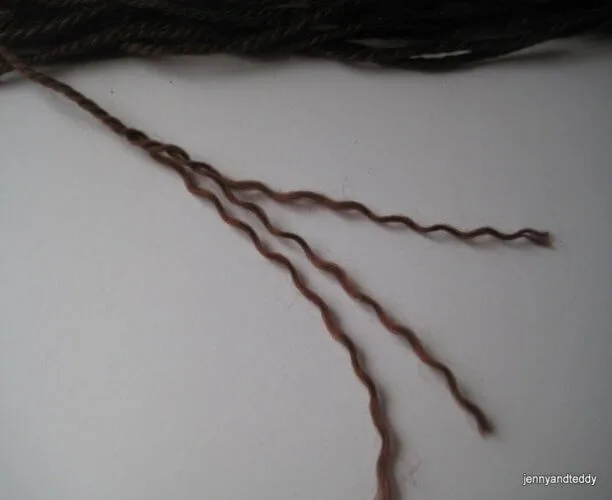
After we separate all yarn then we divided yarn into many groups and tight it up.
Then we sew it on the doll head but before that we should put doll eyes first because you can know and adjust the position of the hair.
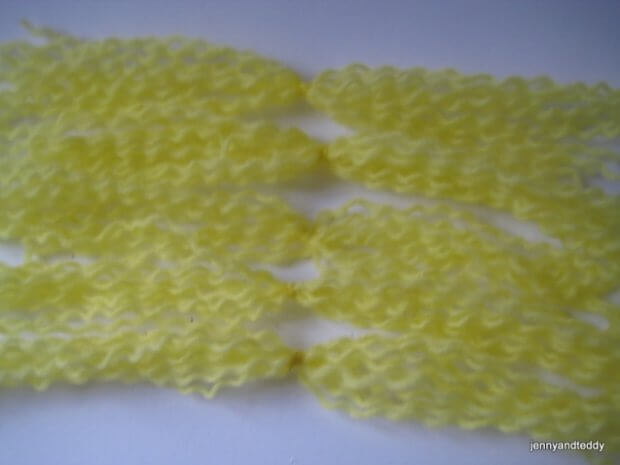
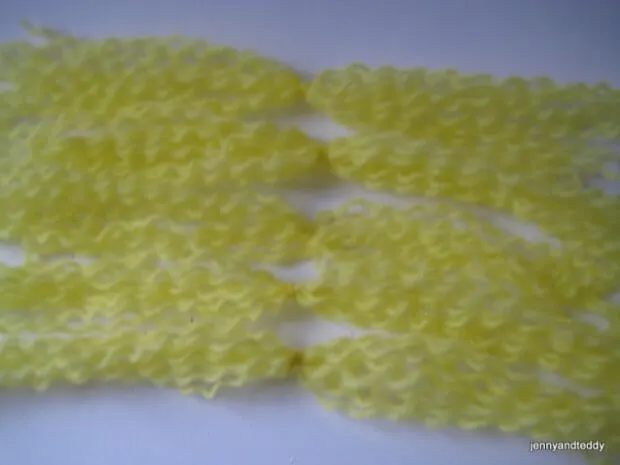
We used the similar colour of thread or embroidery for sew the hair doll.


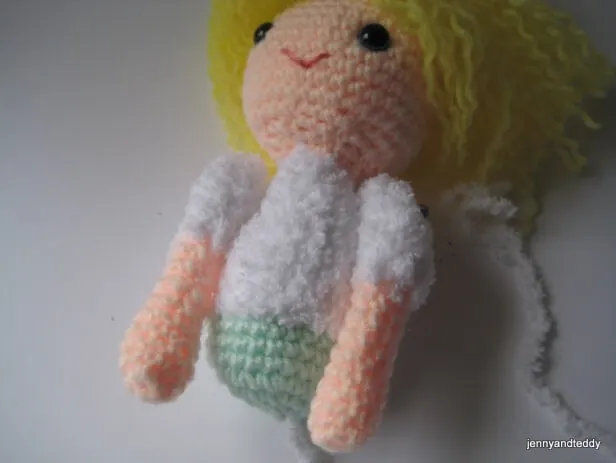
Finishing
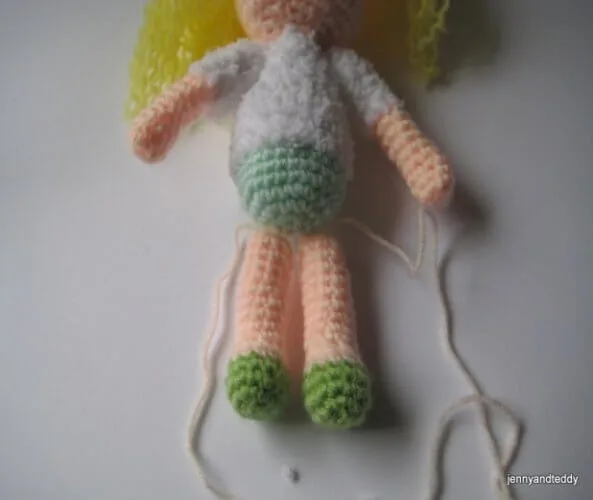
Sew head to the body .Then sew arms and attach legs to body so that Amy is in a stand position.
Note-use pin to adjust and fix position of arm and leg for sewing.

Have fun crocheting!
Lilia Vanini
Friday 18th of November 2016
Love this pattern, must to try very soon!
Thank you!
Lilia/Liliacraftparty