

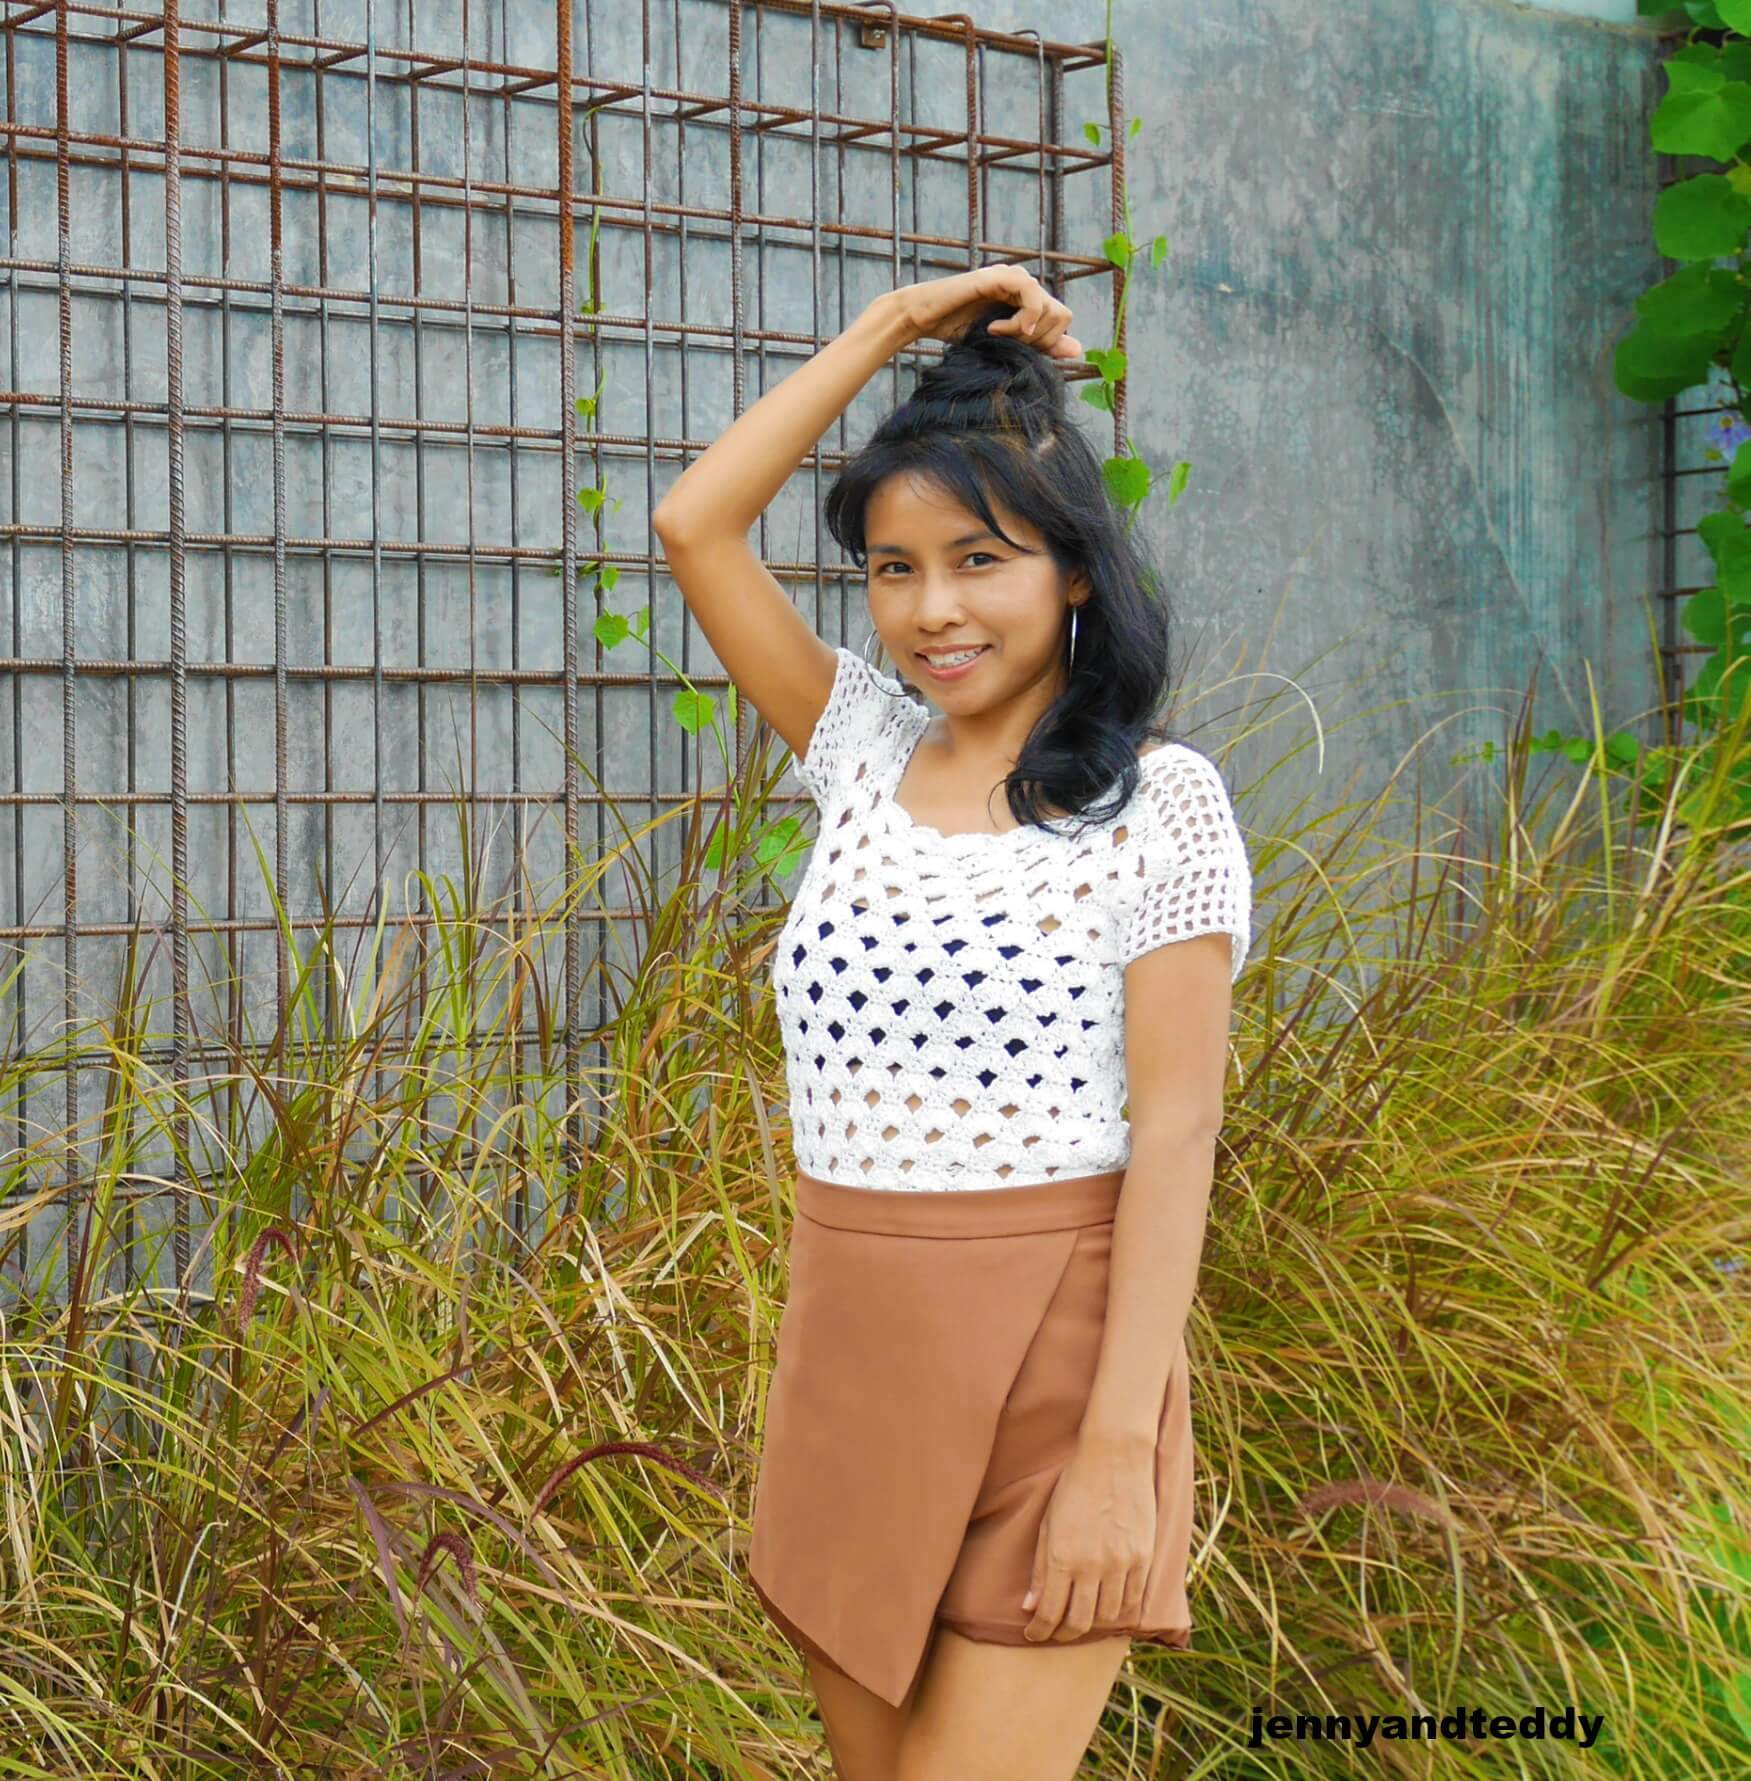
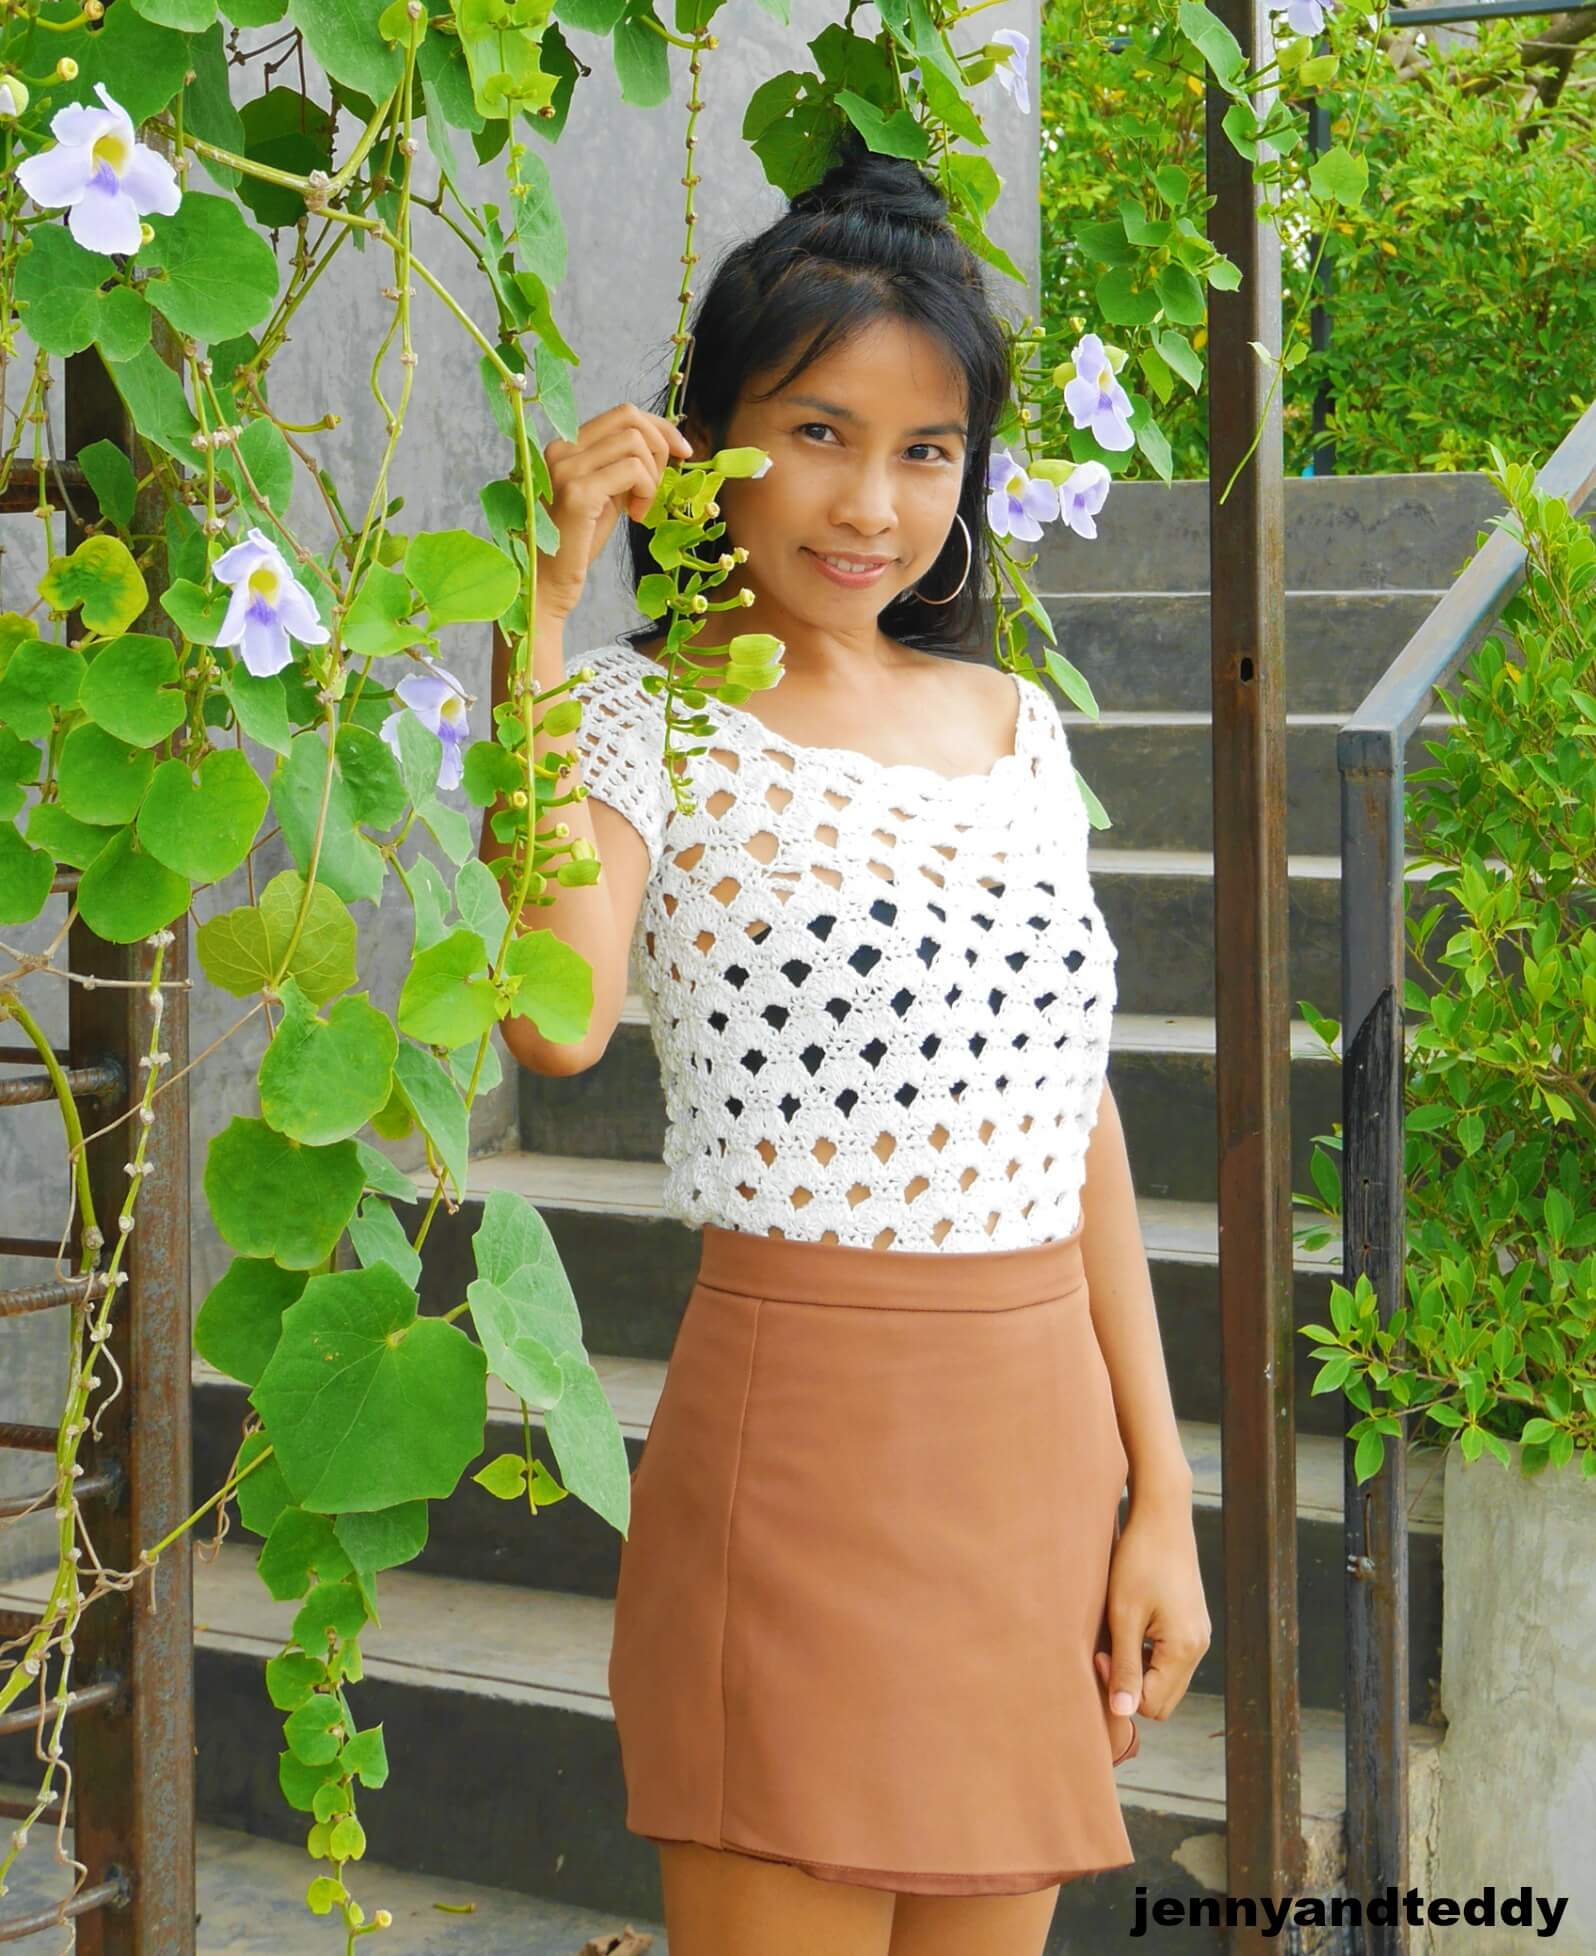
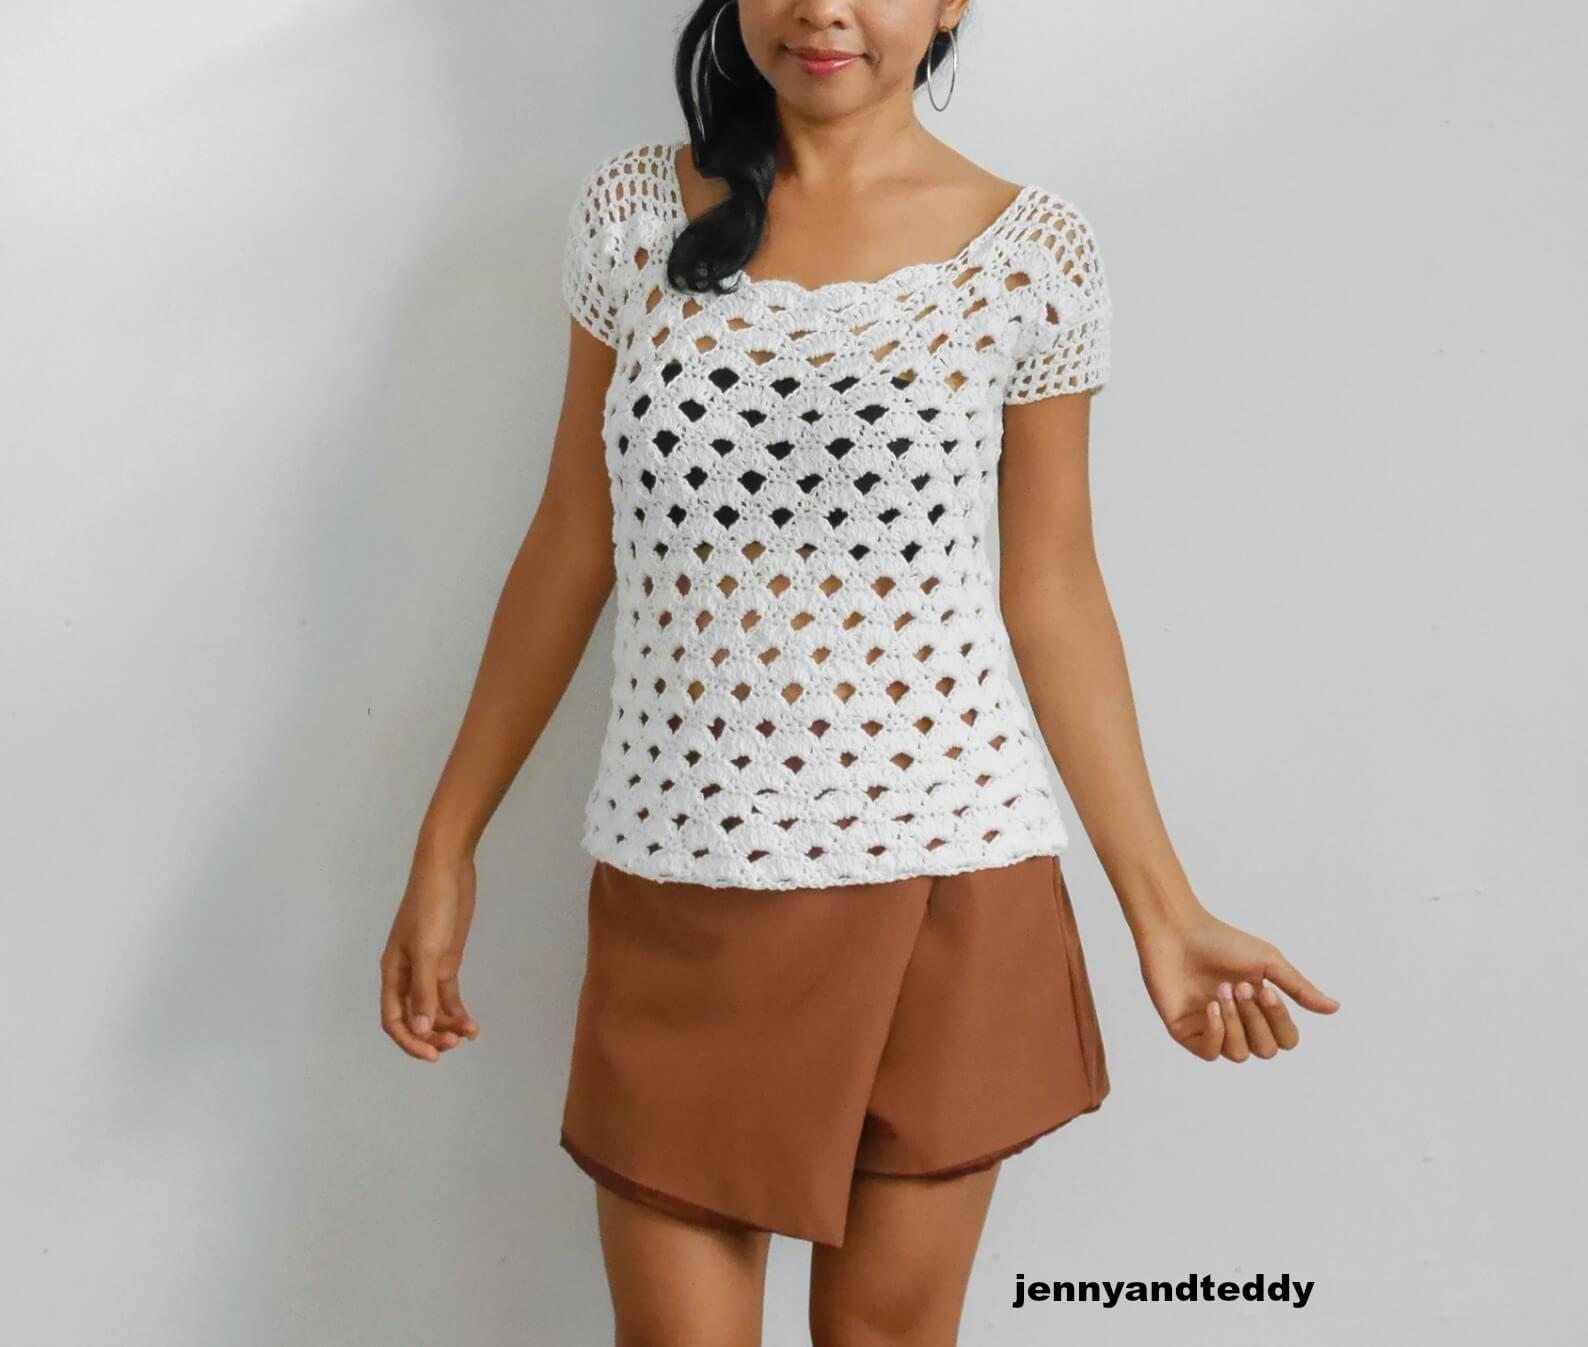
Meet Arcade stitch crochet top free crochet pattern with step by step video tutorial. This cute and sophisticate lady blouse called ” Happy monday arcade top” is one of my favorite of all time to wear for going out and around town. 
The size is small to plus size from small to 2XL.
Oh man! this arcade crochet stitch by the look of itself I thought it will be difficult to do but but.. they are actually really easy and the result is stunning when I did make them into crochet top!
I also have a video tutorial for you guys for the arcade stitch top on my youtube channal with very detail step by step photo tutorial as well.

Within no time you will mastering this new stitch and love it like me. ^^
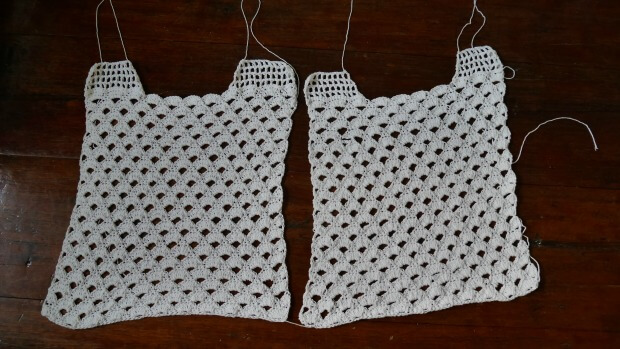
So with the happy Monday arcade crochet top or a lady crochet blouse are made from just 2 rectangles together!
I was complete this top for just in the weekend!
Get the free pattern below or this pattern is also available as an inexpensive, ad-free, PDF printable instant download in my etsy shop. Thank you so much for your love and support. I am really appreciate you.
Let’s get start!
– I used cotton DK weight yarn. I use around 600 yard.
– 4.0 mm crochet hook
– Sewing yarn needle
-stitch marker
Gauge: 2 group of arcade stitch = 3 inch
Skill and abbreviations
You will need to know how to make (American crochet term)
-sc which mean single crochet
-dc which mean double crochet
-ch Chain
-slip knot
-sk mean skip stitch
Video tutorial for this summer crochet blouse top down Happy monday arcade top.
Finished Size Approximately:
This top is made in size small . the other sizes are easy to adjust by just add more chain to the foundation chain to make it bigger. see pattern below.
For me the model wearing this piece, I am 4’9 feet tall.
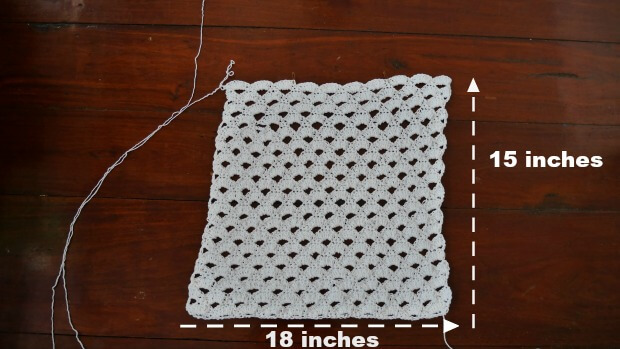
Front and back panel.
of one rectangle.
-15 inches long
-18 inches wide
Pick up crochet hook size 4.0 mm and Start of by making a slip knot Then make 66+2= 68 chains for size small (foundation chain multiple of 6+2).
( size M 72+2 chain x 15 inch long)
( size L 84+2 chain x 16 inch long)
( size XL 96+2 chain 16 inch long)
( size 2XL 108+2 chain x 17 inch long).
Row 1: Sc across, turn.
Row 2: ch1, 1sc in each of the next 2 st , *ch3, skip 3st, work 1sc in each of the next 3 st* repeat from * to * at the end of the row you will have 5 st left ch3 ,sk3 then 1sc in the last 2 st . ch1, turn.
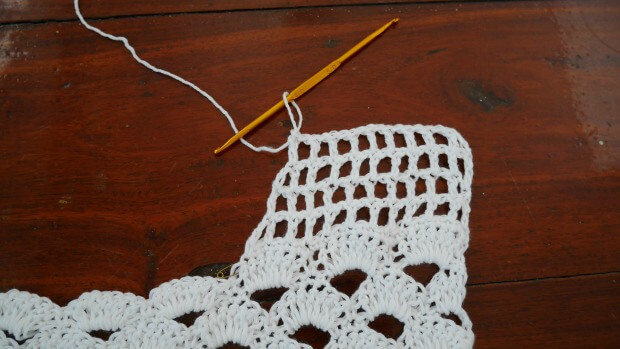
Row3. now you will make *7dc in the next ch3 space, sk1 sc and make 1sc in next* repeat from * to * until the end of the row at the end of the row you have 2 st left just sk1 and make1 sc in last st. turn
Row4. make ch4, sk3, *1sc in each of the next 3 st, ch3, sk5 st * repeat from * to * until the end of the row at the end of the row you have 2 st left just ch1 and make 1 dc in last st. turn
Row5. make ch3, 3dc in the first ch space, * sk1 sc and make 1sc in next then 7dc in ch3 space * repeat from * to * until the end of the row at the end of the row you make 4 dc in the last chain space , turn.
Row6. make ch1, ch1, 1sc in each of the next 2 st , *3ch, skip 5 st, work 1sc in each of the next 3 st* repeat from * to * at the end of the row you will have 6 st left then ch3, 5st and make 1sc in the last st . ch1, turn.
Repeat row 3-6 until you get around 15 inches long for front and back panel.
After you got 2 pieces of rectangles. Now it time to make a shoulder.
Start at one side at a time.
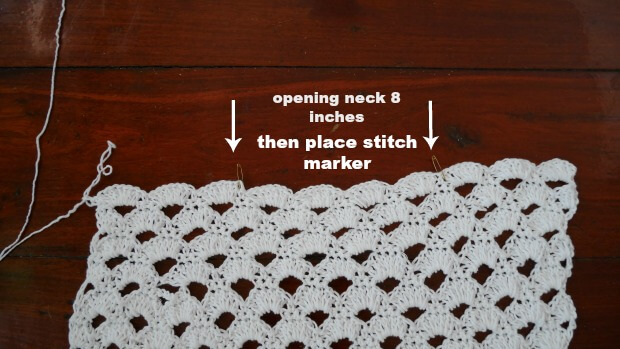
Place stitch marker at 2 place leave the opening neck for 8 inches.
Then join new yarn at the left side and sc in each stitch for 1 row until you meet the place marker point.
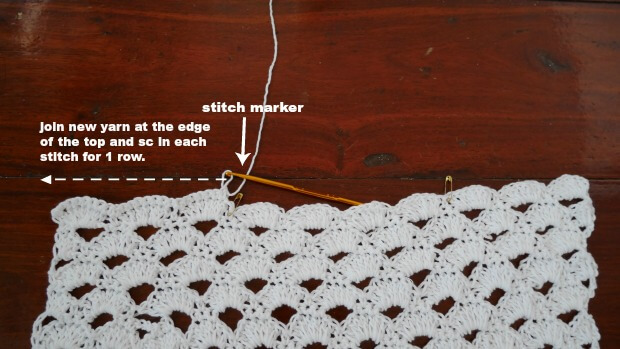
Then ch2 , and start to make *1dc, ch1 sk1 and 1dc in the next st* repeat back and forward until you got 4 row. and finish off.
Then repeat the same process for the right side.
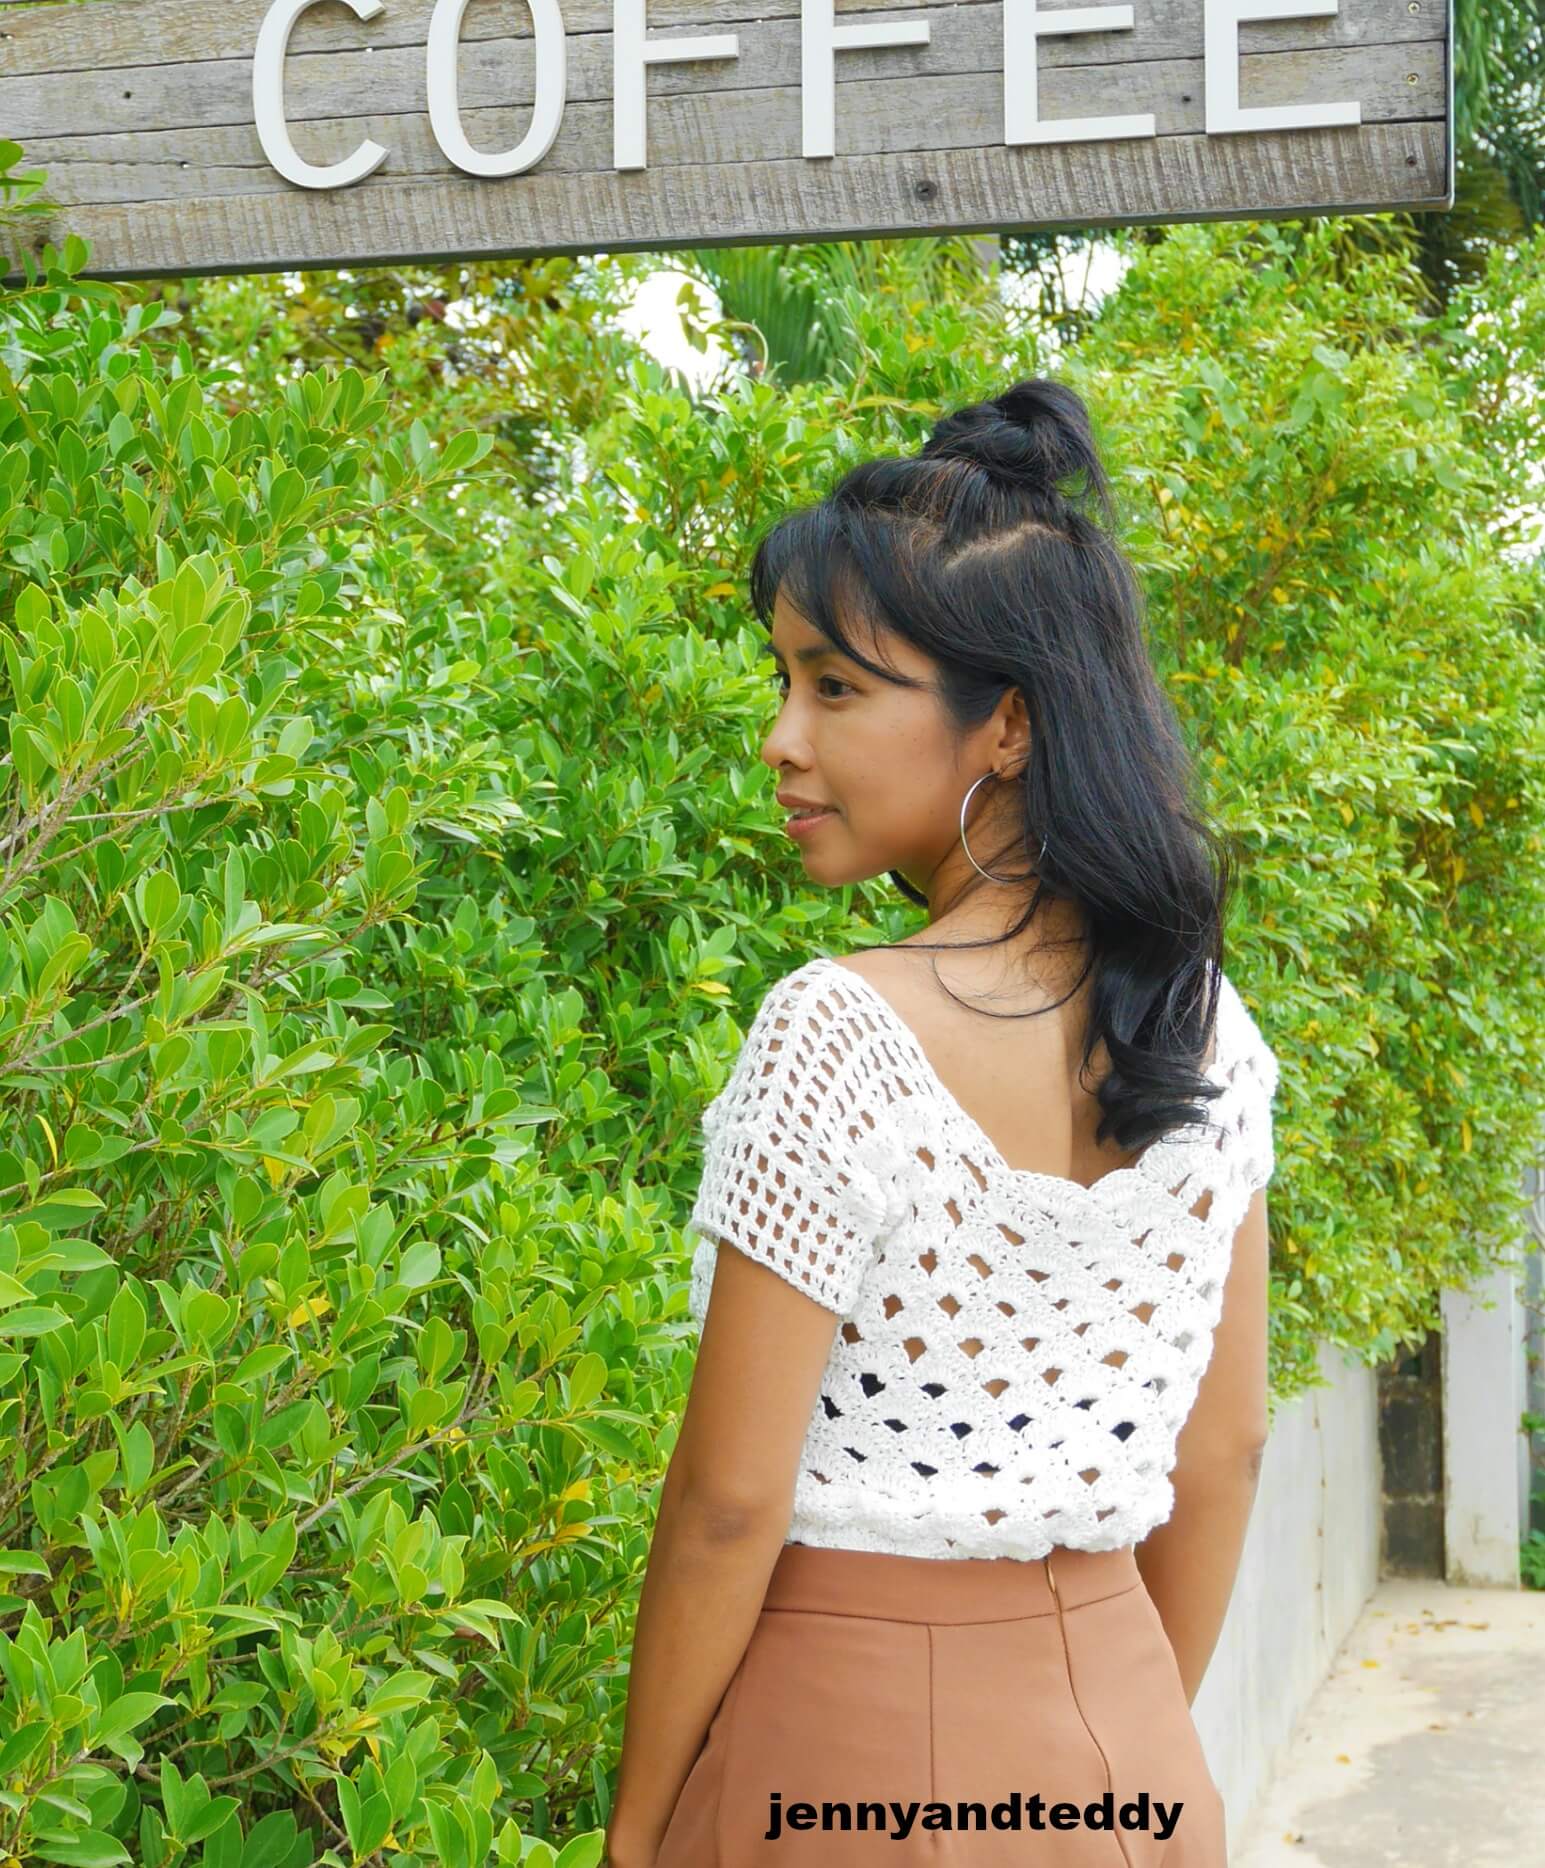
After you finished 2 pieces of the back and front panel now it time to assemble.
Assemble.
lay front and back panel on top of each other and sew along as the photo show with leaving no sew for the arm hole about 4-5 inches.

After we finished assemble the top then will continue to make the sleeve.
By sc around the arm hole for 1 round then ch2 and make * 1dc,ch1,sk1 and 1dc in next st*
repeat from* to * until you got the desired length for me , I end up with 4 round or about 2 inches depth of sleeve.
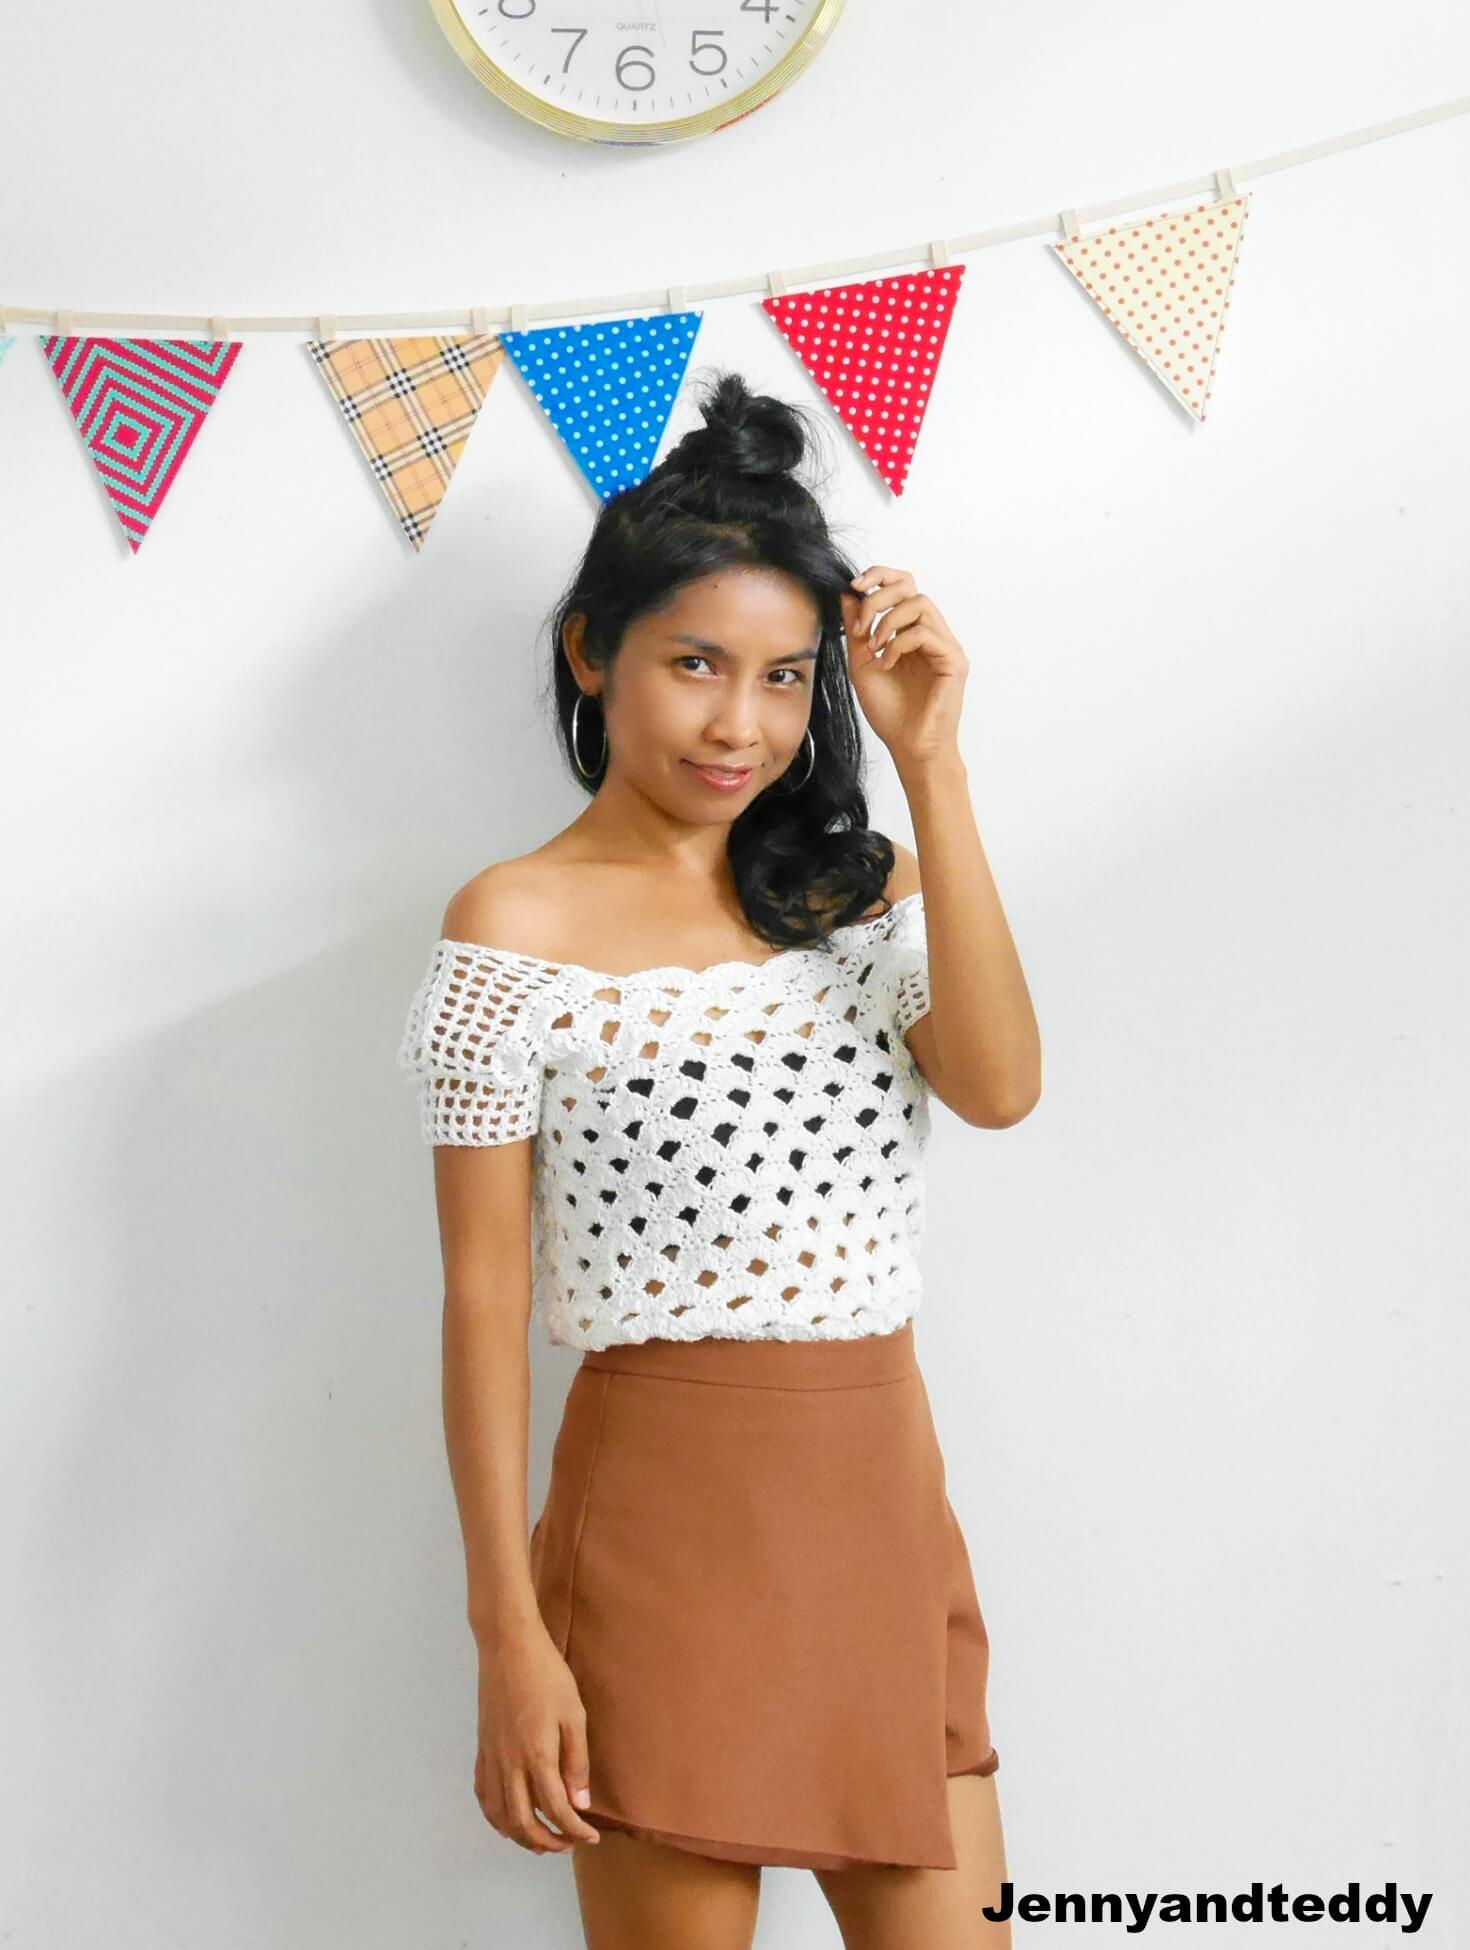
All done!
I Hope you enjoy this new crochet arcade stitch top.

If you make one I would love to see your creation tag me on Instagram!
Alinta
Monday 27th of February 2023
Hi Jane, thank you for sharing your work and passion. I really love the construction technique and stitches combination you used! Wonderful top!
Myrna
Friday 8th of October 2021
Hi You are very talented, you make it looks so easy to crochet, you encouraged me to try I was going through some personal issues, my crochet helped me and brought me to a better place, I came off the medication and chosen to crochet. Thank you.God blessed.
jane
Monday 11th of October 2021
Thank u so much Myrna.
Sue
Friday 5th of March 2021
Looking at the photos it looks like you decreased stitches on the double crochet shoulders at each side. Can you confirm?
Also how many sc did you do for sleeves?
jane
Saturday 6th of March 2021
Hi sue, I make the video tutorial for this top please look for the detail on the shoulder part and sc around the armhole for 1 round No stitch count for the armhole.
gloria
Saturday 20th of February 2021
This is so so cute. you are very creative. Love to make your clothing always simple but looks difficult Have a swell weekend
jane
Saturday 20th of February 2021
Thank you very much Gloria,