If you are looking for a way of how to add an ear flaps onto a crochet hat or a beanie. You are in the right place.
Here you will learn the easy way of how to crochet an earflaps onto a hat of any size with step by step video tutorial
Easy earflaps for any size.
With this simple step by step detail video and photo tutorial will walk you guy to make this adorable beanie for any size easy, I use the same method for my ear flaps hat.
And we will learn how to shape the ear flap after you them them onto the hat to make the crochet hat even more
beautiful.
More crochet tip.
How to add briad to an earflaps crochet hat.
Video tutorial for how to attach ear flaps onto crochet hat.

Let’s get into it.
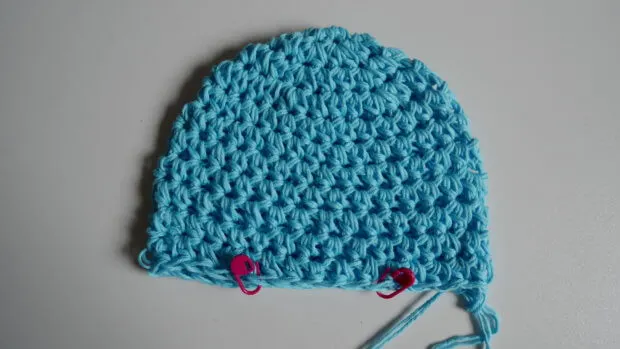
- Lay your crochet beanie in flatted, then we will divide the bottom part of thr beanie in 3 section and place stitch marker.

2.Next we will count the stitch between the two stitch marker that we just place in, this will incluse the stitch that we have stitch maker on as well.
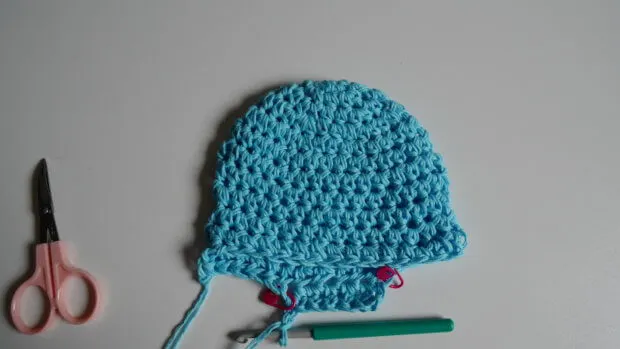
3. Then join new yarn at the first stitch maker and chain1 then continue to sinslge crochet until the second stitch marker

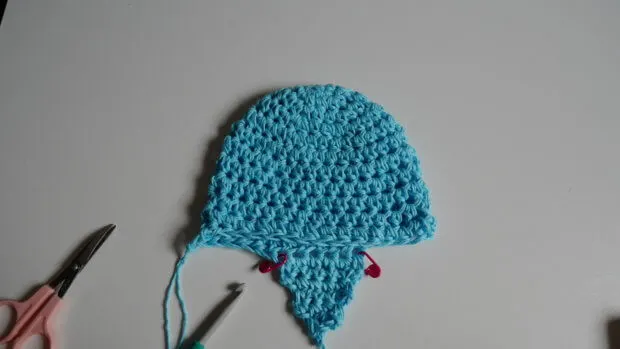
4.Then for the second we will keep the same number of the stitch and we will decrease in the third row.
5.continue to decrest the stitch. Repeat the same for second ear flaps.

Shape the ear flaps.
Now it time to shape the ear flaps to make them look beautiful by single crochet around the ear flap for 1 row.
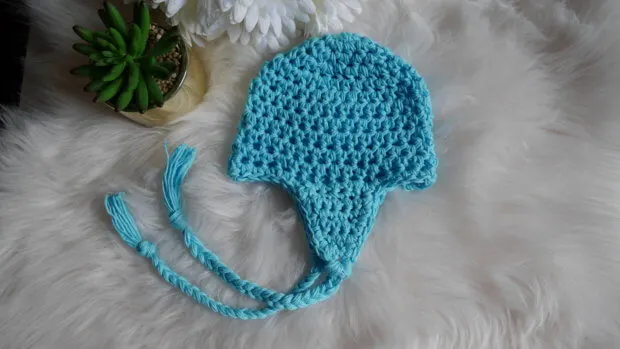
You can add briad to the ear flap for more adorable.

All done.

