
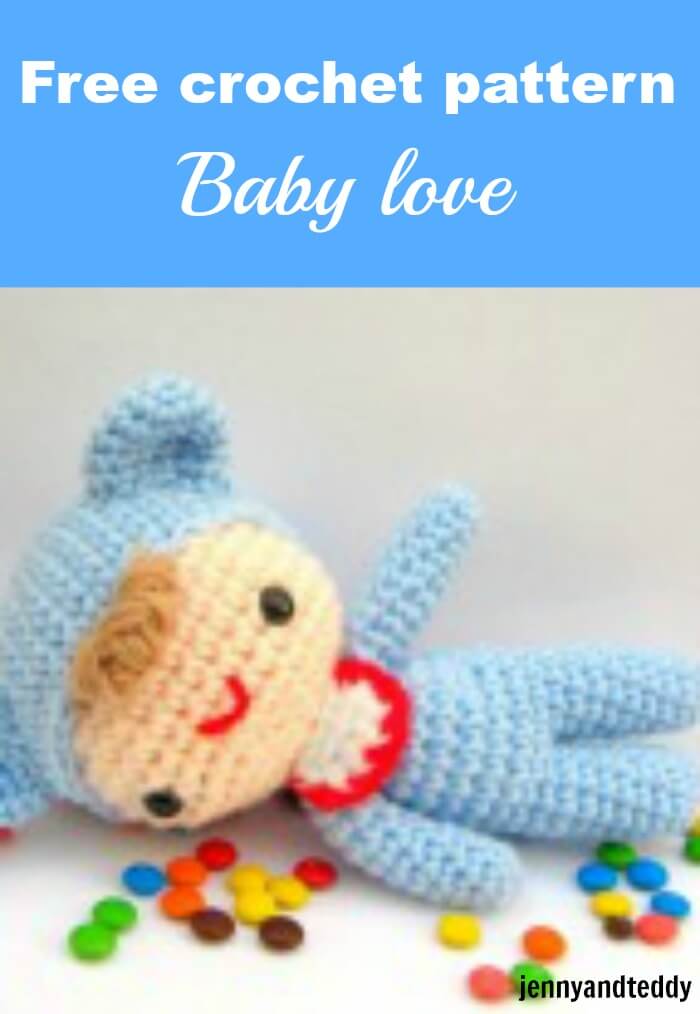


Meet! Baby love Amigurumi Crochet pattern
You can sell the finished dolls that are made out of my original pattern.
Finish Size
-Approximately 4-5 inch.
-Size varies depending on the size of yarn and crochet hook
Skill and abbreviations
You will need to know how to make a magic ring or adjustable ring
-Single crochet (sc)
-Crochet increase (inc) which mean-make 2 single crochet in same stitch
-Crochet decrease (dec) which mean-Crochet 2 stitches together
-Stitch (st)
* = Repeat stitches from * to end of *
-Chain (ch)
-Slip stitch (sl st)
-change colour
Materials To make you will need
- Acrylic yarn, for this pattern, I normally used 8 ply
- Plastic eyes with safety backing 7.5 mm (you can find it at any craft shop)
- Polyester fiberfill for stuffing
- Sewing yarn needle and embroidery
- Ribbon or button
- Crochet hook size1.25mm and craft glue
My beginner tutorial check it out here
Beginner guide to making your first ever amigurumi
How to start magic ring or adjustable ring
How to put an eyes on amigurumi
Let’s start with head Colour of your choice
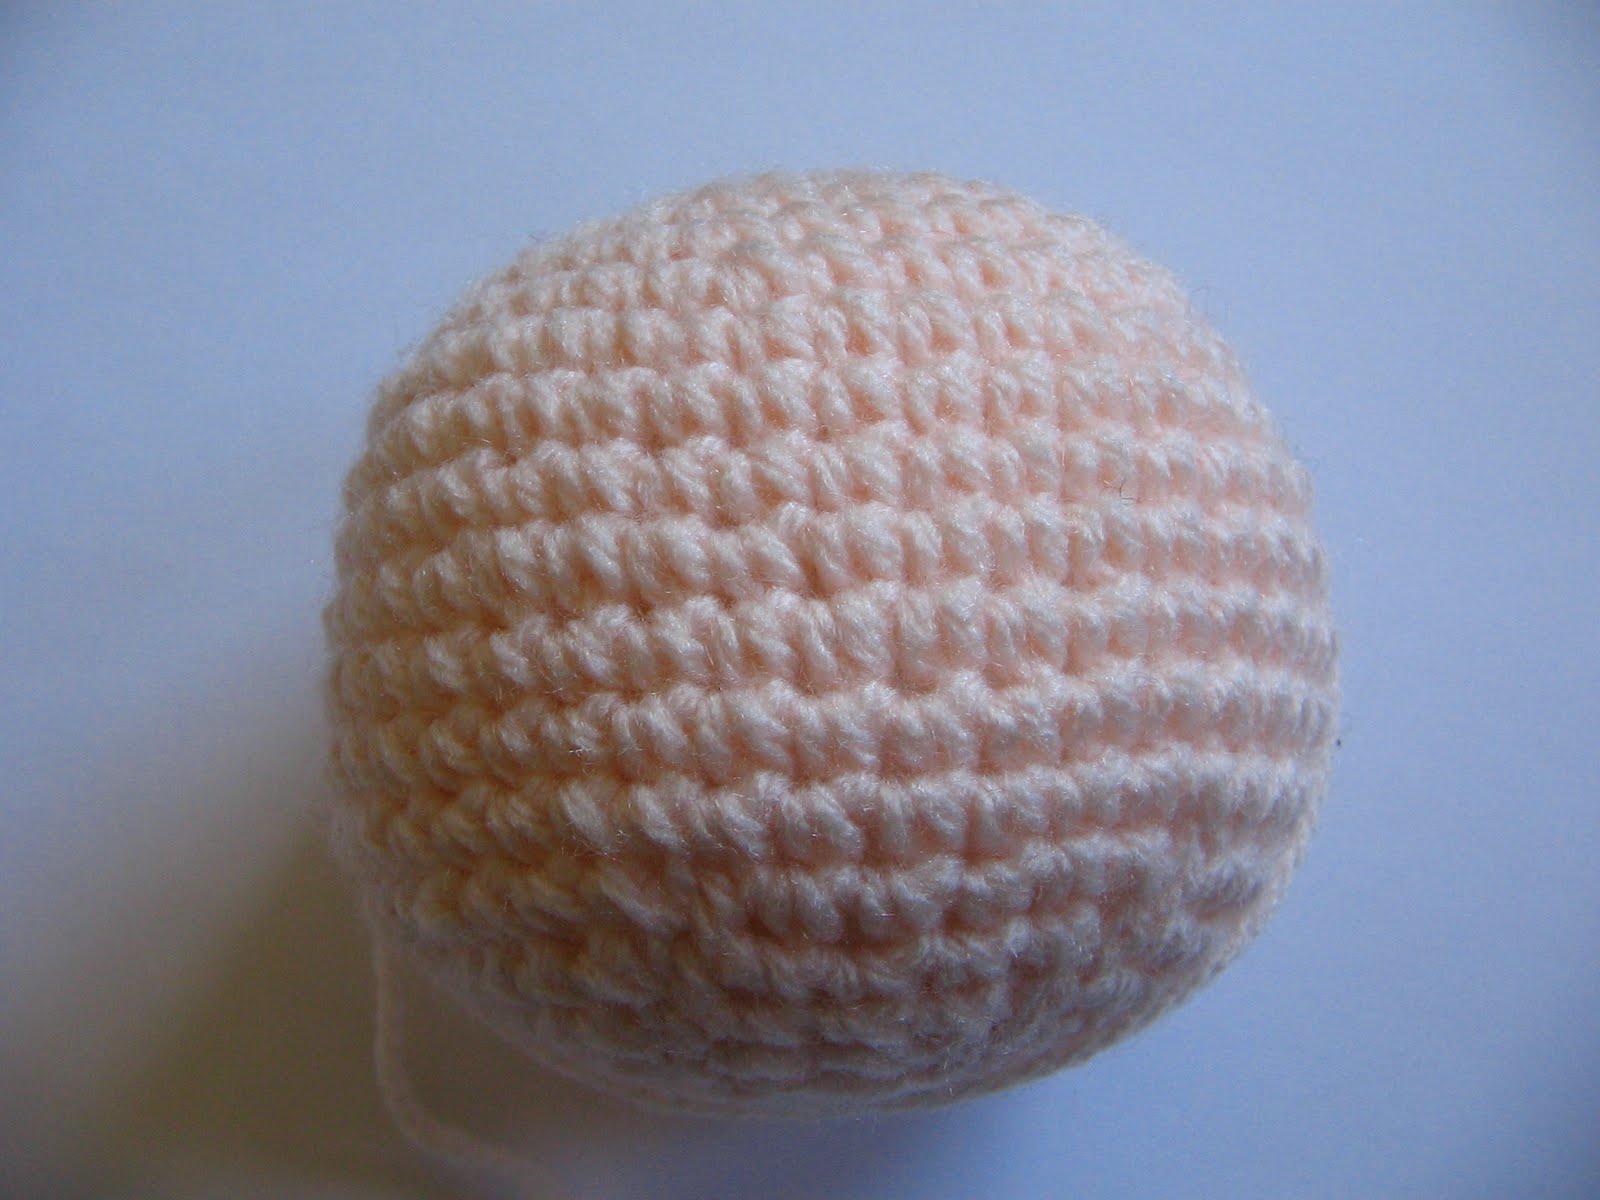
You will work from top to bottom
Round1. Make magic ring and 6sc in ring (6)
Round2. 2sc in each st around (12)
Round3. *Sc in next st, 2sc in next st* and repeat from * around (18)
Round4. *Sc in next 2 st,2sc in next st* and repeat from * around (24)
Round5. *Sc in next 3 st,2sc in next st* and repeat from * around (30)
Round6. *Sc in next 4 st,2sc in next st* and repeat from * around (36)
Round7-13. Sc in each st around (36)
Round14. *sc in each of next 4 st,dec 1* and repeat from * around (30)
Round15. *sc in each of next 3 st,dec 1* and repeat from * around (24)
Round16. *sc in each of next 2 st,dec 1* and repeat from * around (18)
Round17. *sc in next st,dec 1* and repeat from * around (12), then finish off and leave long tail for sewing. And stuffing polyester firmly.
Legs colour of your choice Make 2 pieces
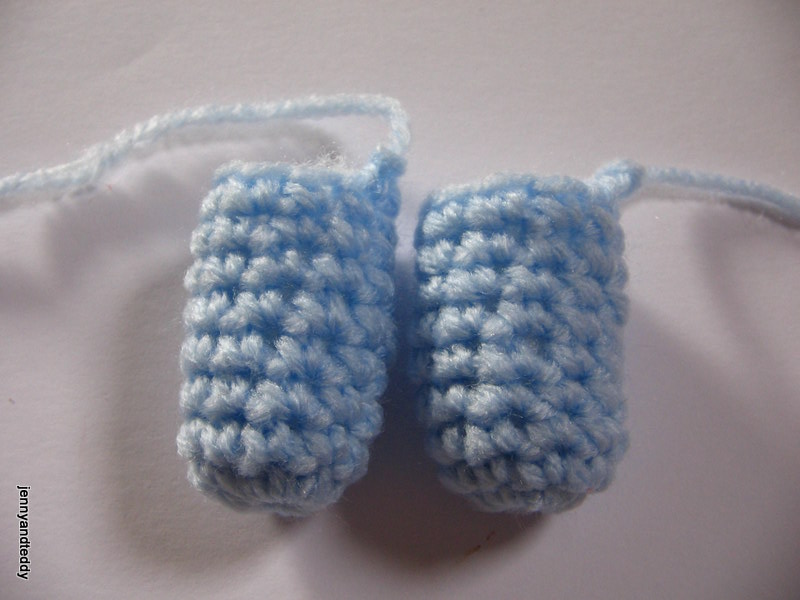
You will work from bottom to top
Round1. Make magic ring and 10sc in ring (10)
Round2-9. Sc in each st around (10)
Then finish off and leave long tail for sewing. And stuffing polyester firmly.
Body colour of your choice (blue)
 See my other tutorial on how to joined leg for amigurumi doll.
You will work from bottom to top by joining two leg together.
See my tutorial on how to joining the leg.
Round1-7. sc in each st around two leg (20)
Round8. *sc in each of next 3 st, dec 1*and repeat from * around (16)
Round9. *sc in each of next 2 st, dec 1*and repeat from * around (12)
Round10. Sc in each st around (12)
Then finish off and leave long tail for sewing. And stuffing polyester firmly.
Arms colour of your choice
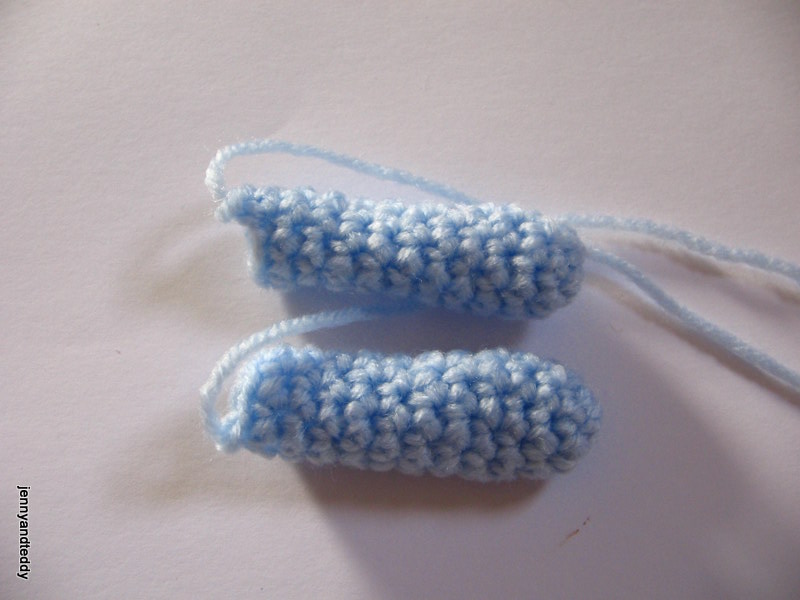
Make 2 pieces
Round1. Make magic ring and 8sc in ring (8)
Round2-11. Sc in each st around (8)
Then finish off and leave long tail for sewing. And stuffing polyester.
Hat make 1 piece colour of your choice
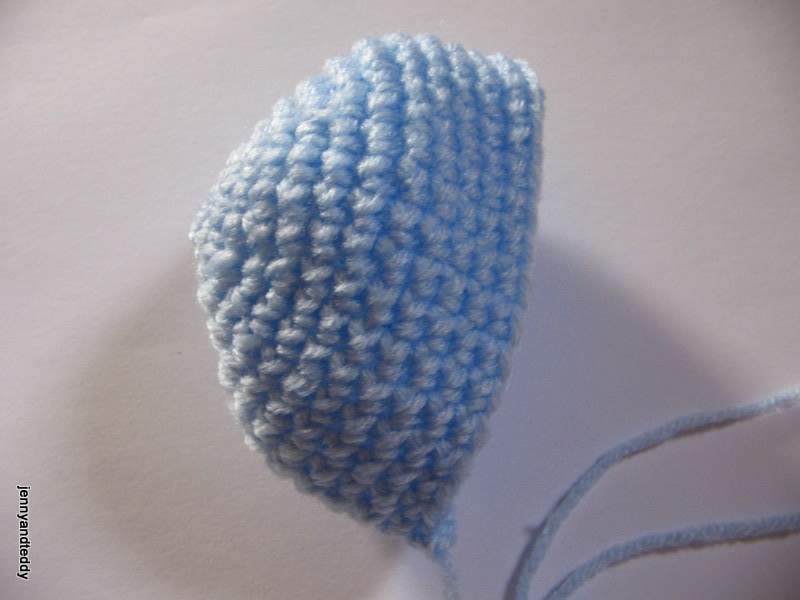
You will work from top to bottom
Round1. Make magic ring and 6sc in ring (6)
Round2. 2sc in each st around (12)
Round3. *Sc in next st, 2sc in next st* and repeat from * around (18)
Round4. *Sc in next 2 st,2sc in next st* and repeat from * around (24)
Round5. *Sc in next 3 st,2sc in next st* and repeat from * around (30)
Round6. *Sc in next 4 st,2sc in next st* and repeat from * around (36)
Round7-13. Sc in each st around (36)
Then finish off and leave long tail for sewing. And do not stuffing polyester.
Ears make 2 pieces (blue)
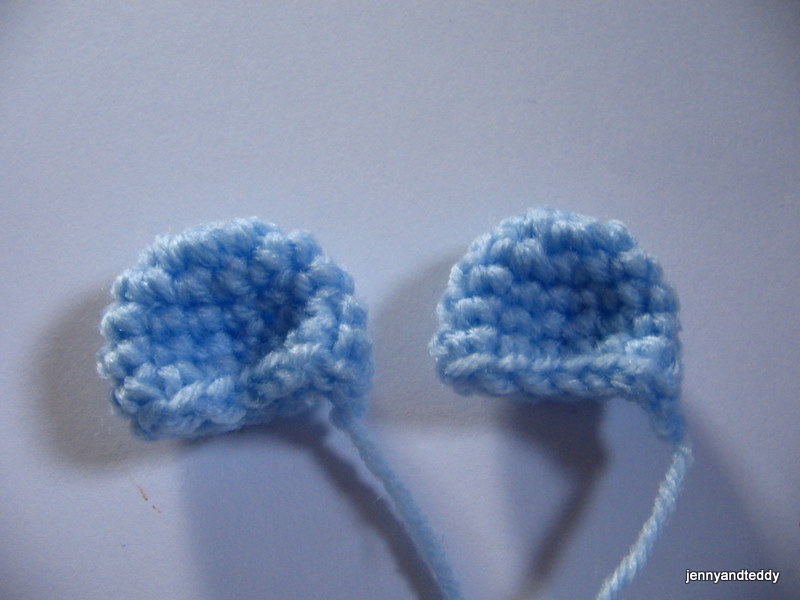
Round1. Make magic ring and 6sc in ring (6)
Round2. 2sc in each st around (12)
Round3. *Sc in next 5 st,2sc in next st* and repeat from * around (14)
Round4-6. Sc in each st around (14)
Then finish off and leave long tail for sewing. And do not stuffing polyester.
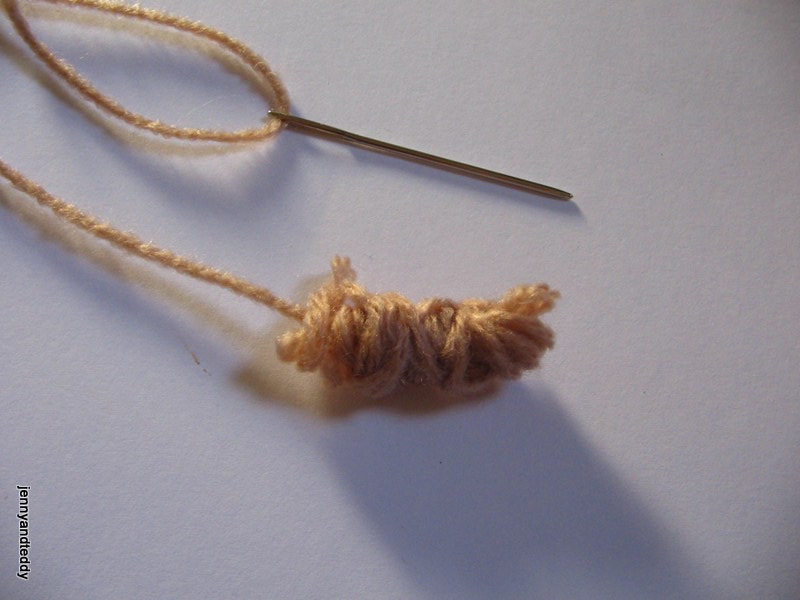
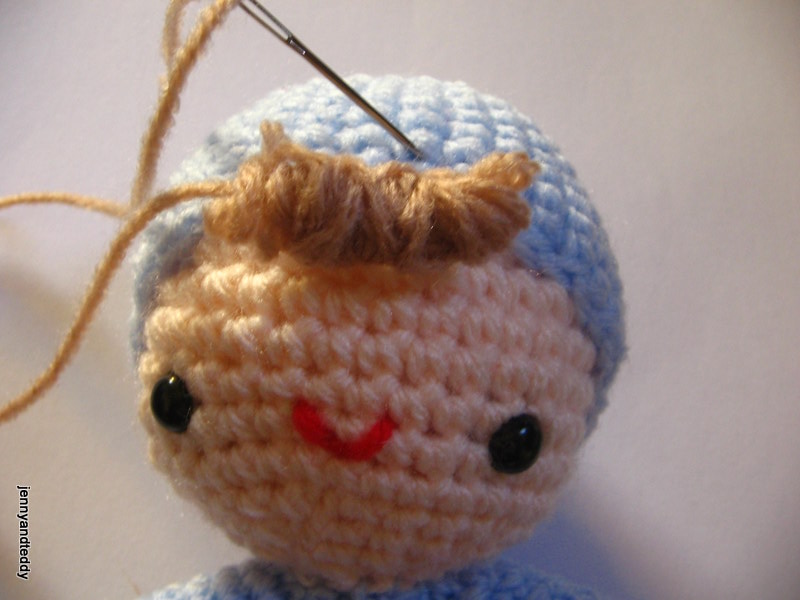
Hair
Wrap the yarn around your finger and use another piece of yarn to tight up. And attached this piece in front of the face of the doll face by sewing.
Apron (white)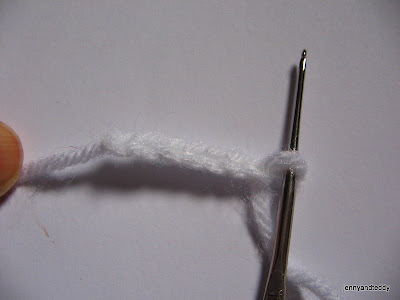
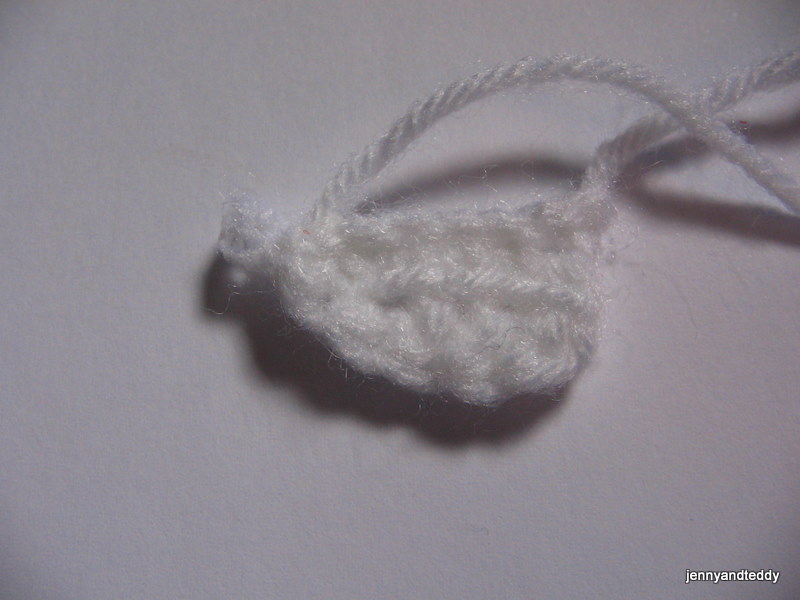

Start with chain 6 (6) white.
Round1. Sc in next 5 st from hook and turn to round 2. (5)
Round2. Sc in next 4 st from hook and turn to round 3. (4)
Edging. Sc in each st around the apron. This round counting st is not important and finished off. red
Finishing
Sewing hat to the head and ears, then body and arms.


Thank you for lovely comments.
Denise
Tuesday 13th of January 2015
Thank you for sharing your pattern! I can't wait to make her :o)
Emily
Saturday 6th of September 2014
SO adorable!! thanks for the free pattern!! You are being features today at the Create Link Inspire weekend features over at Nap-Time Creations. I've pinned and shared this! Thanks for linking!
jane
Monday 8th of September 2014
thanks Emily.
Kristina & Millie
Friday 22nd of August 2014
too totally adorable!!
GlamGramma
Tuesday 3rd of September 2013
Hi, love the pattern. This is the exact size doll that I have been looking for. My only question is do you join the rounds or just keep going?
jane
Tuesday 3rd of September 2013
Hi, iam joining the round for the leg to make the body.
Aida Wabbit
Saturday 13th of April 2013
Thank you so much for sharing this. It is so adorable and I can't wait to make some.
jane
Tuesday 16th of April 2013
Thank you for stopping by.