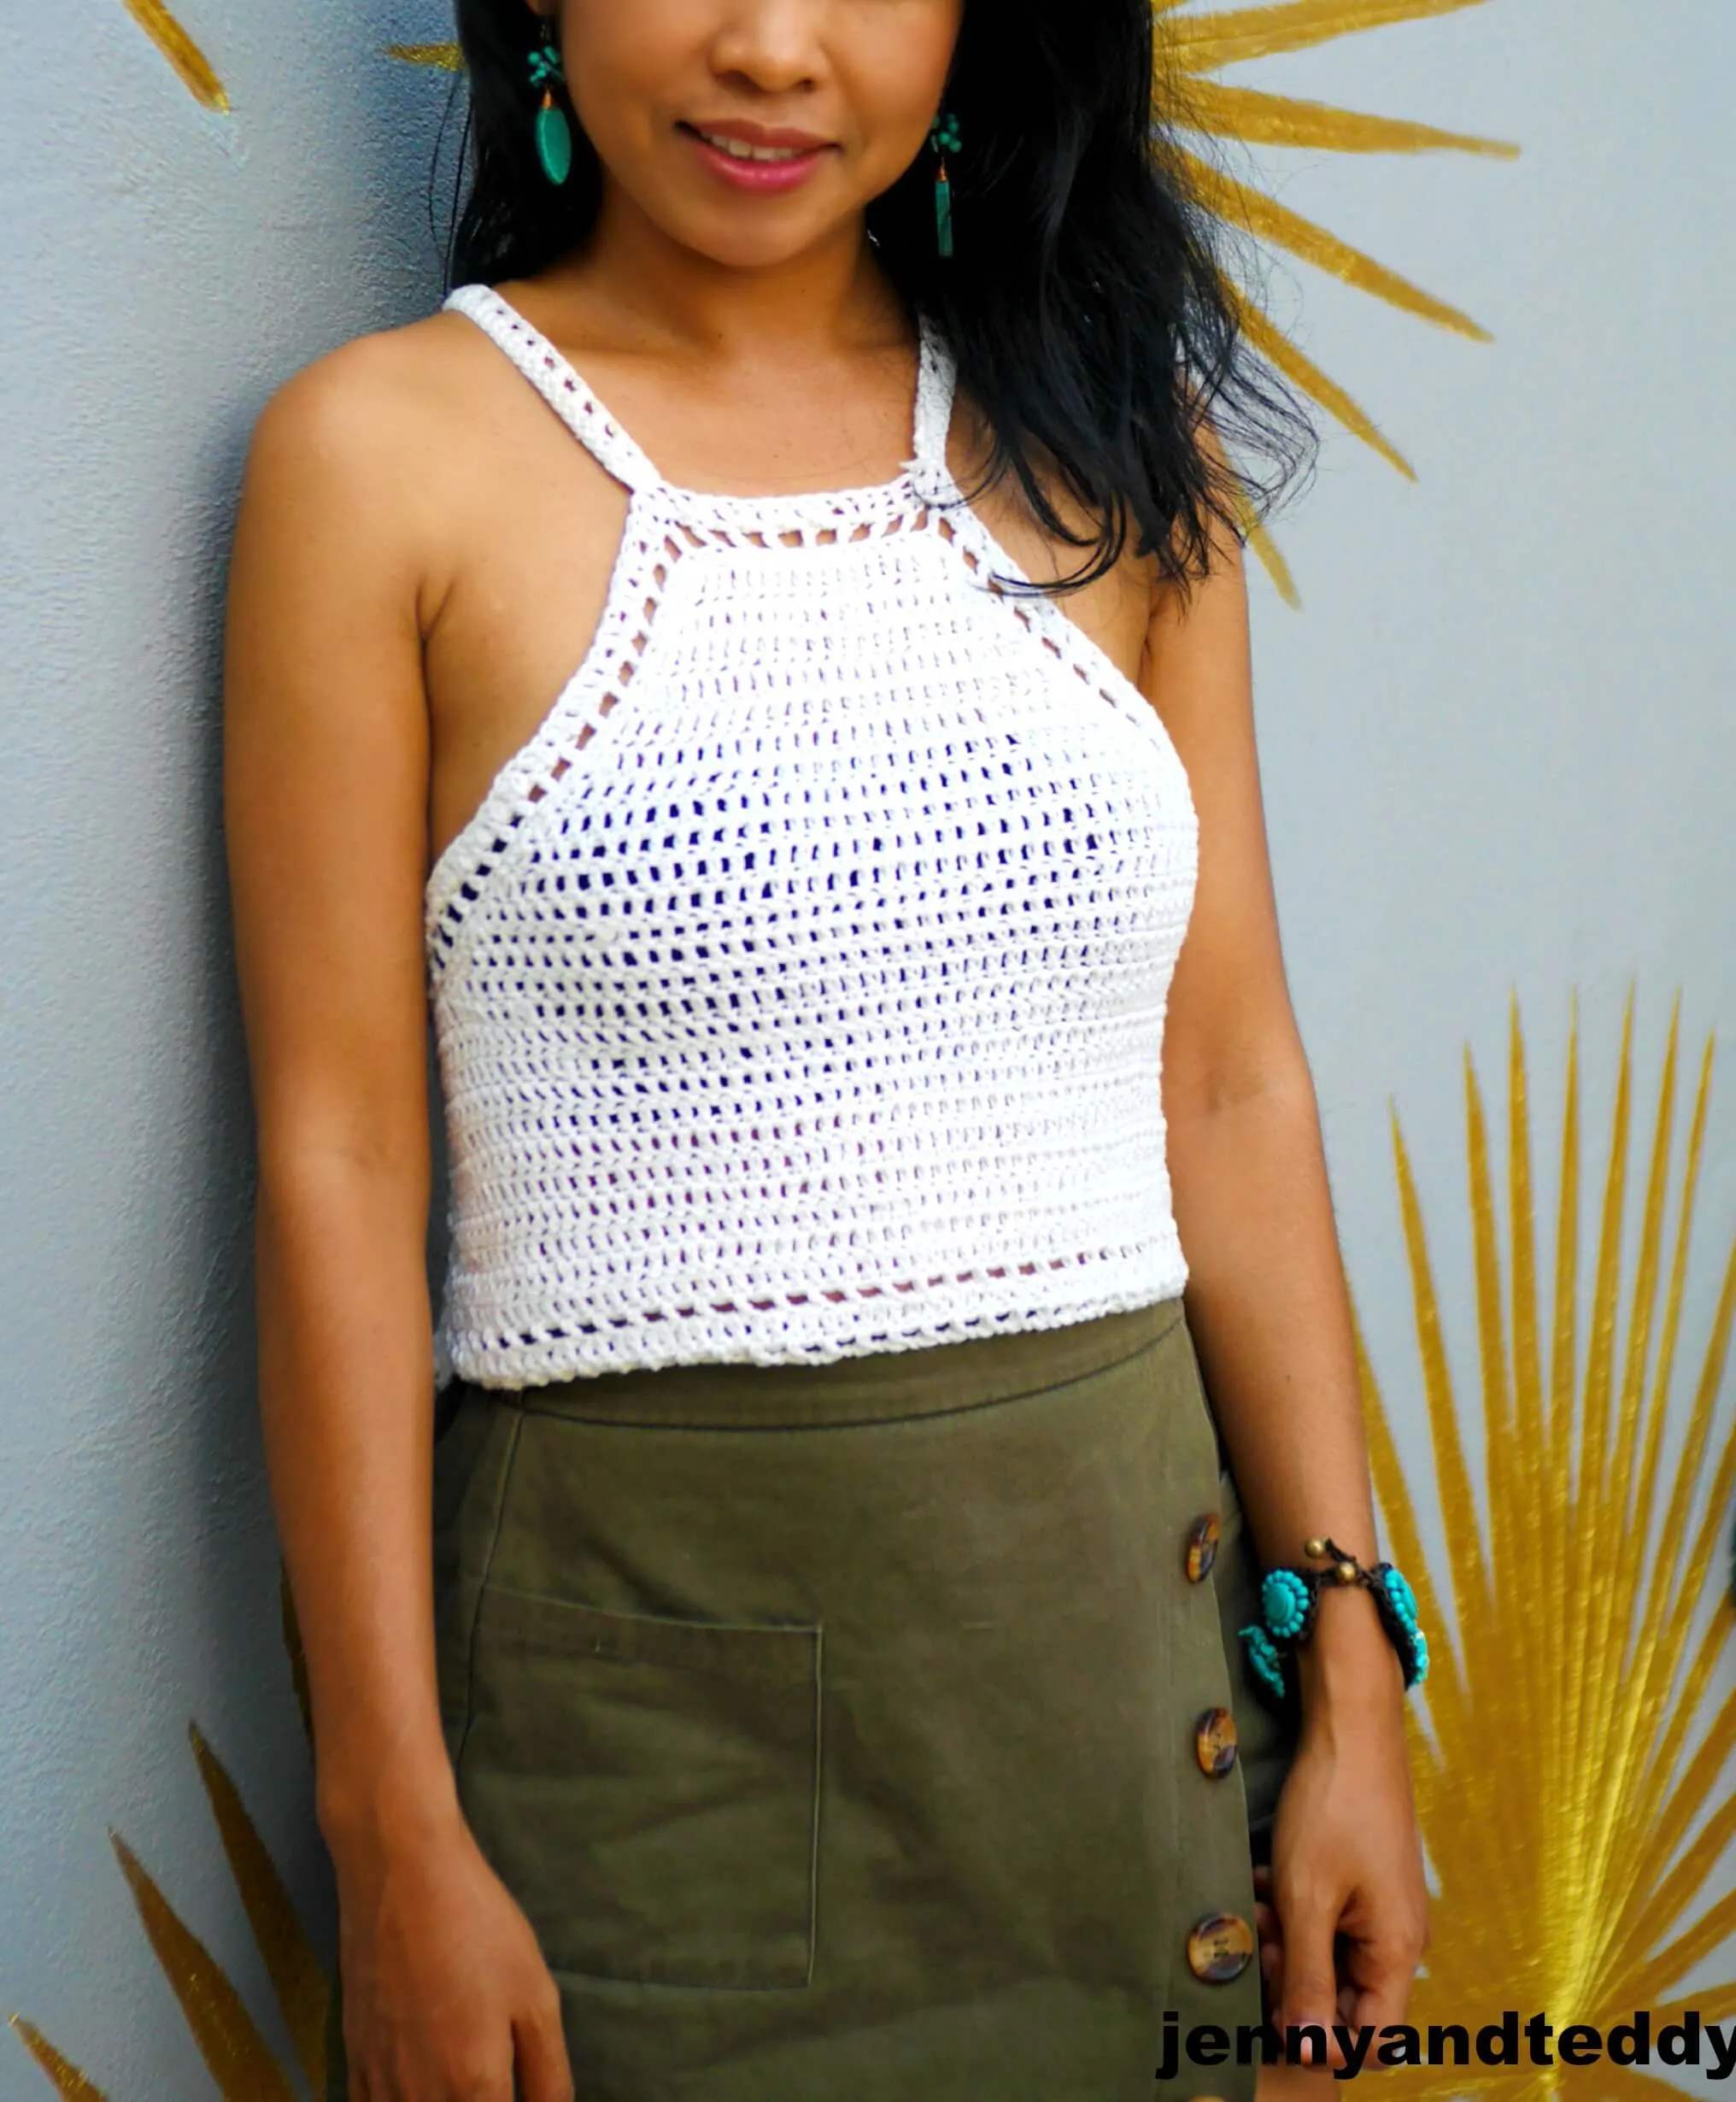
Meet Bonita easy crochet halter top and perfect for absolute beginner free crochet pattern with very detail step by step video tutorial.
Hello April! Summer is here in Thailand. I was thinking to make something for this hot season is crochet halter top or crop top.
They are made from 100% cotton yarn and they use not much of yarn and this crochet halter top we can make it longer and turn them to be a full length crochet summer top.
Have you guy seen the other easy crochet halter top that I made yet?
Get the free pattern below or this pattern is also available as an inexpensive, ad-free, PDF printable instant download in my etsy shop. Thank you so much for your love and support. I am really appreciate you.
Let’s get start to make this cute crochet halter top shall we?
– I used cotton Dk weight yarn. I use around 500-600 yard.
– 3.0 mm crochet hook
– Sewing yarn needle
-stitch marker
Gauge: 4 double crochet stitch x 4 row = 1 inch
Skill and abbreviations
You will need to know how to make (American crochet term)
-dc which mean double crochet
-sc which mean single crochet
-dc increase which mean make 2dc in the same stitch
-ch Chain
-slip knot
Video tutorial for this cute Bonita easy crochet halter top for beginner .
Finished Size Approximately: S-XL easy to adjust
This crochet halter top is made in size small to medium.
The other sizes are easy to adjust by just add more chain to make it wider . see pattern detail below for bigger size. For me the model wearing this piece, I am 4’9 feet tall.
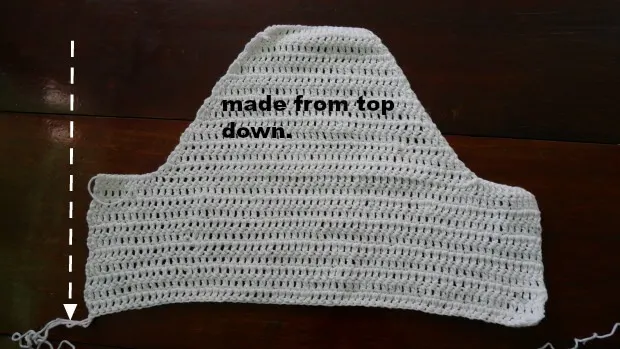
This top is made from top down.
We will make this summer top from top to bottom.
Front panel.
Start by Pick up crochet hook size 3.0 mm and Start of by making a slip knot Then make 20 chains ( All size ) (foundation chain in even number)
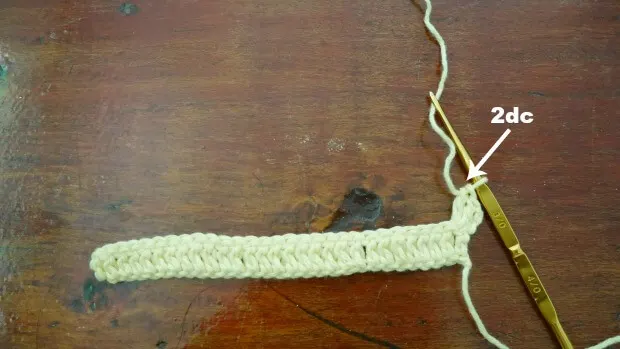
Row1: make 1dc in the next chain from hook and across until the end of the row, ch2 turn.
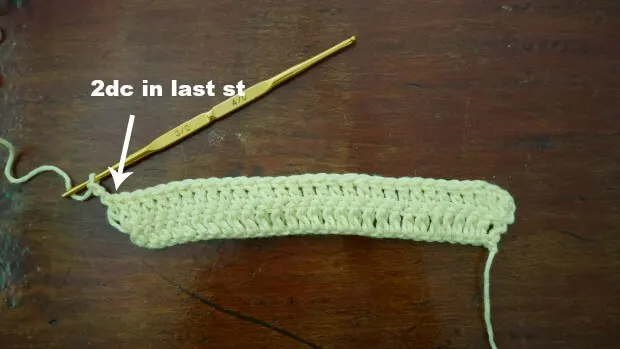
Row2. now you will work 2dc in first stitch then 1dc in each stitch across until end of the row on the last st make 2dc. ch2 turn.
Row3. now you will work 2dc in first stitch then 1dc in each stitch across until end of the row on the last st make 2dc. ch2 turn.
Row 4-13. repeat row3.
On this row14. we will start to make a body of the top.
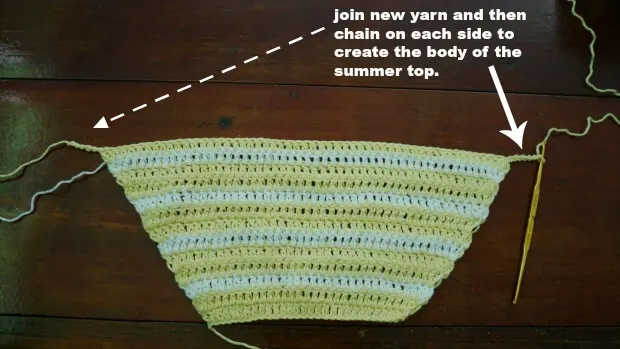
Row14. now you will work 2dc in first stitch then 1dc in each stitch across until end of the row on the last st make 2dc. then ch10 on each side( size small to medium) turn.
then ch10 ( size small to medium) cut the yarn off and join new yarn at the other side then add the same number of chain on the other side or you can add more chain to increase your size that will fit you bust.
ch18 ( size large) turn.
ch 24 ( size XL) turn.
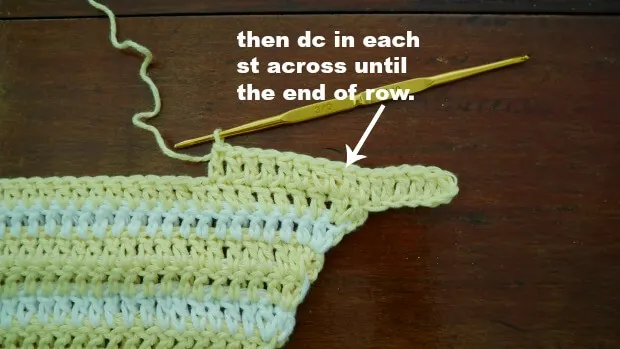
Row15: make 1dc in the next chain from hook and in each st across until the end of the row, ch2 turn.
Row16: make 1dc in the next stitch from hook and across until the end of the row, ch2 turn.
Row 17 and beyond ,….Repeat row 16 until you get 5 inch long. or your desired length and we will start to making lace bottom.
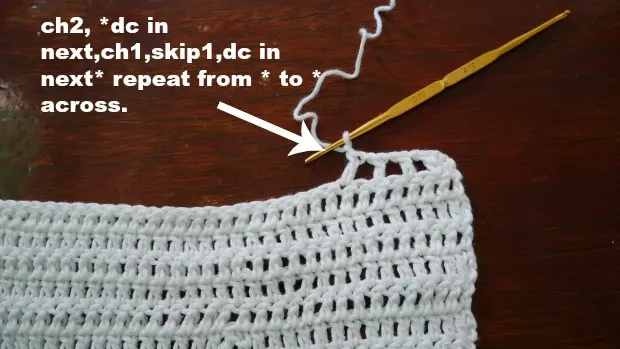
Row1 of lace. ch2,*dc in next st , ch1 ,skip1, dc in next* repeat * to * across until the end of he row.
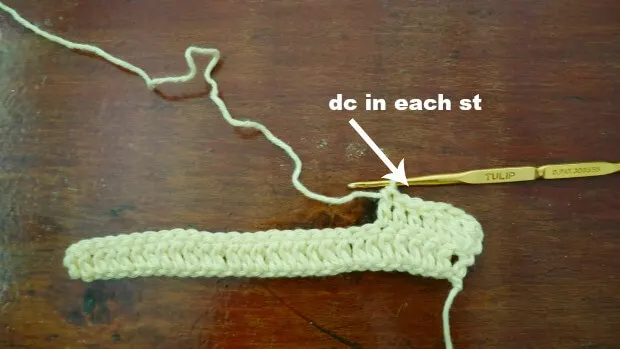
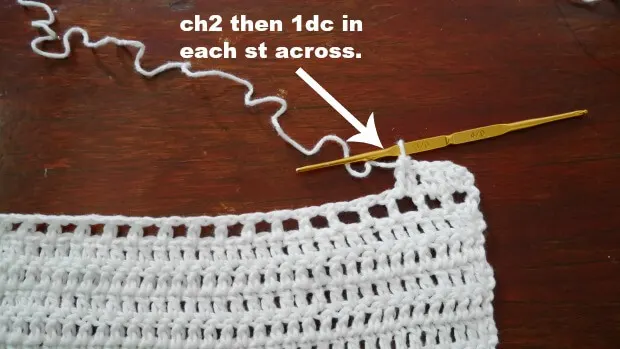
Row2 of lace. ch2,*dc in each st ,* repeat * to * across until the end of the row.
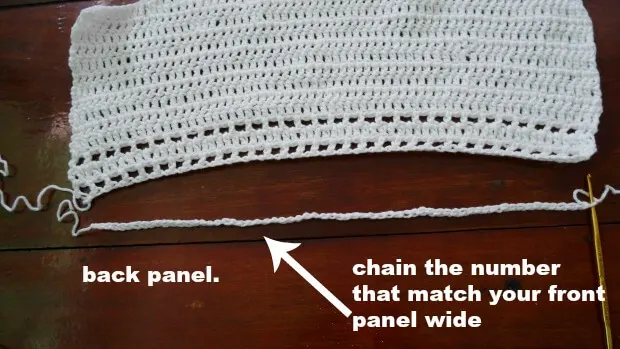
Back panel of crochet halter top.
Start by chain the number that match with your front panel.
Row1. dc in each chain across. ch2 turn.
Row2. 1dc in each st across, ch2 turn.
Row 3 and beyond ,….Repeat row 2 until you get 5 inch long. or your desired length and we will start to making lace bottom.
Row1 of lace. ch2,*dc in next st , ch1 ,skip1, dc in next* repeat * to * across until the end of he row.
Row2 of lace. ch2,*dc in each st ,* repeat * to * across until the end of the row.
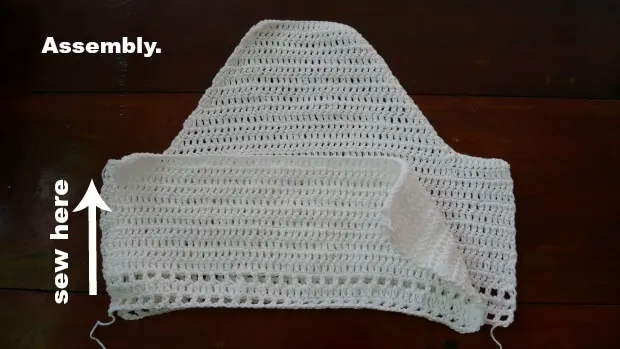
Assembly for crochet halter top.
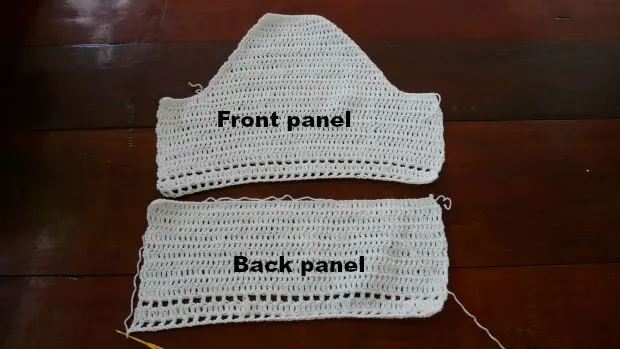
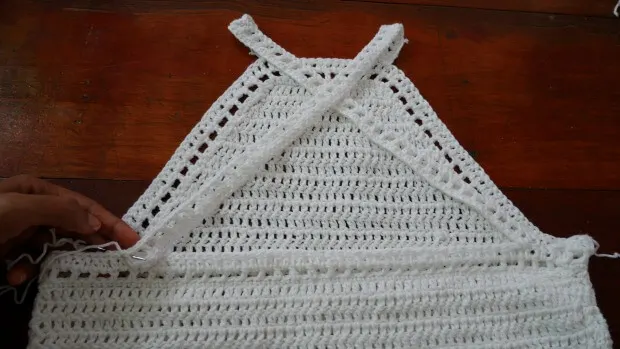
Lay back panel on top of front panel. then sew on the each side.
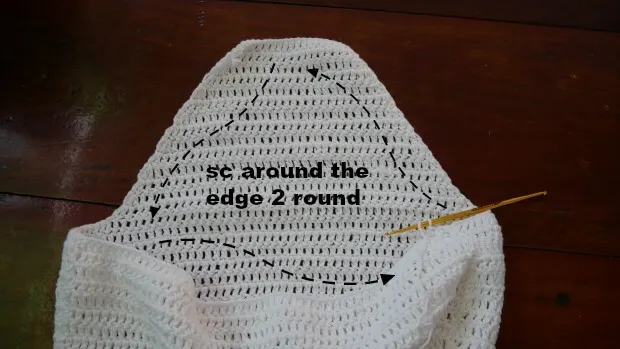
Time to make the edge pretty.
Making the edge.
Make sc around the edge 2 round.
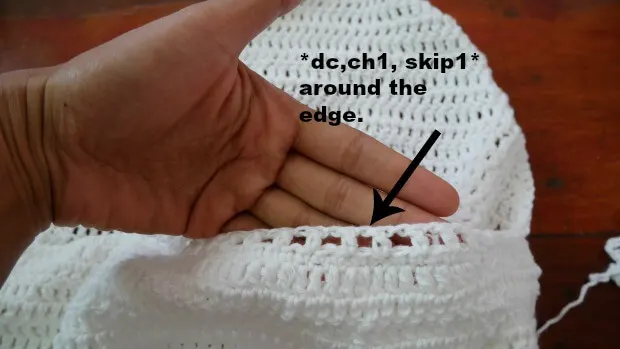
then make ch2, *1dc, ch1, skip1, then 1dc in next st.* repeat this * to * around the edge.
Then make dc in each st around.
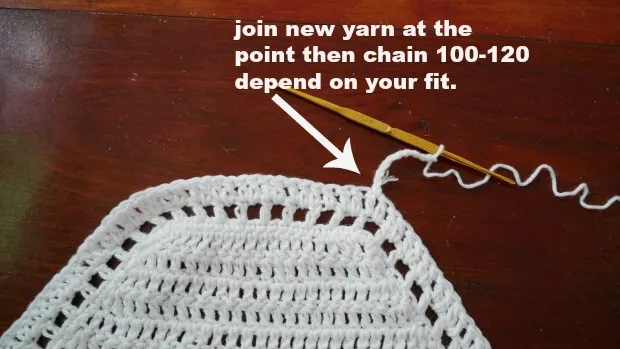
Making Strap.
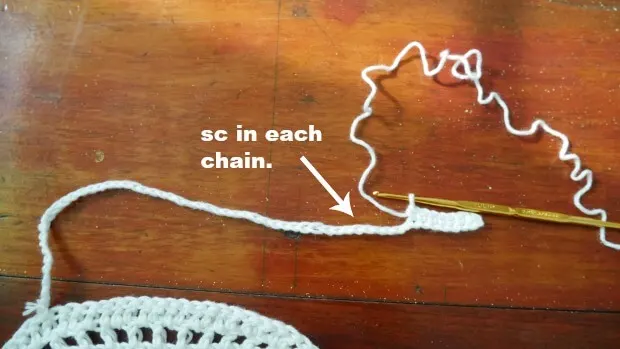
Join new yarn at this side then chain 70 to 80 depend on how it fit u.
Then sc in each chain across. ch2 turn
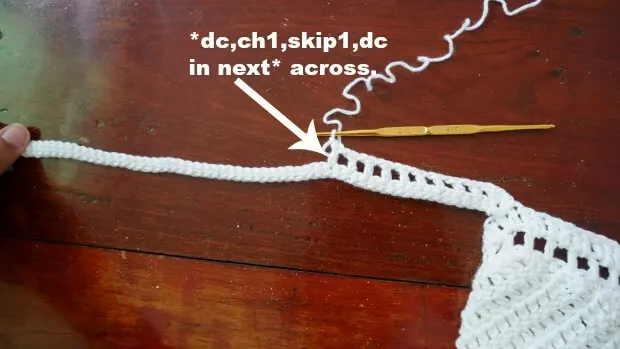
Then * 1dc,ch1, skip1 and dc in next st* repeat this * to * across.
And repeat this process on the other side.
then use yarn needle to attach the strap to the back panel.
All done!
Happy crocheting.
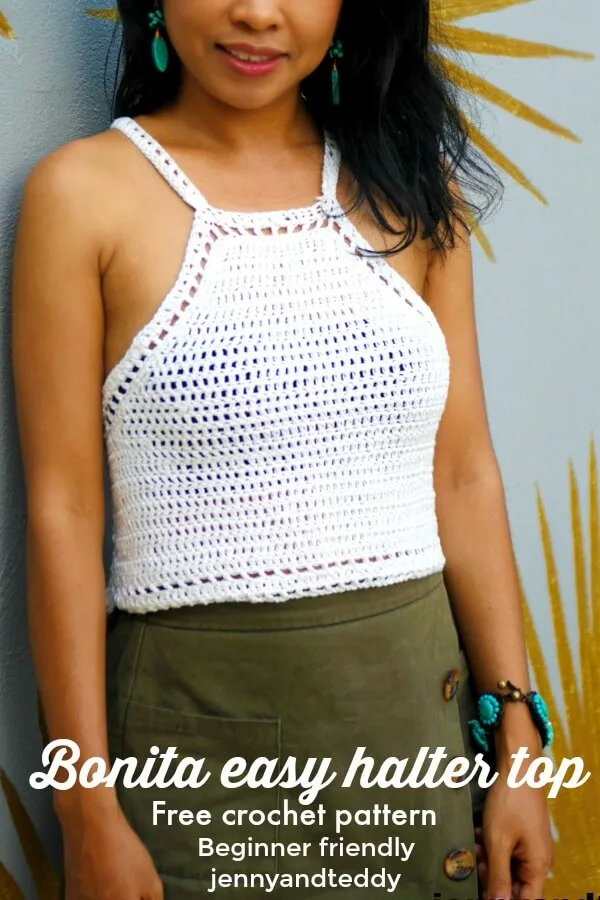
If you make one I would love to see your creation tag me on Instagram!
Happy crocheting.

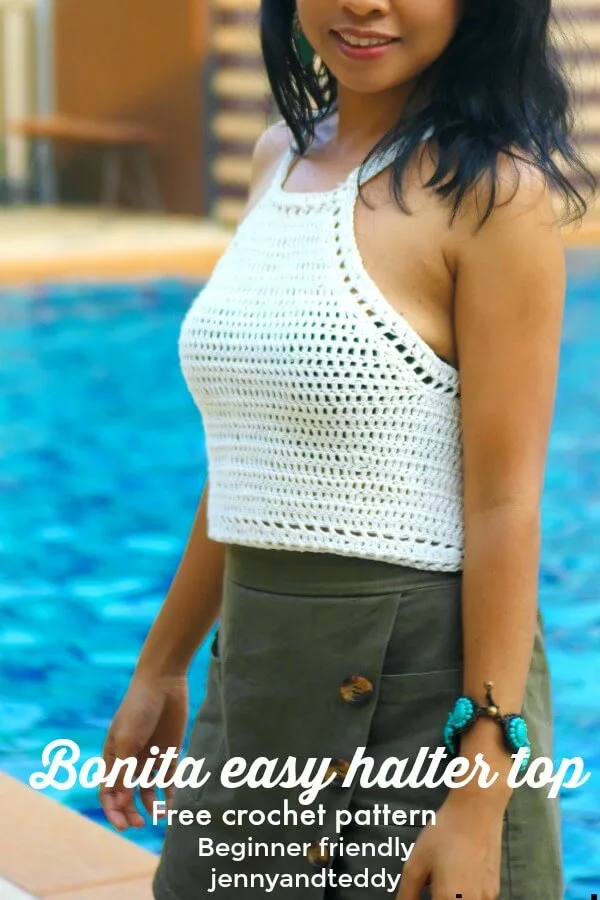

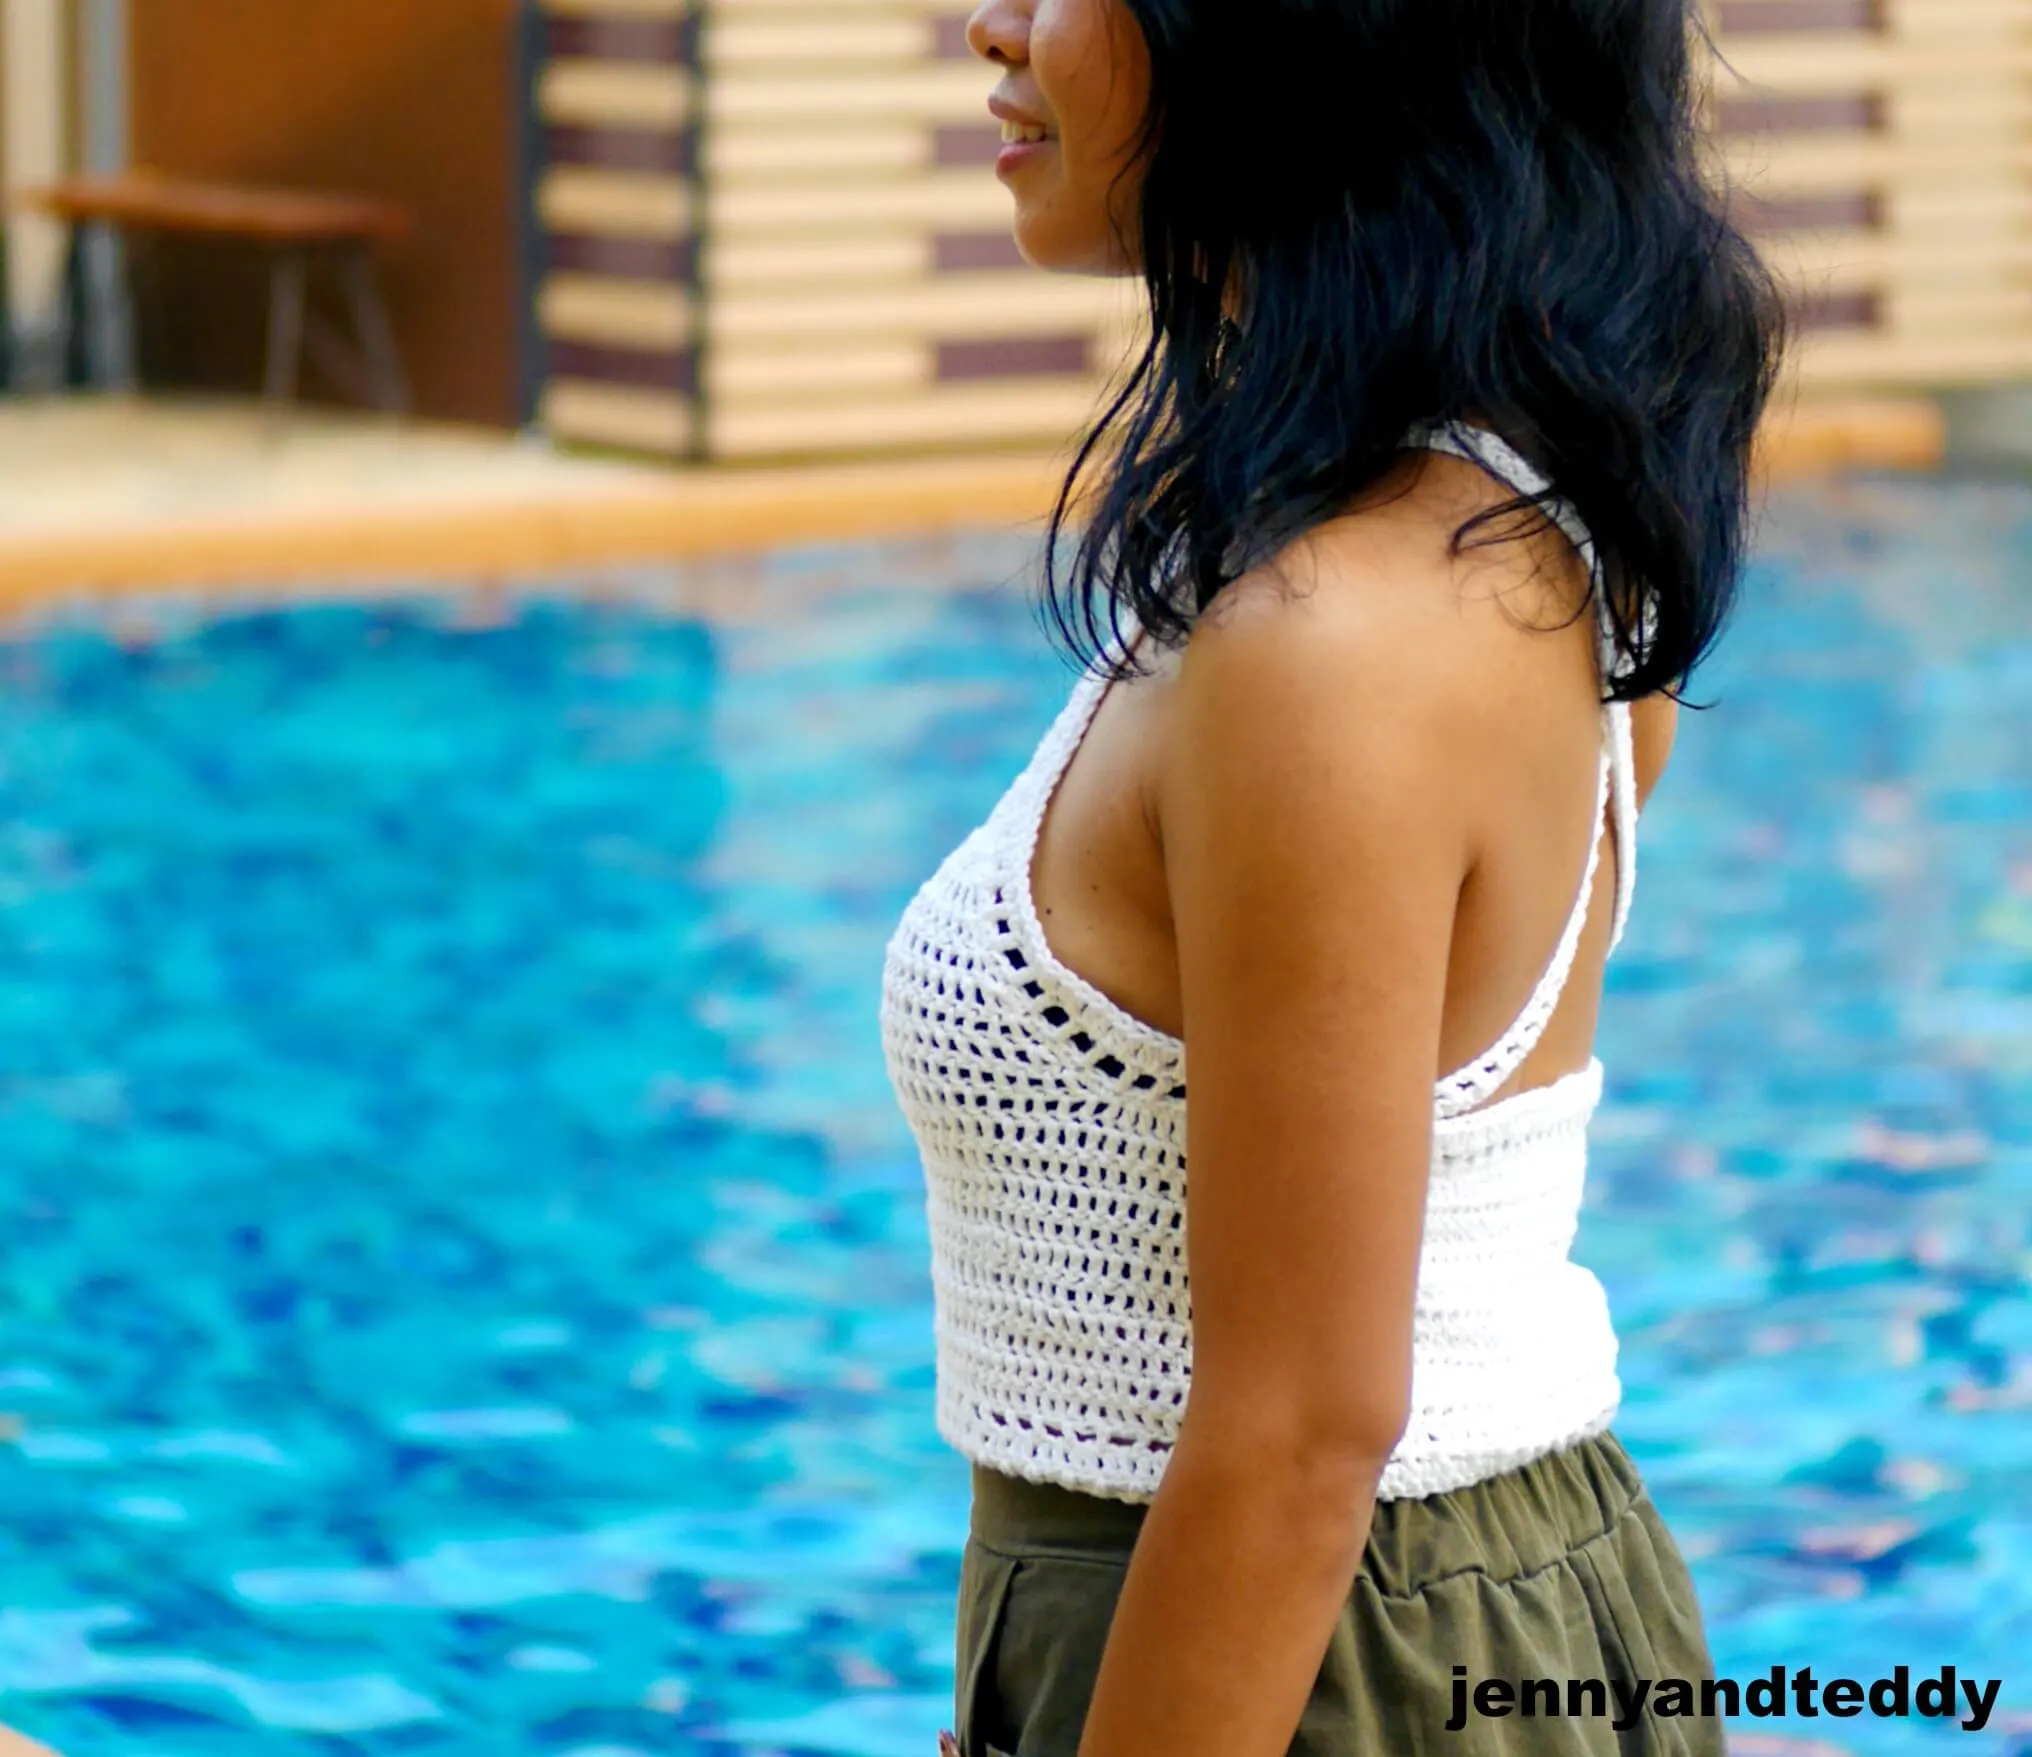
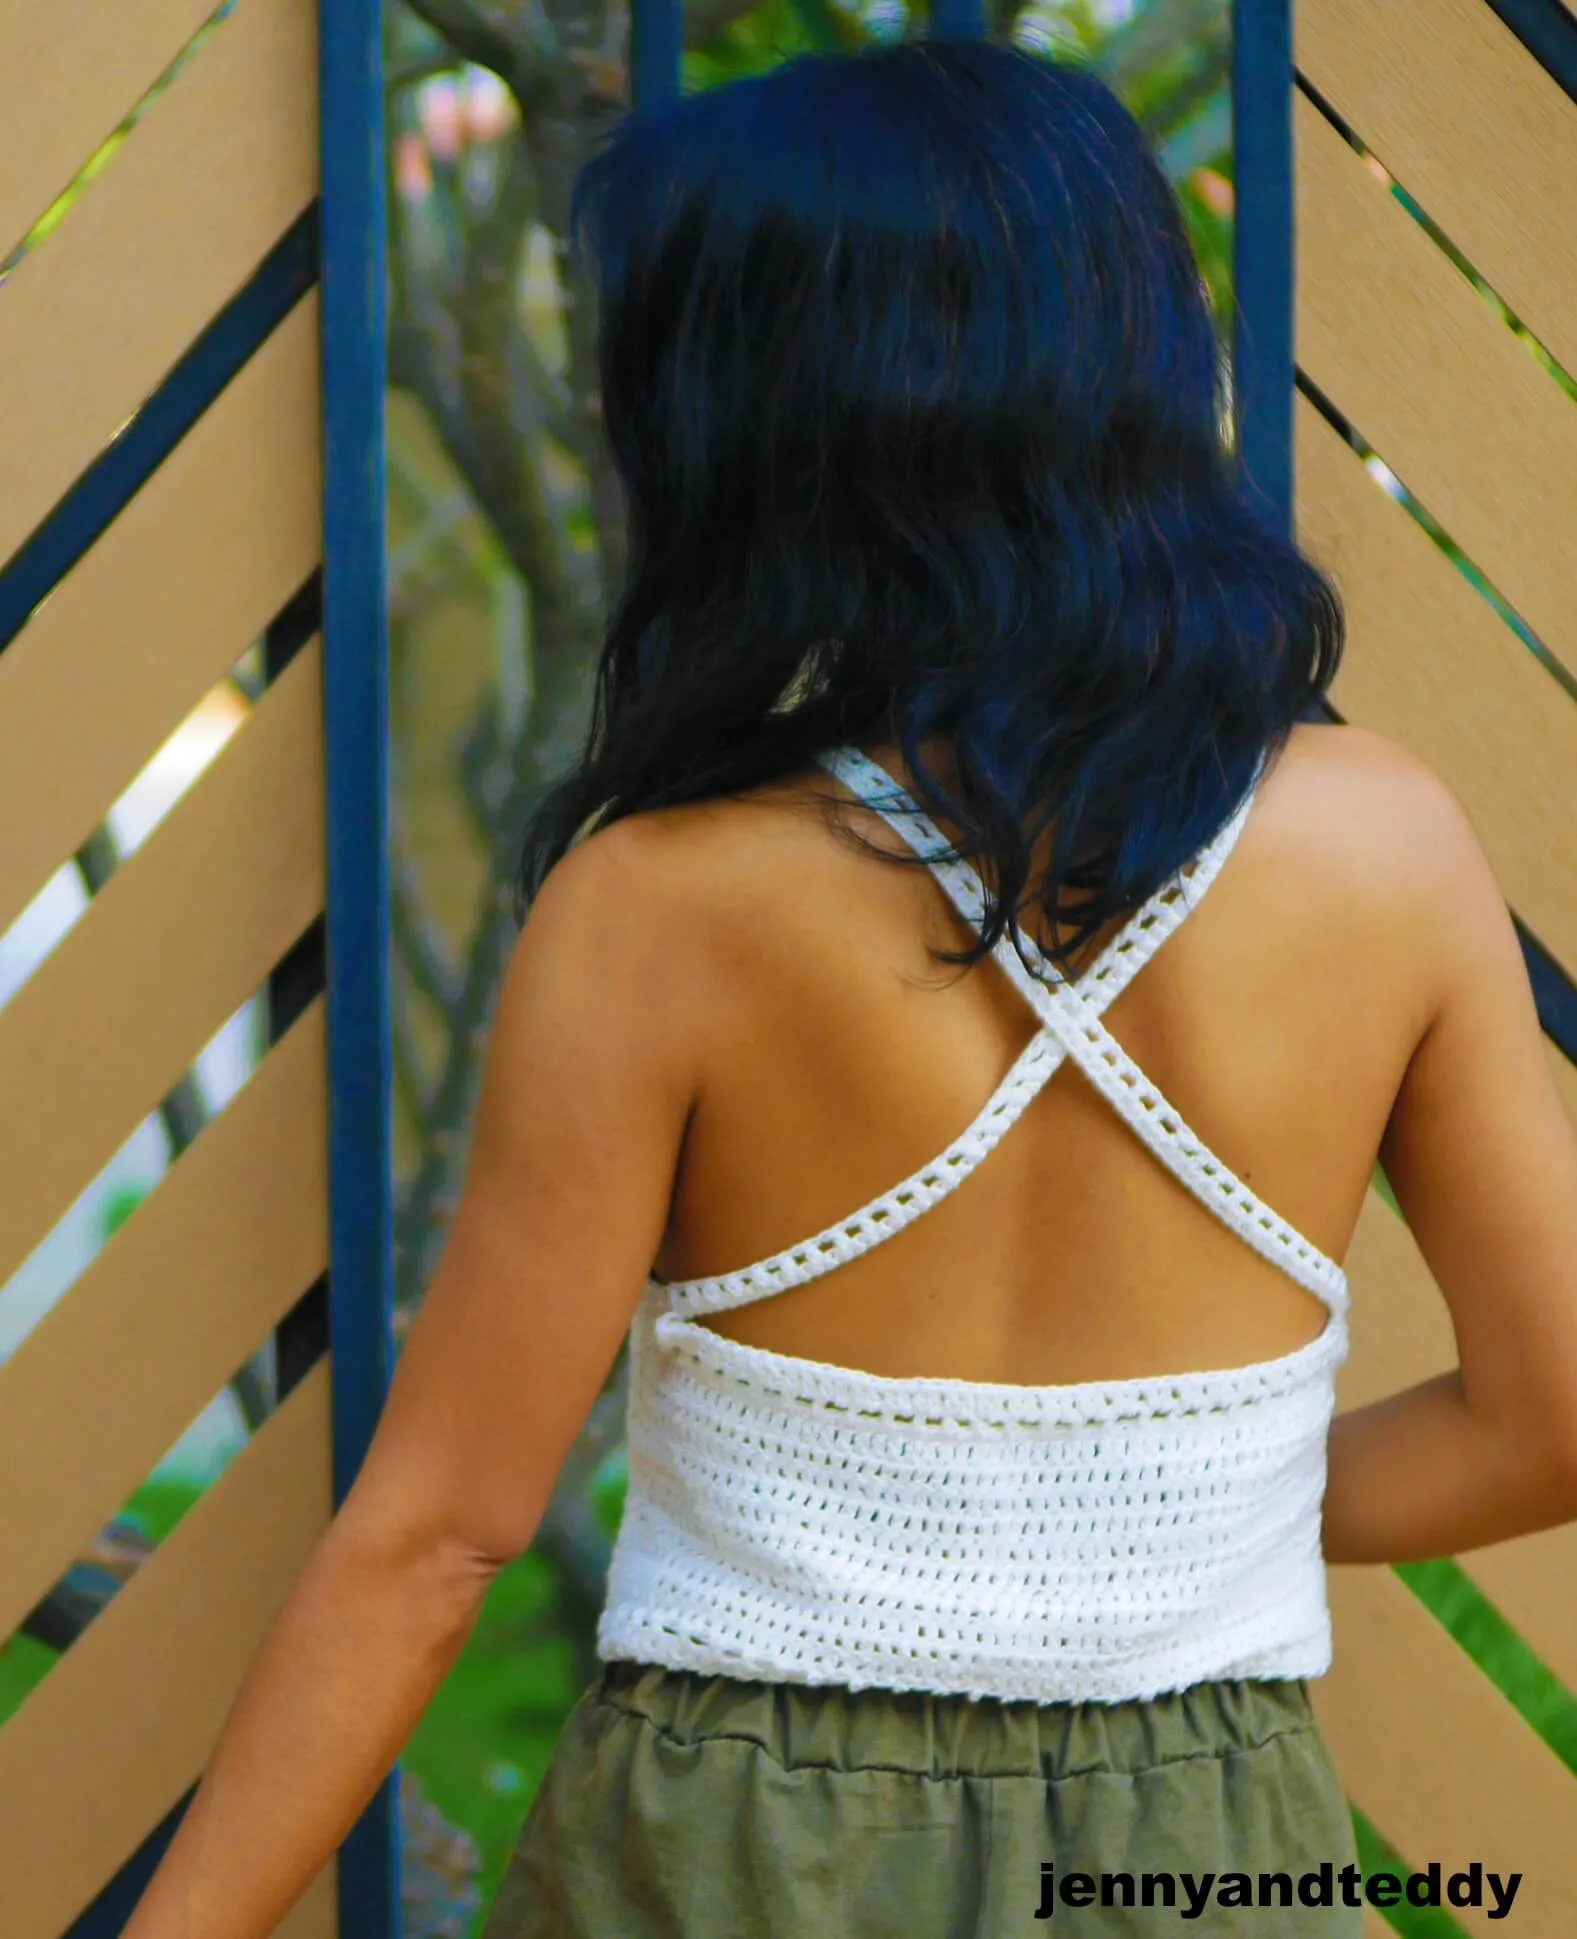
mindy
Friday 18th of June 2021
I don't understand how to make this pattern work for larger sizes with only 20 stitches in the first row. it's way too small. I had to frog it and start again with a much longer first row.
jane
Friday 18th of June 2021
Hi mindy, it's the idea for smaller neck line but you can always adjust the pattern if u want the neck line to be bigger.
Noga
Friday 21st of May 2021
Hi, how long will it take to make this pattern?
thank you
jane
Saturday 22nd of May 2021
HI NOga, about a day with lots of break.
Marie
Thursday 18th of July 2019
16 are you making the double crochet in the first chain from the hook in the chain 2 or the first Stitch?
jane
Friday 19th of July 2019
row 16. make double crochet in the first stitch.
gretchen
Thursday 25th of April 2019
I dont understand row 14 after you make the 10 stitches...do i break off yarn and add 10 on the other side then continue across? thank you
jane
Thursday 25th of April 2019
HI Gretchen, row 14 after u make 10 chain on one side then cut off the yarn and add 10 on the other side then will continue across. that right.
STEPHANIE POWELL
Thursday 25th of April 2019
I recently made the Secret Garden sun hat, but onthe page that says We are going to make a wide brim, the picture of a lady's hand that is making a chain around the top of the hat is puzzling to me. Can you explain it?
jane
Thursday 25th of April 2019
Hi Stephanie could u post on the secret garden hat pattern page please thanks u.