
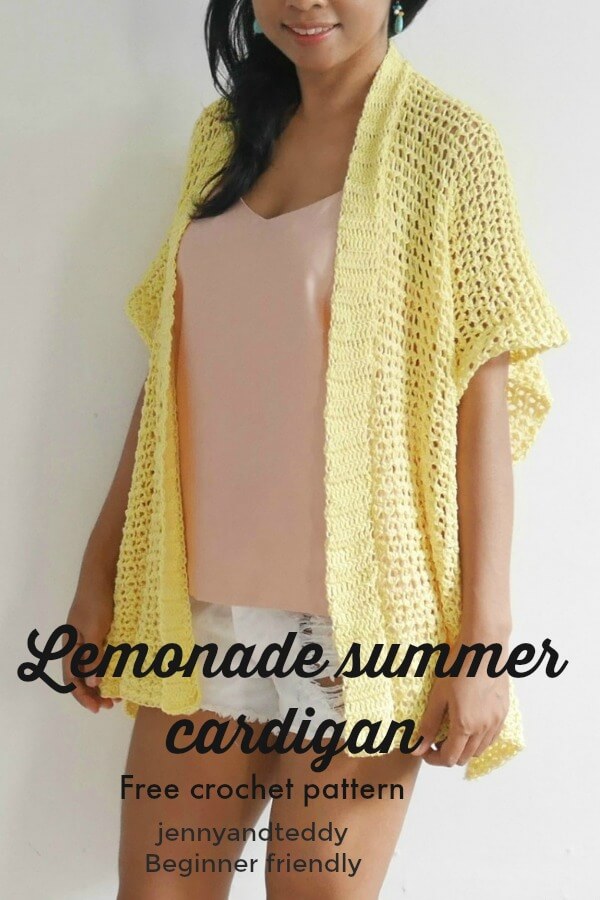
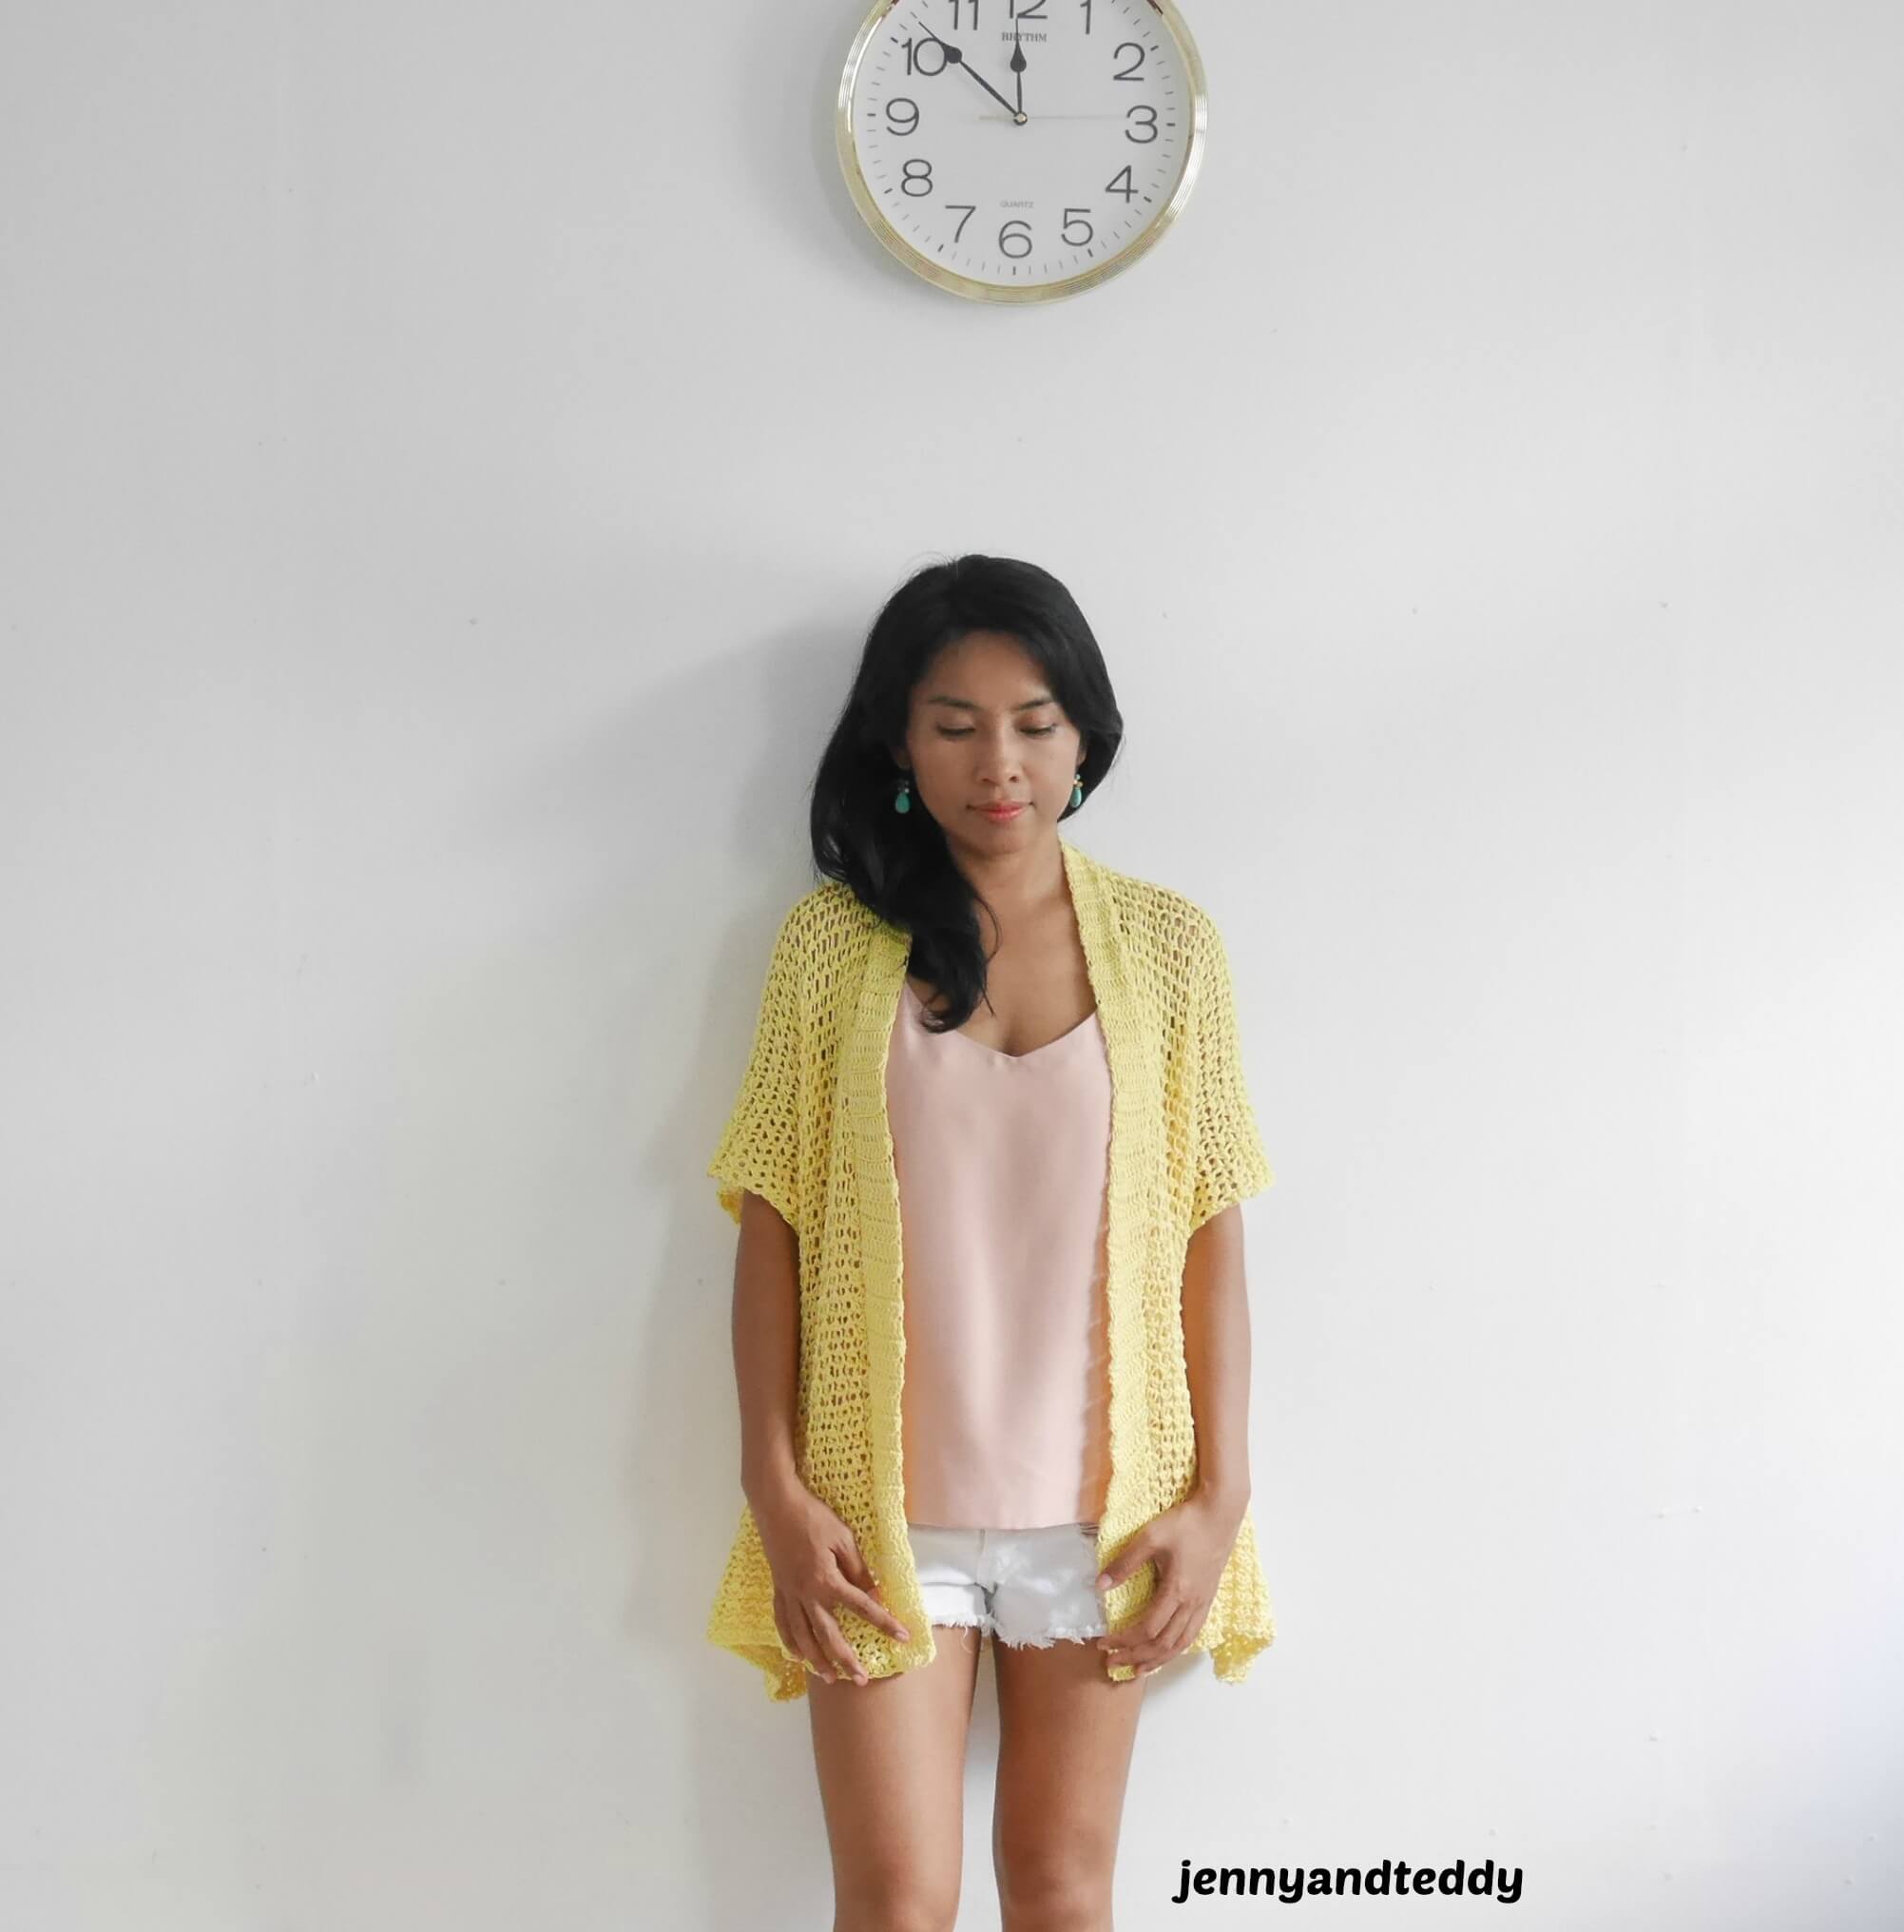
Hi guys, I am so in love with making this Lemonade summer crochet kimono cardigan.
That’s right the name of this crochet kimono has come from my favorite drink.
As you all know that I love to give the name for my free crochet pattern something food-related.
About this summer kimono cardigan.
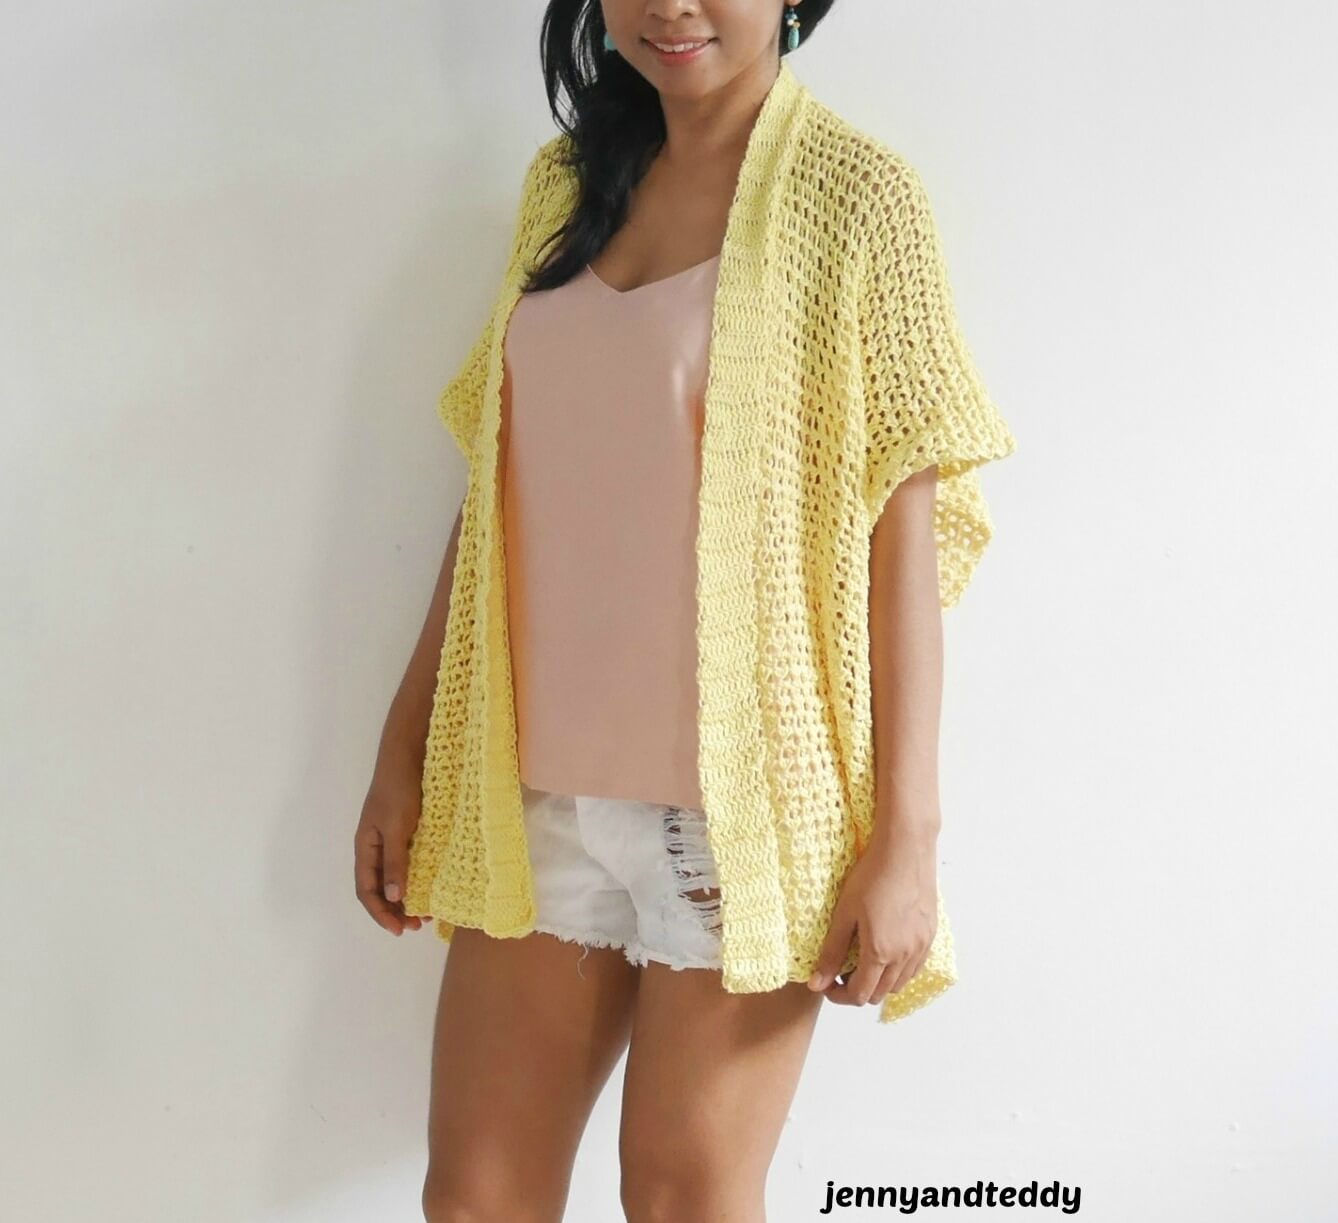
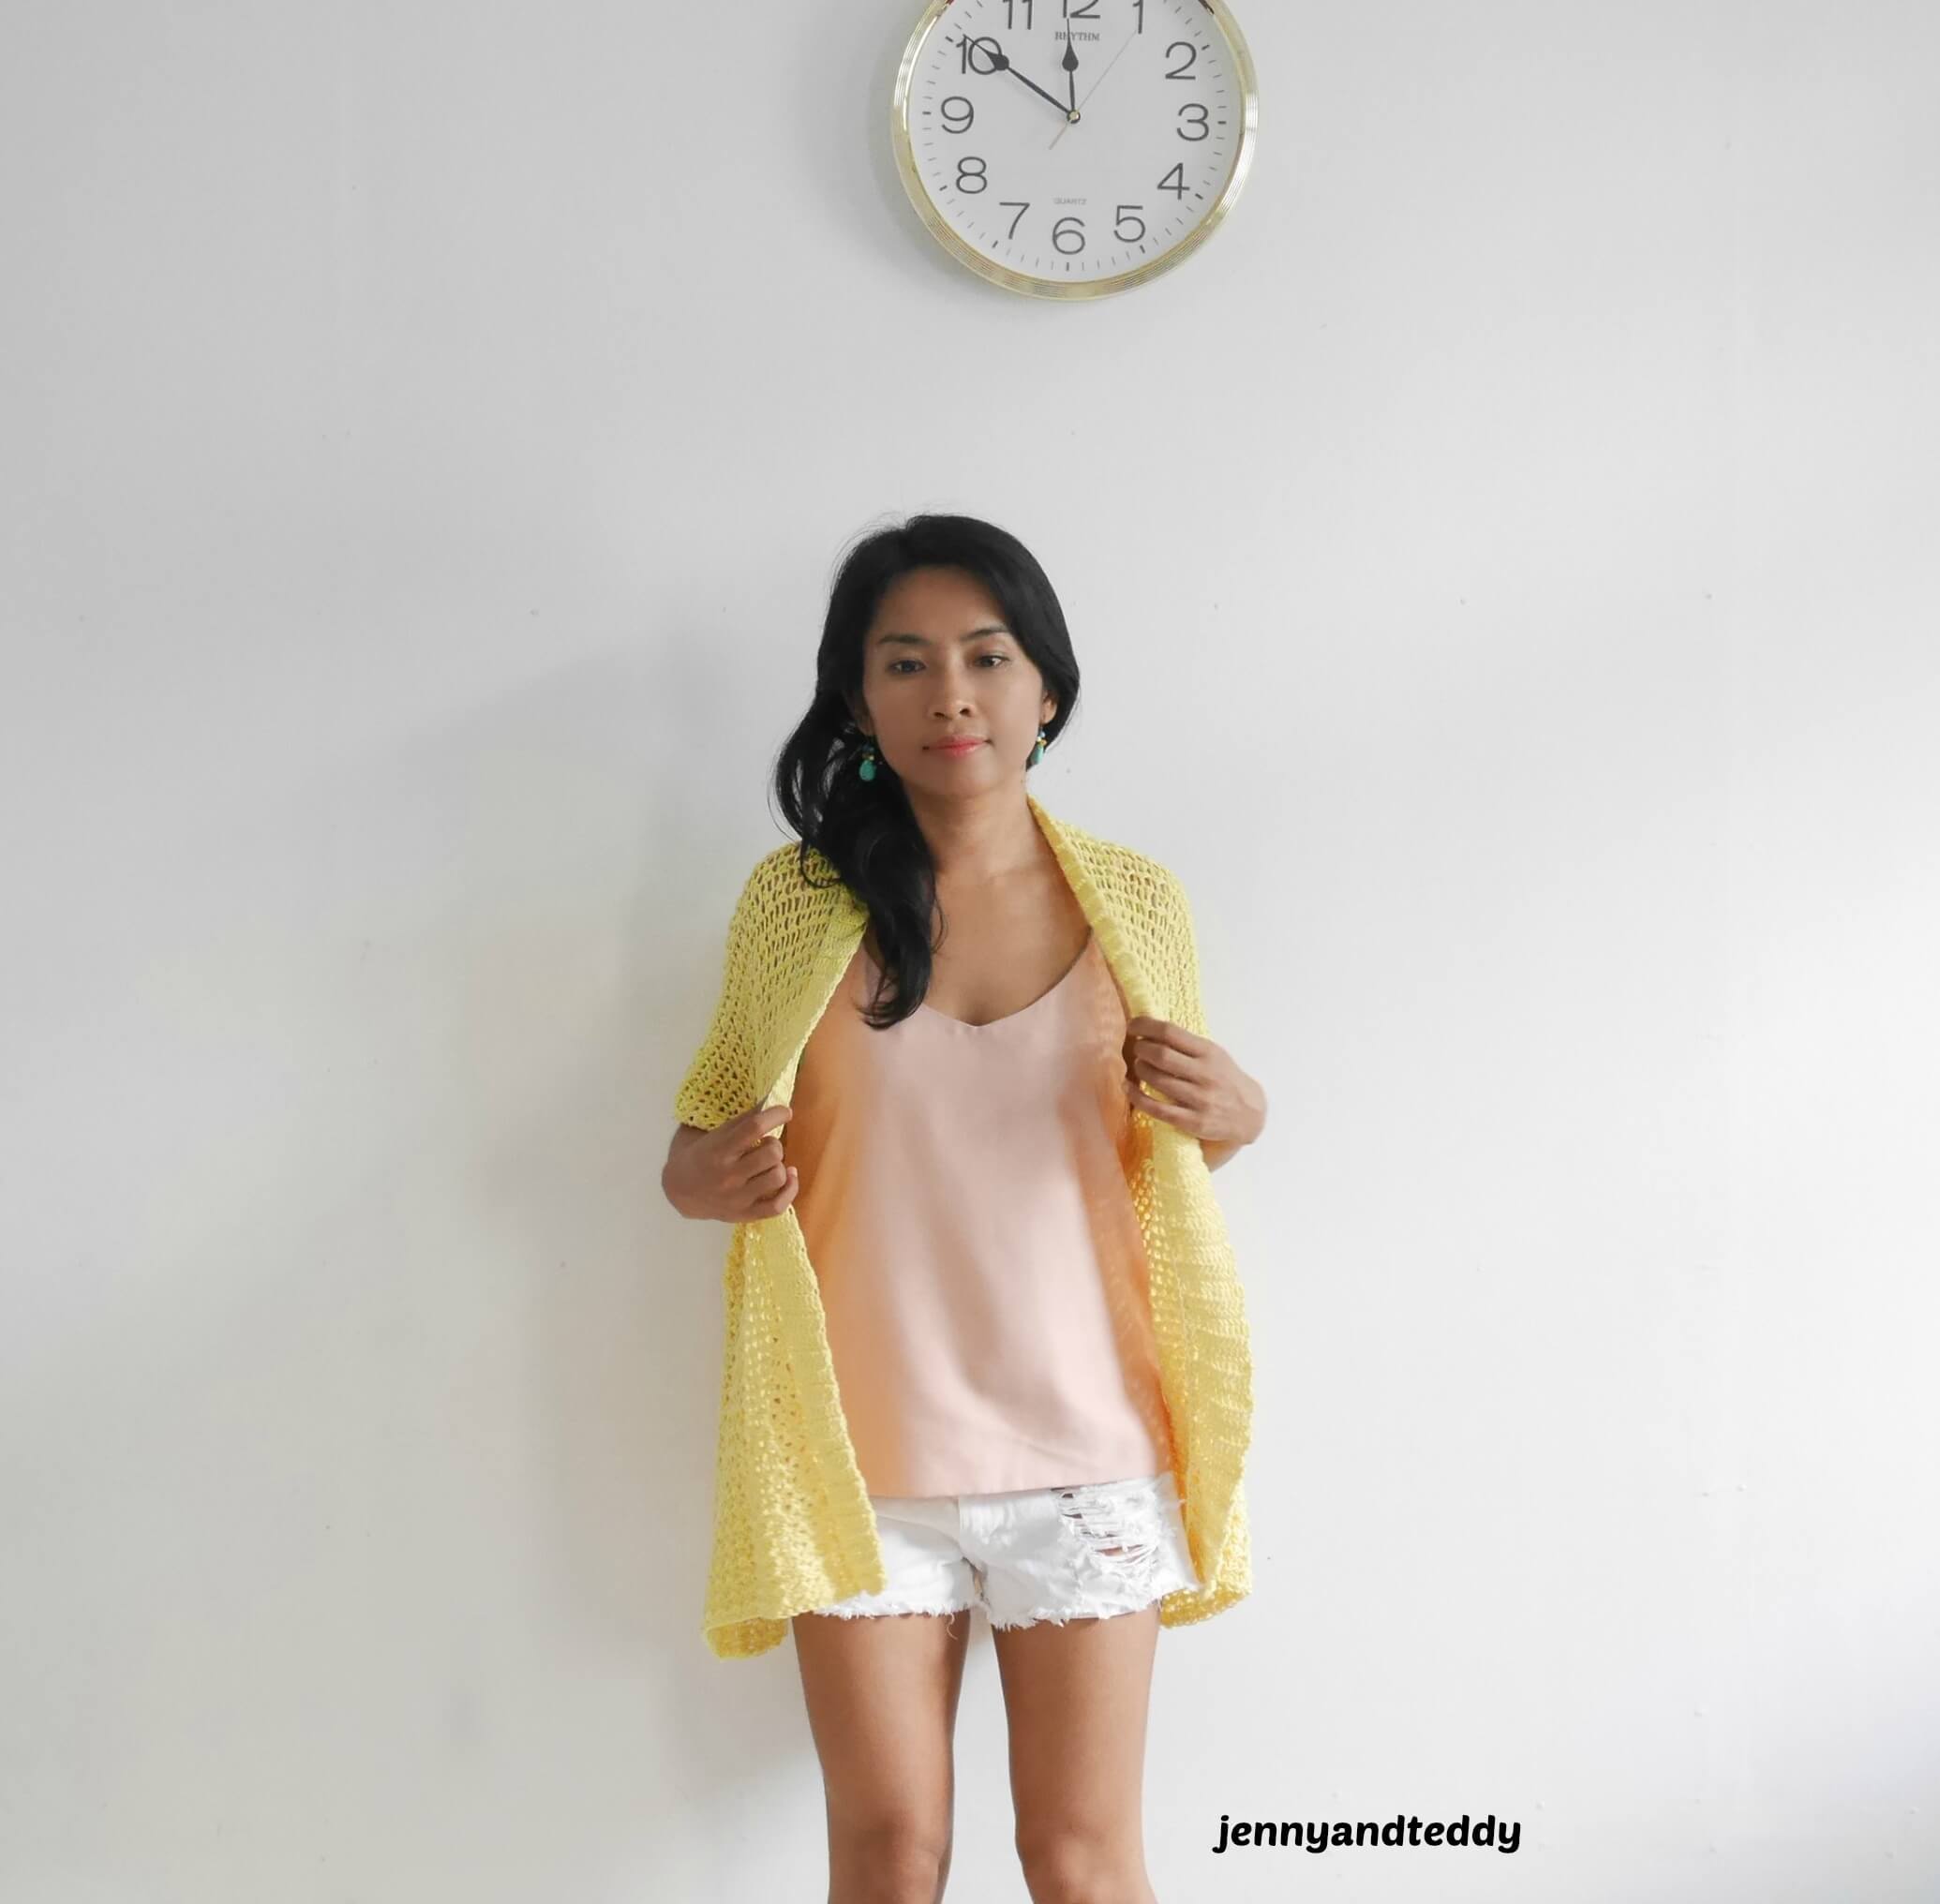
This Lemonade kimono is a great layering piece over your favorite crochet tank top or a cami top.
This short-sleeved kimono cardigan had a simple structure made from 2 rectangles and the crochet stitch used in this pattern is beginner friendly.
The texture-rich crochet stitch used in this crochet kimono pattern is called ” Lemon peel stitch” which is made of a single and double crochet alternate.
Moreover, this kimono shape has a loose fitting or you could call it a relaxed fit.
That’s right most of my free crochet cardigan pattern has a relaxed fit because I like to keep it simple for everyone and also for me as well.
The best yarn for this lightweight kimono cardigan pattern.
Cotton yarn is my favorite yarn to work with during the summer month and this crochet kimono is also made from 100 % cotton yarn DK weight.
4 medium-weight yarns also work fine too not much different.
However, if you guys don’t have cotton yarn in hand you can switch up to any plant fiber blend yarn , plant fiber content tends to give a beautiful drape to the crochet garment and is breathable in the hot weather.
Acrylic yarn also works fine for this crochet kimono as well but they do not give a beautiful drape like cotton yarn.
Need more kimono cardigan crochet patterns?
I got you covered here are more summer kimono-style cardigans That I made.
Linen stitch crochet kimono cardigan
Spring crochet kimono Cardigan
Let’s get started!
Material for this easy crocheted kimono.
- I used cotton DK-weight yarn. I am using about around 1,000-1200 yards fit size small to Medium. ( easy to adjust the size see pattern instructions below)
- 4.0 mm crochet hook and 6 mm crochet hook or J/10 US hook size
- Sewing yarn needle
- stitch marker
Skill and abbreviations
(American crochet terms)
You will need to know how to make
- St which mean stitch
- sc which mean single crochet
- dc which mean double crochet
- Hdc which mean half double crochet
- Sl st which mean slip stitch
- Blo which mean crochet in the back loop only
- ch, Chain
- slip knot
Finished Size Approximately:
Small to medium ( Easy to adjust by adding more chain to the foundation chain for bigger size)
For me the model wearing this piece, I am 4’9 feet tall
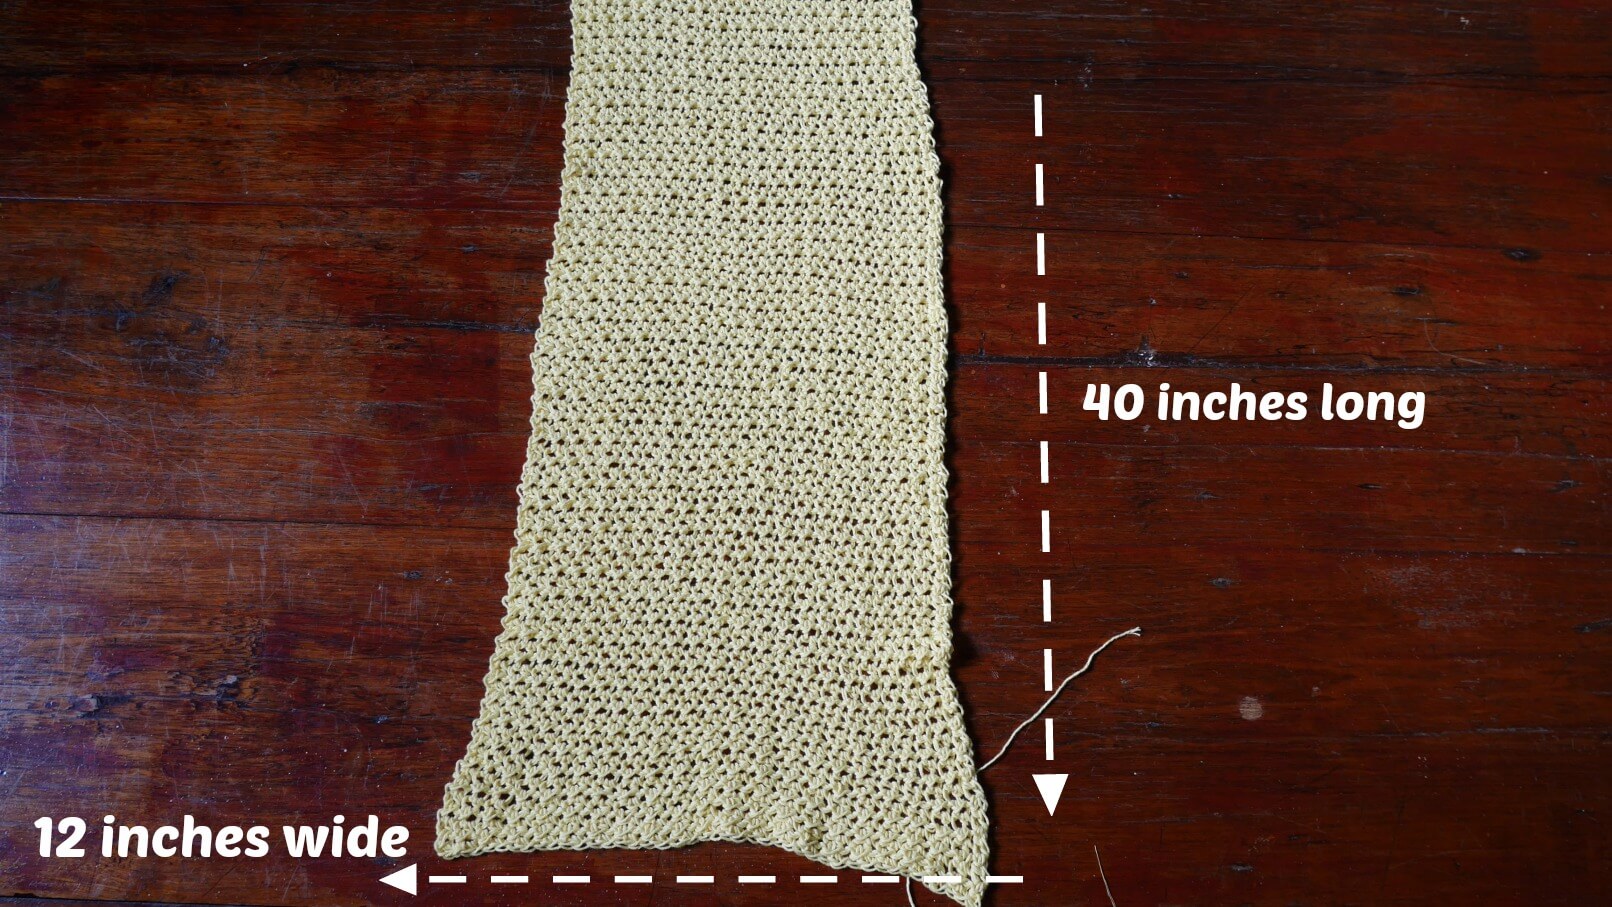
Measurement.
of one rectangle.
- 40 inches long
- 12 inches wide
How to adjust this kimono cardigan pattern to a bigger or small size.
For the width: If you need to make it wider ( bigger size) simply add more chains in an even number multiple of 2.
For the length: add more rows.
Gauge: 2 groups of (hdc,sl st) x 2 rows = 1.2 square inch
Get the free pattern below or this pattern is also available as an inexpensive, ad-free, PDF printable instant download in my etsy shop. Thank you so much for your love and support. I am really appreciate you.
How to crochet easy kimono cardigan step-by-step video tutorial.
Lemonade summer crochet kimono cardigan pattern instruction.
Crocheted kimono body part.
Make 2 crochet rectangles.
Pick up a crochet hook size 6 mm and Start off by making a slip knot Then make 44 chains.
(foundation chain multiple of 2 ).
You will crochet it loosely not too tight to create a light and airy effect.
Row1. sc in the next chain from hook, then sc in each chain across until the end of the row, ch1 turn.
Row2. *hdc in next st, then sl st in next st* repeat * to * across until the end of the row. Ch1 turn
Row 3 and beyond Repeat row 2 or until the piece measures approximately 40 inches long or your desired length. Fasten off.
And repeat it on the second rectangle.
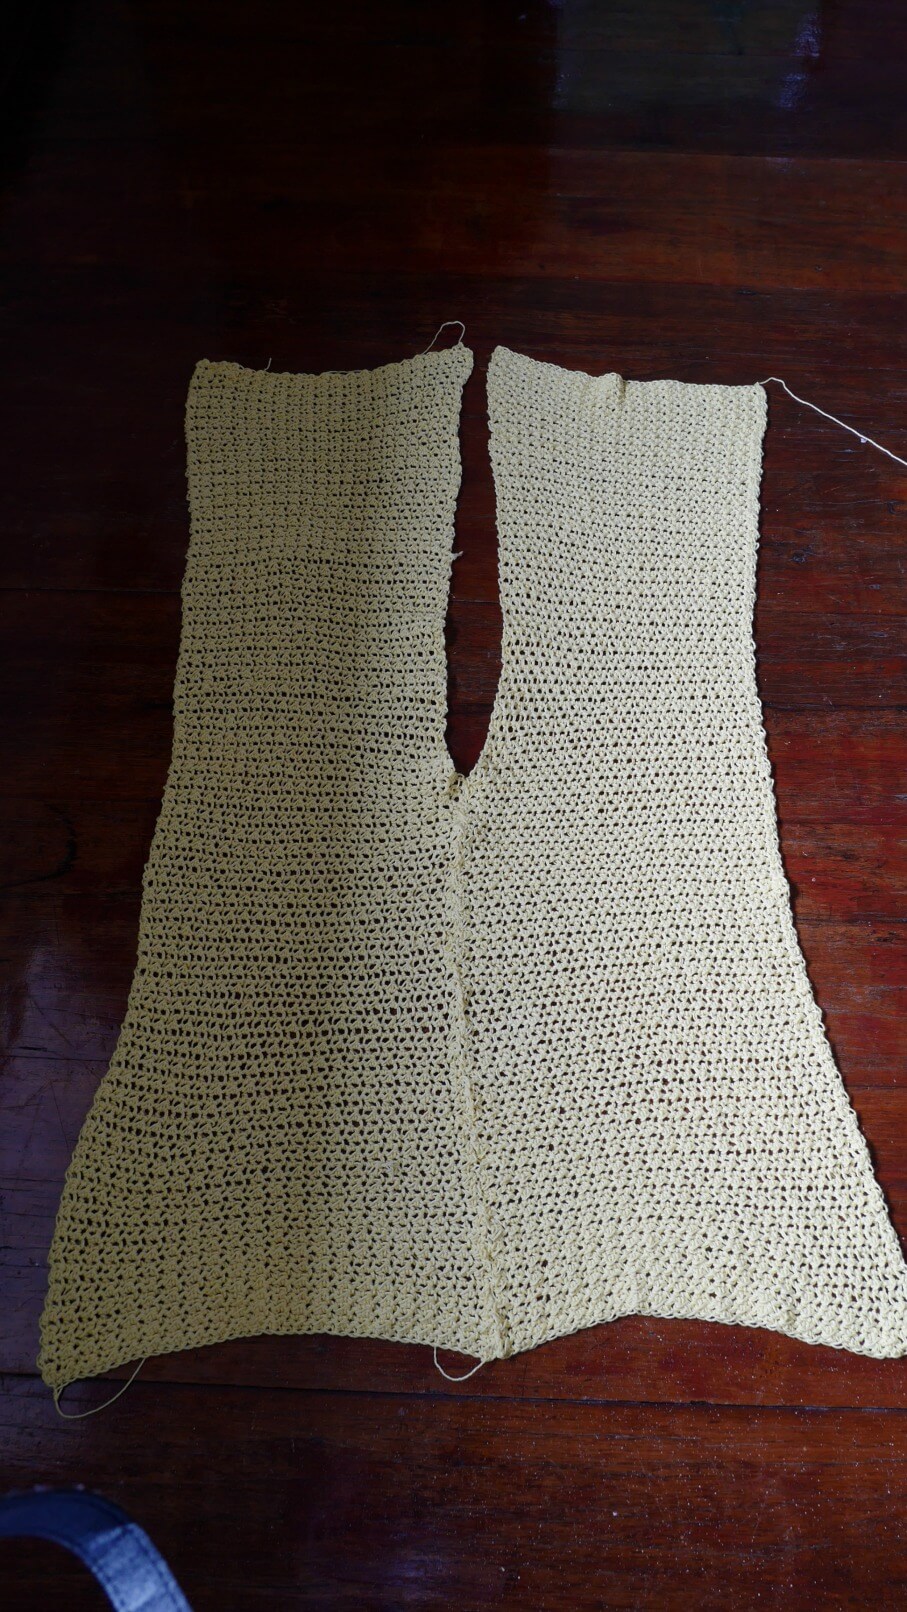
After finishing 2 pieces of the rectangle, it’s time for assembly.
Assemble crochet kimono.
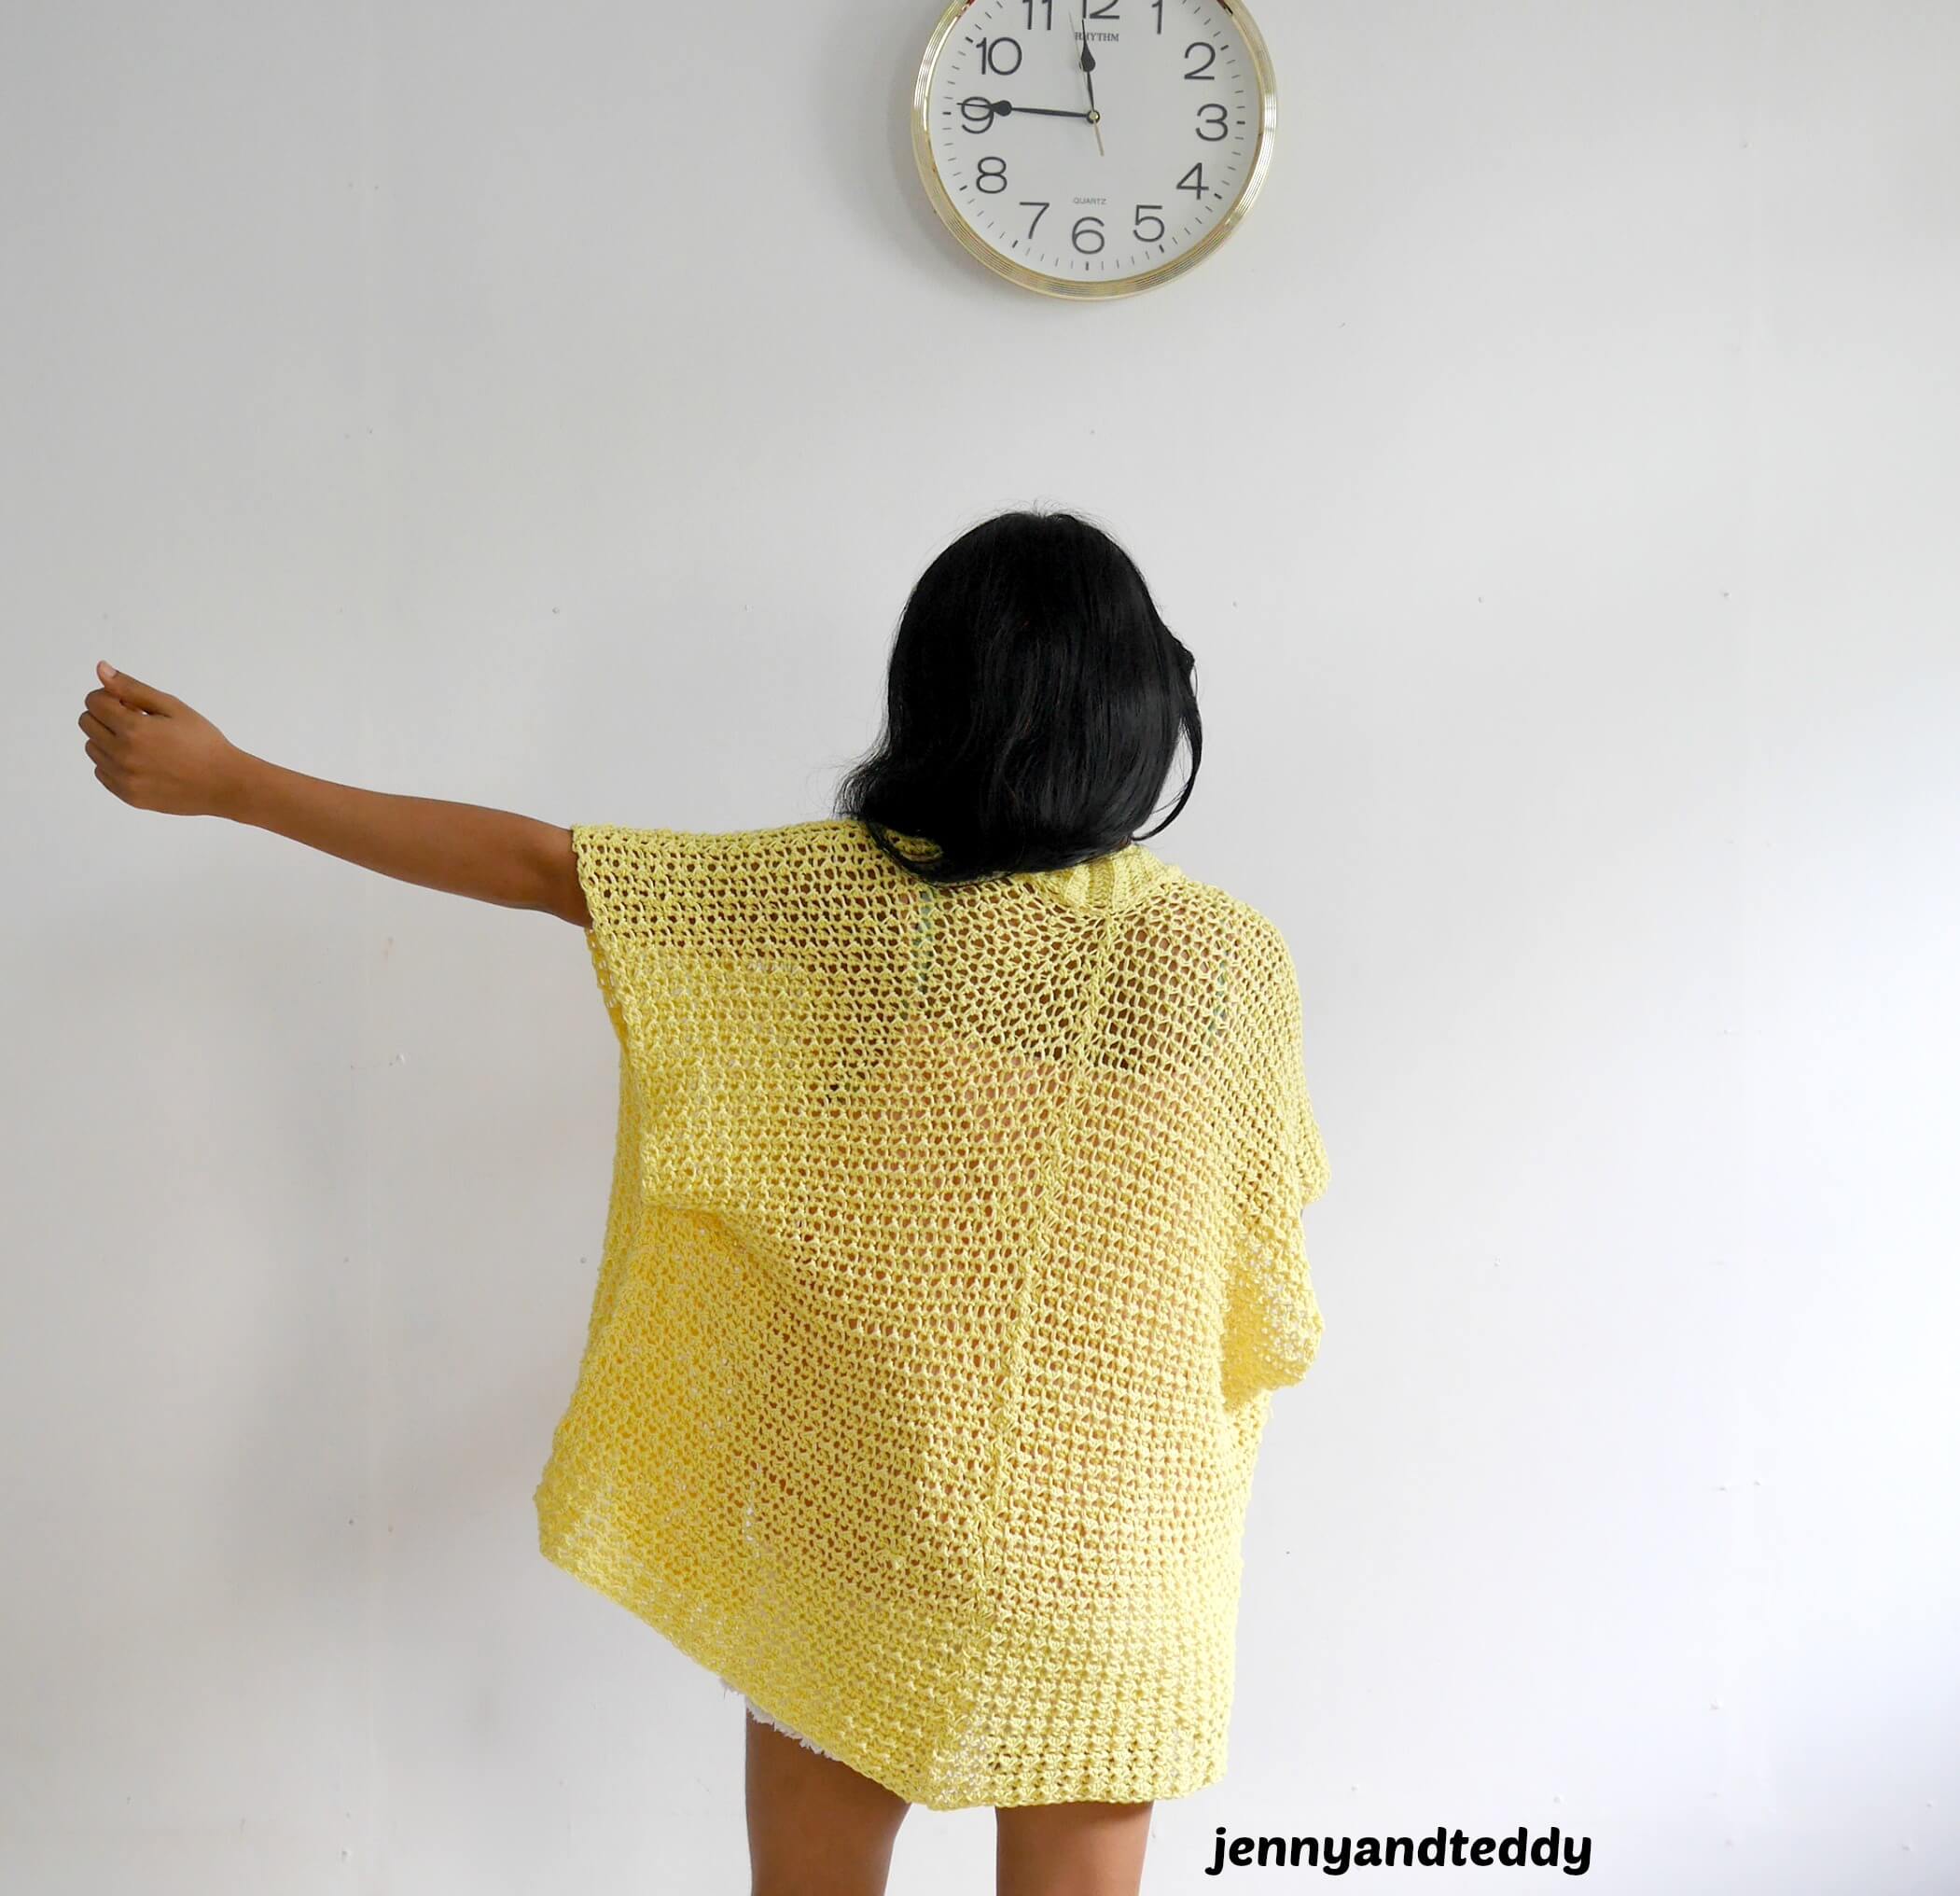
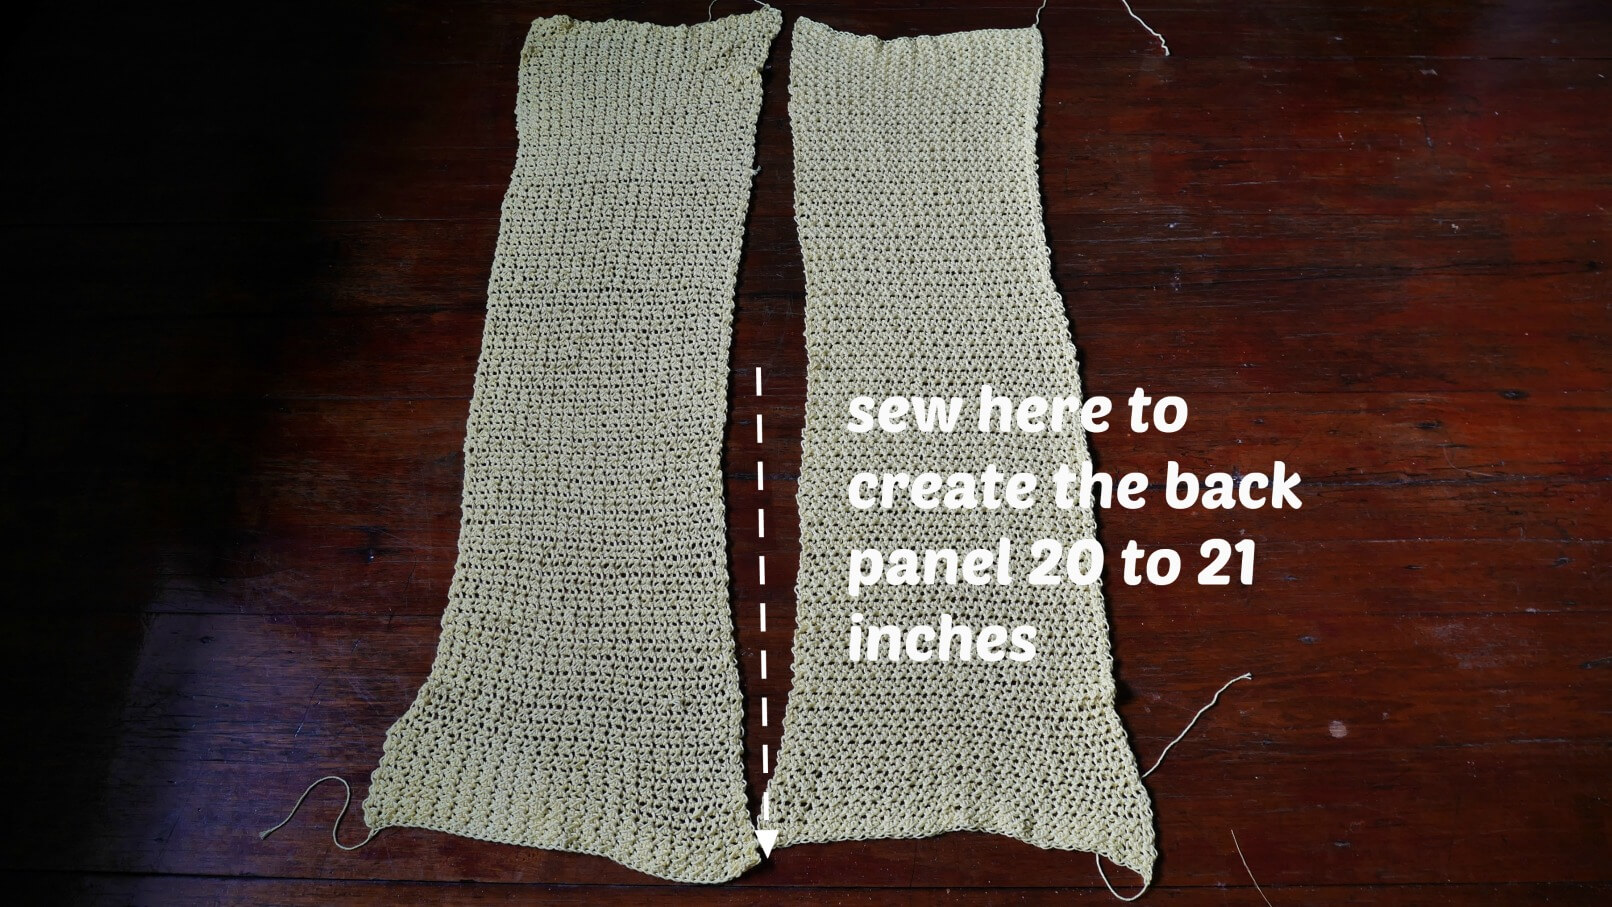
Center back seam:
Lay 2 pieces of rectangles side by side. Now, use a yarn needle and whip stitch to seam up the middle part of both rectangles together.
( the center back panels, from the bottom up around 20 inches) Tie off and weave in ends.
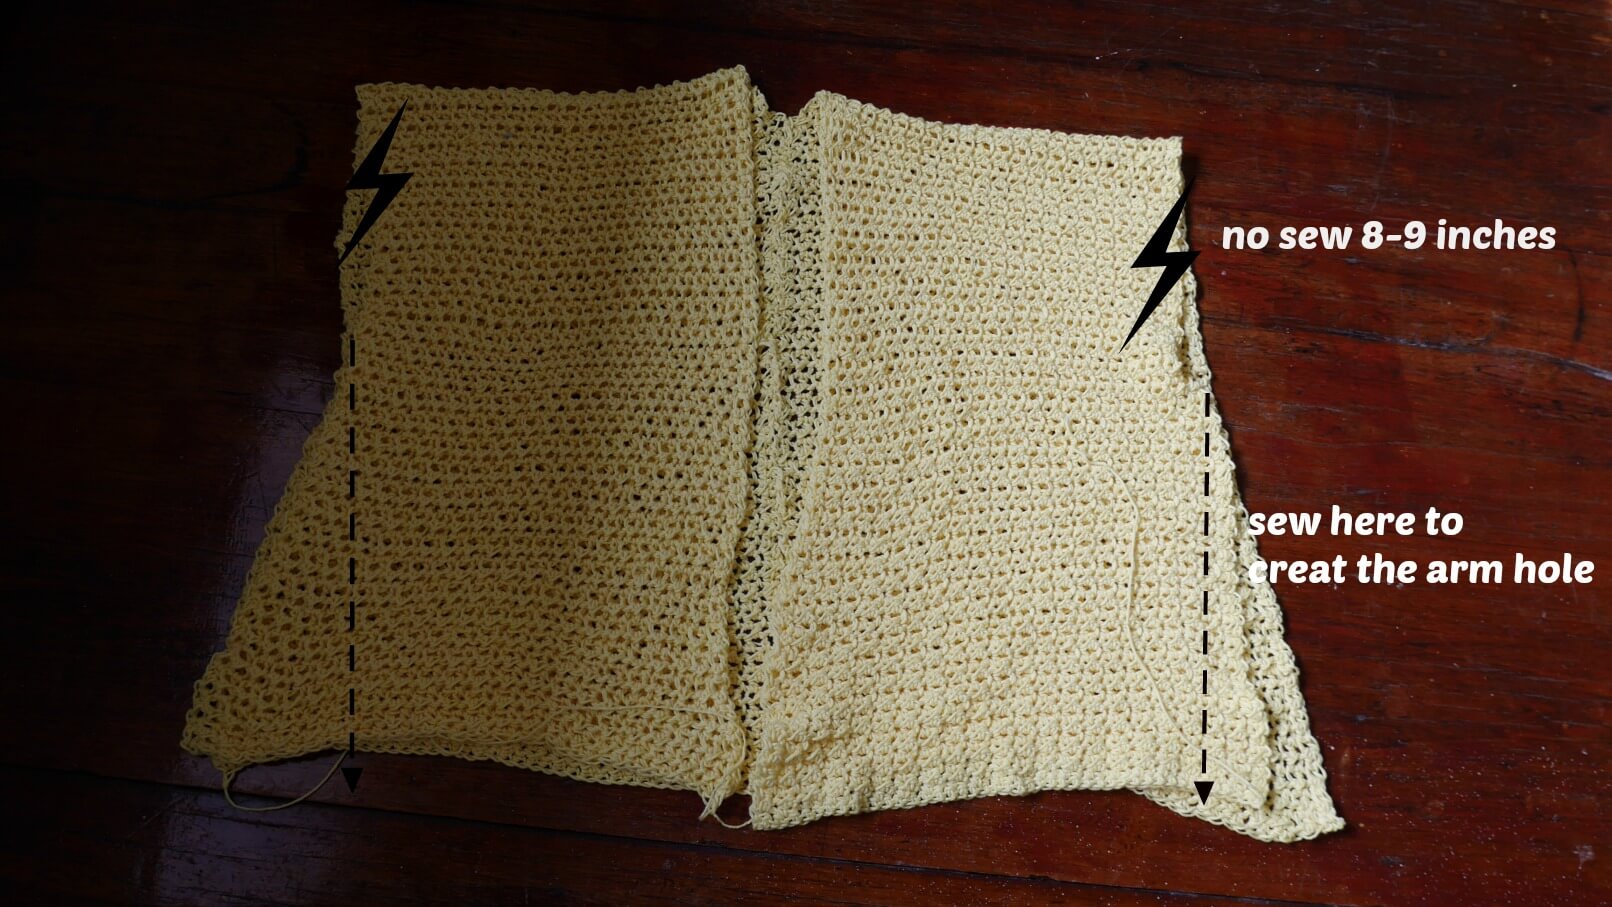
Side Seams to create the armhole for the kimono cardigan:
Seam up each side of the kimono cardigan with a whip stitch or you’re prefer stitch method.
Leave for the arm hole about 8 inches long at the top upper end. You may adjust the how long of the arm hole to fit your size.
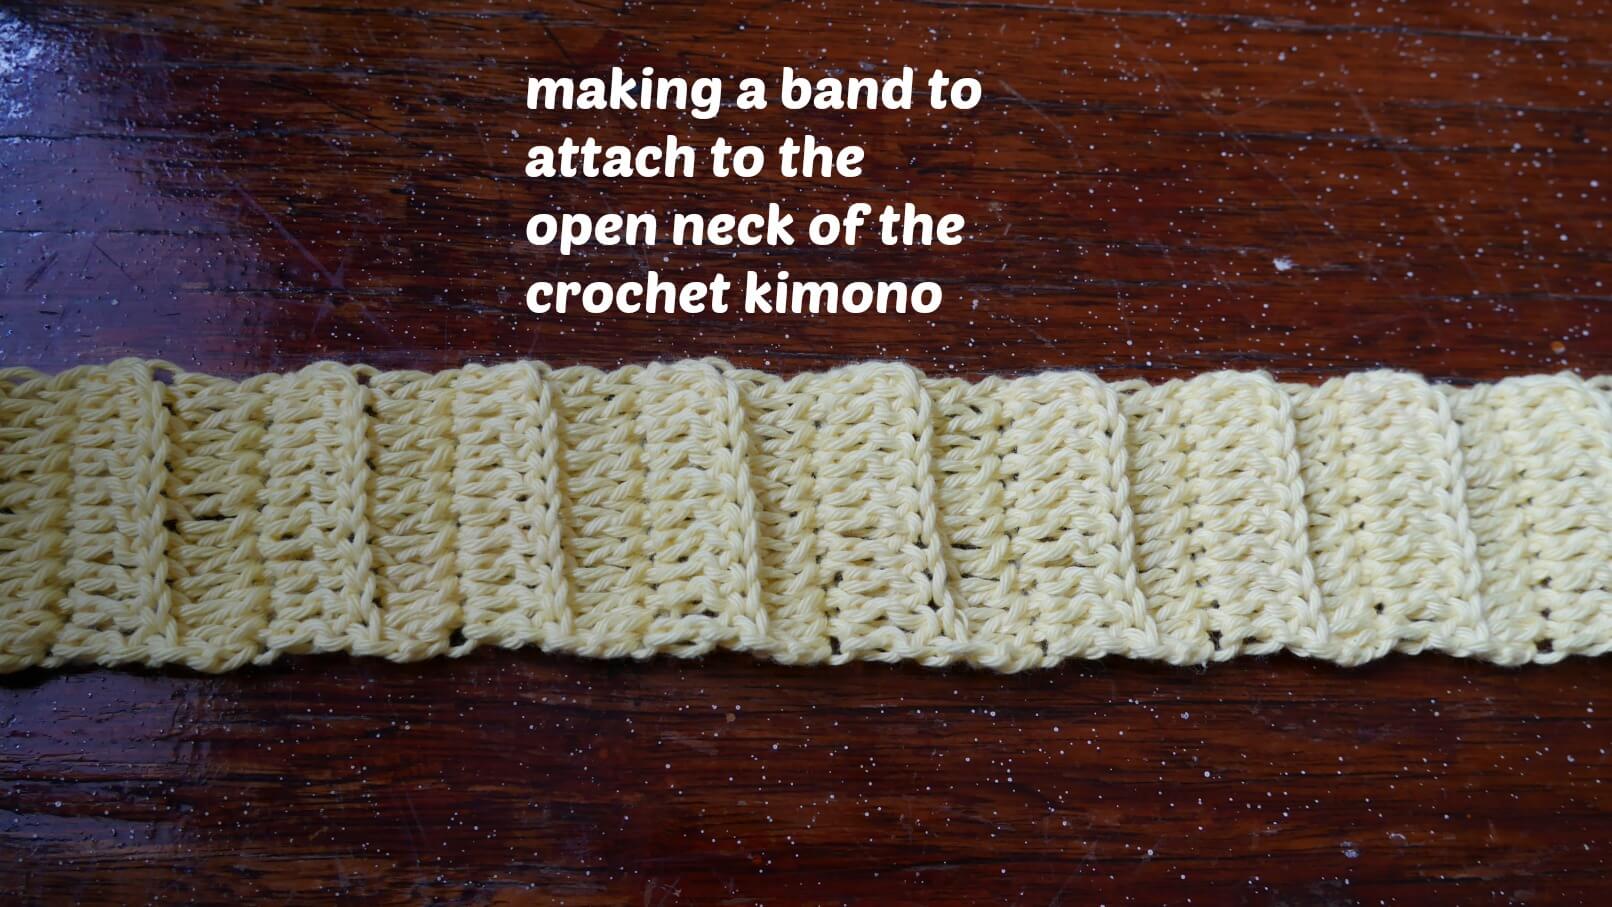
Crocheted the collar for the cardigan.
Next, we will make the band by crocheting them separately from the body of the cardigan.
Pick up your 4.0 mm crochet hook and start with making a slip knot and 11 chains and crochet row by row the back loop only until you get the length that matches the length of the opening neck.
Row1. crochet 1dc in each of the next 10 chains from hook, ch2 turn (10)
Row2. crochet 1dc in each of the next 10 stitches from hook ( blo only), ch2 turn (10)
Repeat round 2 until you get the length matching the opening neck!
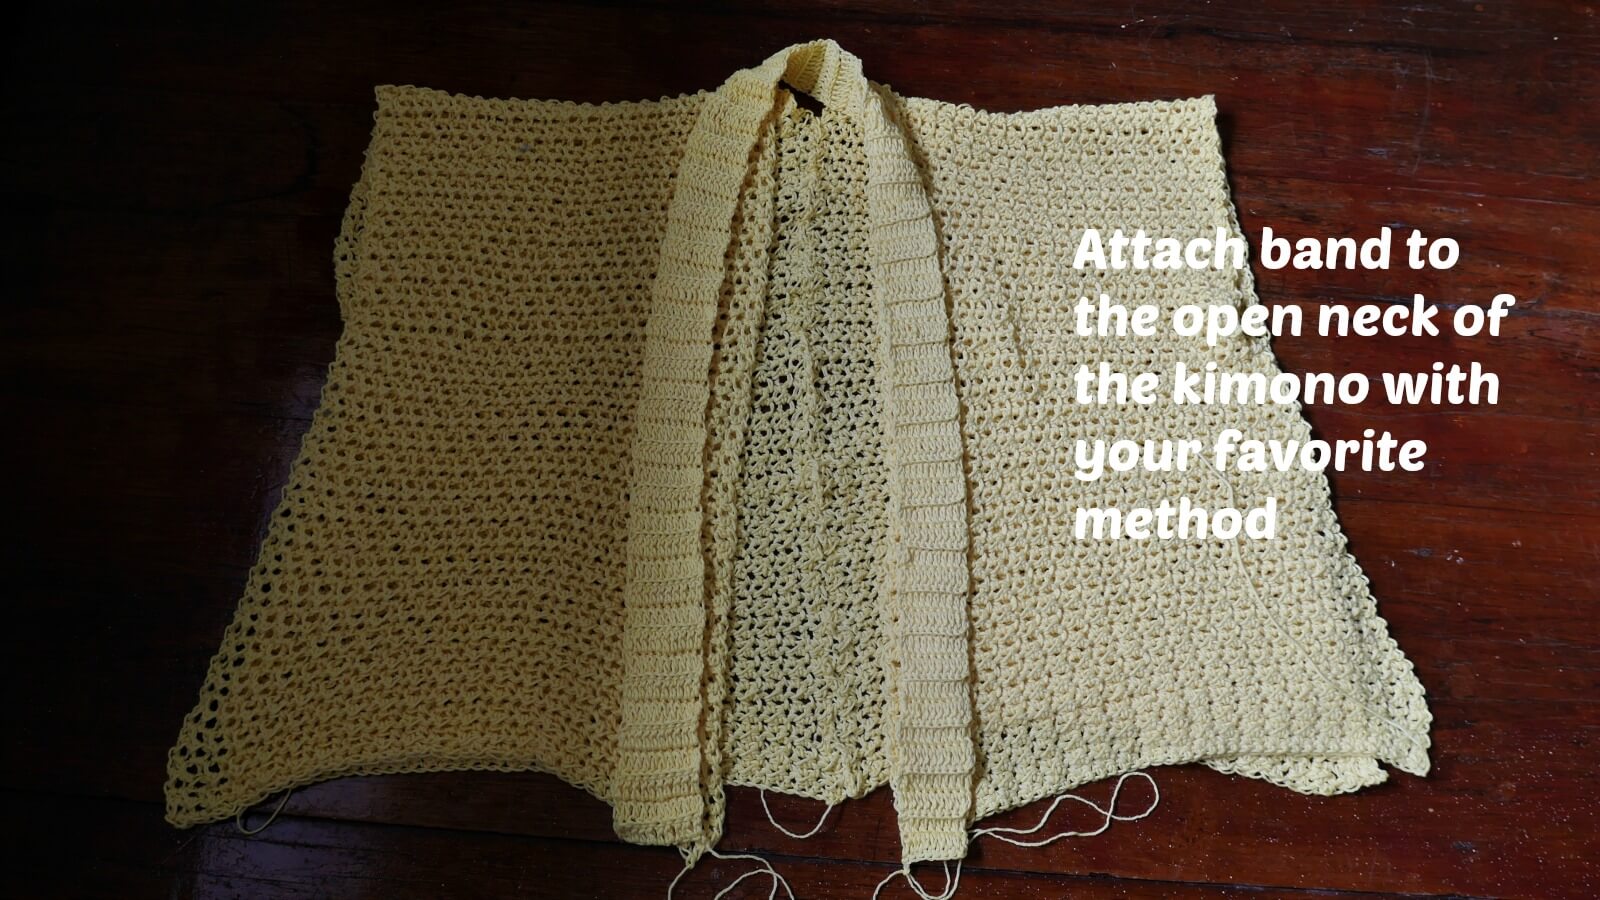
Attach the collar to the kimono cardigan.
After you got the length of the band that matches the length of the opening neck now it’s time to attach them.
I attach them by sc or you can attach them with your favorite method ( whip stitch) or else.

Now enjoy your new kimono cardigan.
If you make one I would love to see your creation tag me on Instagram! would love to see your creation.
Nancy
Friday 25th of August 2023
See pending comment below By Nancy Dtd aug. 24, 2023
Nancy
Thursday 24th of August 2023
Hi…tried number of times ..lemonade summer kimono cardigan.. Followed the pattern …my work does not look at all like the video shown.. Hdc in next st., then sl. St. In next st. Crochet with both #3 dk cotton yarn and also with #4 Am I missing something here?? …a different pattern??? Soooo confused…
jane
Monday 28th of August 2023
Hi Nancy the lemonade cardigan is hdc and sl st the stitch is depend on how tight or loose your stitch tension is. you might try sc and dc alternate if it doest work for you.
Cassandra
Saturday 13th of May 2023
U have a gauge for this but than u said u can use weight 4 or weight 3 does the gauge not reall6 matter to much
jane
Thursday 18th of May 2023
Hi Cassanda the guage donot really matter too much for 3 light and 4 medium weight yarn.
Cheryl Haverstock
Friday 28th of April 2023
How many ounces equals 1,00-1200 yards?
LindY G
Sunday 12th of March 2023
Wondering if there's a PDF of this pattern that I can purchase? Love the design and color. LindY G
jane
Thursday 13th of April 2023
HI LindYG, the pdf purchase button is in the post before the video tutorial picture.