
 You are welcome to sell the finished dolls that made out of my original pattern.Because I like to support crafters and love to hear from you,
feel free to leave a comment or say hello. Please do not sell,redistributed my pattern in any form. Instead of that indicate my blog name to your friends
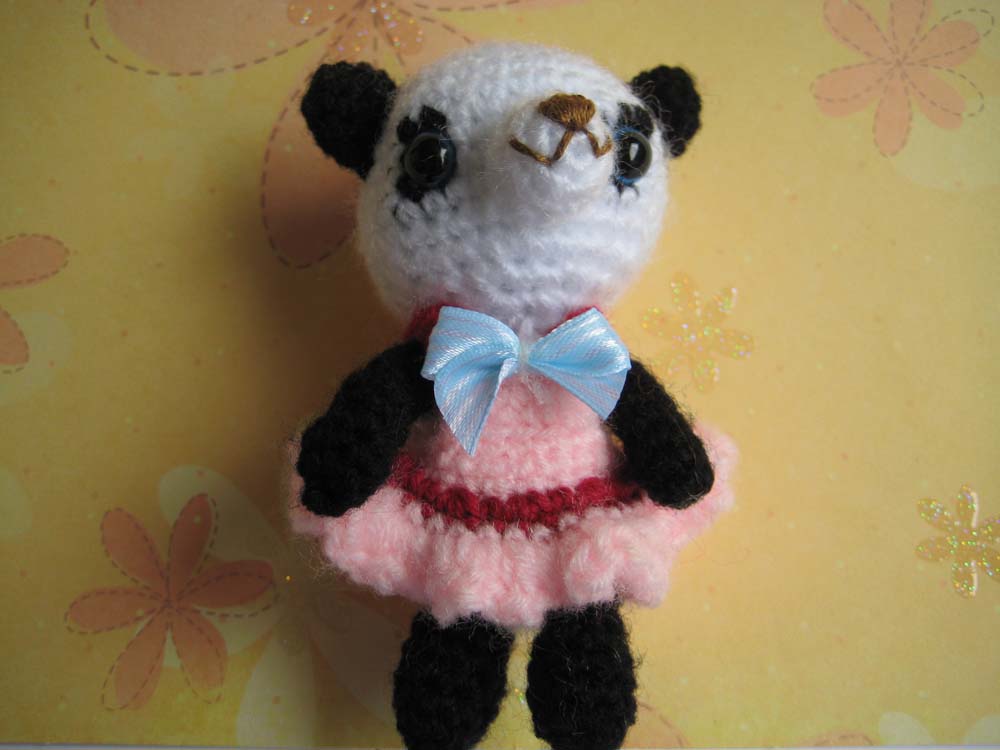
-Finish size approximately 3.5 inch tall (without counting ear)
-Size of baby panda may varies depend on size of yarn and crochet hook
For basic how to do magic ring,increase and decrease
Skills and abbreviations
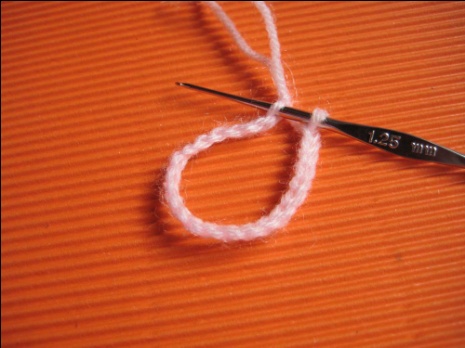
You will need to know how to make a magic ring or adjustable ring
-Single crochet (sc)
-Crochet increase (inc) which mean-make 2 single crochet in same stitch
-Crochet decrease (dec) which mean-Crochet 2 stitches together
-Stitch (st)
* = Repeat stitches from * to end of *
-Chain (ch)
-Slip stitch (sl st)
-change color
Materials To make you will need
- Acrylic yarn, for this pattern, I normally used 8 ply
- Plastic eyes with safety backing 7.5 mm (you can find it at any craft shop)
- Polyester fiberfill for stuffing
- Sewing yarn needle and embroidery
- Ribbon or button
- Crochet hook size1.25mm and craft glue
My beginner tutorial check it out here
Beginner guide to making your first ever amigurumi
How to start magic ring or adjustable ring
How to put an eyes on amigurumi
Note
In this pattern is working in round continuously, you may use contrasting colour to mark the beginning of each round. When round one end. Do not join at the end of each round ,you will begin the second round in the next stitch.
At the end of each round, I have given the number of stitches you should have .If you are off by 1or 2 stitches, do not worry about it.
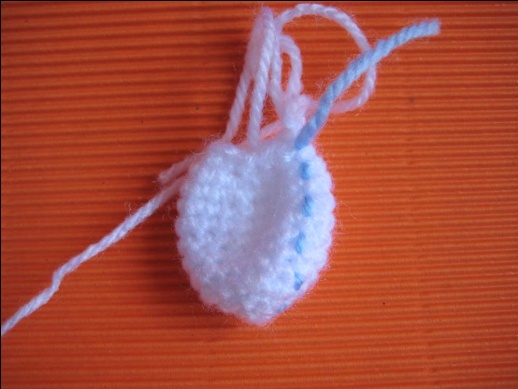
Let’start with head
You will work from top to bottom
Round1. Make magic ring and 7sc in ring (7) white
Round2. 2sc in each st around (14) white
Round3. *Sc in next st, 2sc in next st* and repeat from * around (21) white
Round4. *Sc in next 2 st,2sc in next st* and repeat from * around (28) white
Round5. *Sc in next 3 st,2sc in next st* and repeat from * around (35) white
Round6-7. Sc in each st around (35) white
Round8-10. 1st -6th st=1 sc in each st with white
7th -8th st=1sc in each st with black
9th-14th st=1sc in each st with white
15th-16th st =1sc in each st with black
17th st to end=work even in white (35)
Round11. Sc in each st around (35) white
Round12. *sc in each of next 4 st,dec 1* and repeat from * around for the last 5 stitch make sc in each of those stitch (30) white yarn
Round13. *sc in each of next 3 st,dec 1* and repeat from * around (24)white yarn
Round14. *sc in each of next 2 st,dec 1* and repeat from * around (18) white yarn
Round15. *sc in each of next st,dec 1* and repeat repeat from * around white yarn,
then finish of leave long tail for sewing(12)
And stuffing polyester firmly
Body (colour white)
You will work from bottom to top
Round1. Make magic ring and 5sc in ring (5)
Round2. 2sc in each st around (10)
Round3. *Sc in next st, 2sc in next st* and repeat from * around (15)
Round4. *Sc in next 2 st, 2sc in next st* and repeat from * around (20)
Round5-10. Sc in each st around (20)
Round11. *sc in each of next 3 st,dec 1* and repeat from * around (16)
Round12. *sc in each of next 2 st,dec 1* and repeat from * around (12)
Finish of leave long tail for sewing and stuffing polyester firmly
Arm (colour black)
make 2 pieces
Round1. Make magic ring and 6sc in ring (6)
Round2-8. sc in each st around (6)
then finish of leave long tail for sewing and stuffing polyester just a little .
Leg (colour black)
make 2 pieces
Round1. Make magic ring and 4sc in ring (4)
Round2. 2sc in each st around (8)
Round3-7. sc in each st around (8)
then finish of leave long tail for sewing and stuffing polyester just a little .
Ears (colour black)
make 2 pieces
Round1. Makes magic ring and 6sc in ring (6)
Round2-4. sc in each st around (6)
then finish of leave long tail for sewing and stuffing polyester just a little .
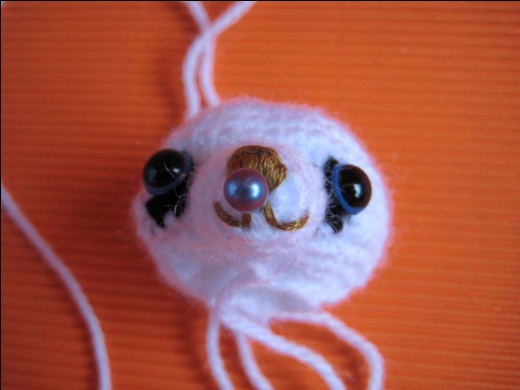
Nose (colour white)
make 1 piece
Round1. Make magic ring and 5sc in ring (5)
Round2. 2sc in each st around (10)
Round3-4. Sc in each st around (10)
then finish of leave long tail for sewing and stuffing polyester just a little.
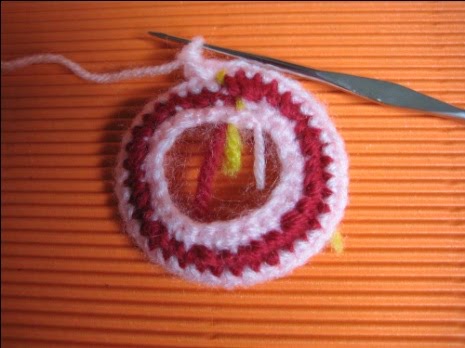
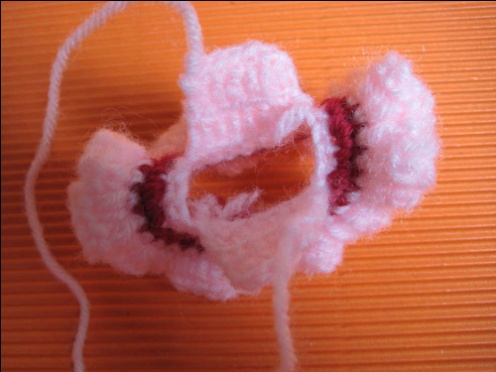
Dress (pink yarn)
Make 1 piece Start with 24 chain or adjust to tummy of panda bear and join (24)
Row 1. Sc in each st and around pink yarn (24)
Row 2.* sc in chain , 2 sc in next ch * and repeat from * around , red yarn (36)
Row 3. sc in each st around, pink yarn (36)
Row 4. 3sc in each stitch and around, then finish off, pink yarn (counting stitch is not important in this row)


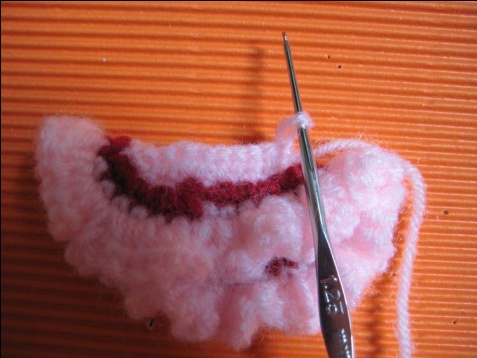
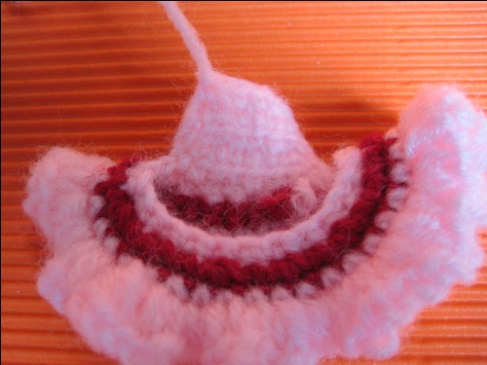
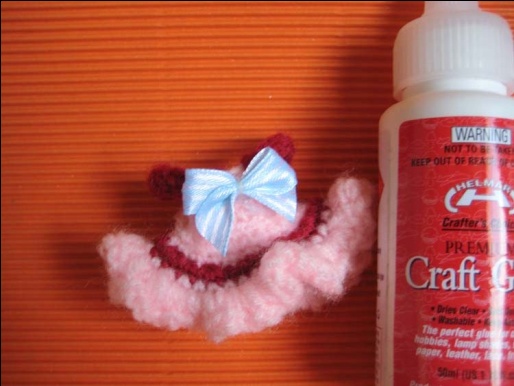
We got a skirt now, then we going to make top by
Row 1.start sc in next 8 chain (do 2side)
Row 2.turn and sc in next7 chain
Row 3.turn and sc in next6 chain
Row 4.turn and sc in next5 chain, finish off
Make strip 2 pieces (red yarn)
1.Ch 10 or length to fit your baby panda bear shoulder,(10)
2.turn and sc in each stitch (9) then finish off
3.Attach by sewing or craft glue

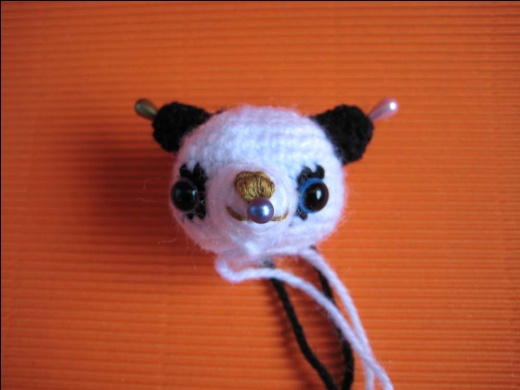
Finishing
Attach ears to the head and sew body to the head.
Then sew arms and attach legs so that baby bear is in a stand position

Yvonne
Monday 2nd of November 2015
Thank you for the free pattern. I make a lot of patterns for the Chilldren's Hospital in Calgary, AB, Canada. Tha pattern is for Little Panda is for the sick little girls. And also a great hello to you!!!!
Kristina and Millie
Tuesday 7th of October 2014
I love this little panda! and the dress is too sweet! Thanks for sharing with us!
Glenna @ My Paper Craze
Tuesday 16th of September 2014
Your panda is so sweet! Thank you for being so generous with your pattern. Thanks for sharing with Creative Spark Link Party. Glenna @ My Paper Craze
Kristina and Millie
Wednesday 10th of September 2014
Totally adorable! love the panda and the dress :) Thanks for sharing the pattern with us. I hope you will visit and link with us sometime at our Snickerdoodle Sunday!
Kristy GD
Tuesday 12th of August 2014
Ok, now if that isn't one of the cutest crochet patterns I've ever seen, I don't know what is! Great job! Thanks for linking up with Creative Spark!
jane
Wednesday 13th of August 2014
thanks Kristy.