


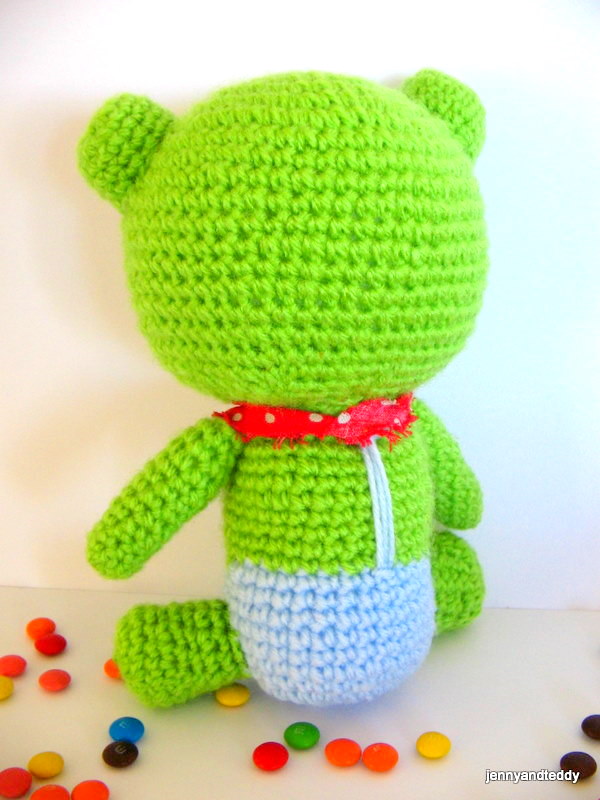
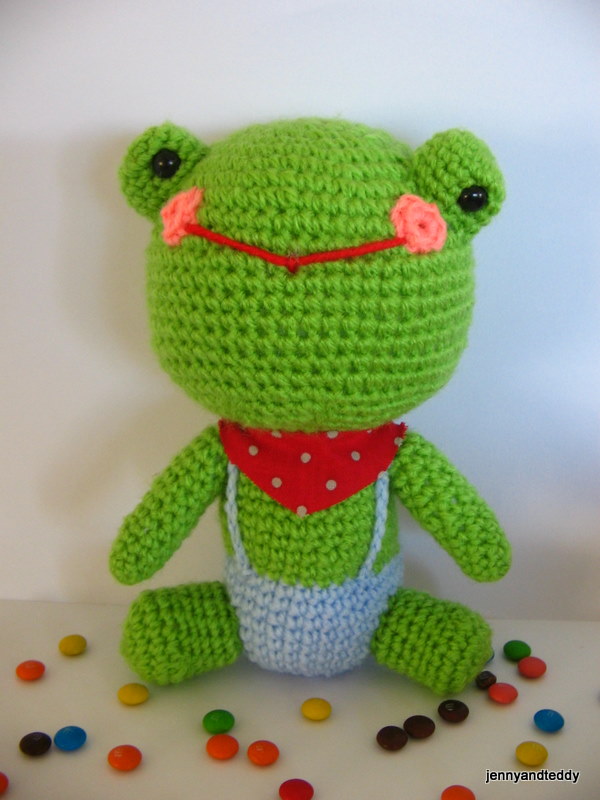
Aren’t these little green guys so cute? If you are still looking for easy free crochet frog patterns to make, stop right here, This amigurumi frog is for you!
Mr. Frog, He is not only easy to crocheted but also just perfect for anyone who loves all things froggy. He has a big smile on his face and will bring happiness to your home.
Easy frog crochet pattern.
Can I crochet an amigurumi frog as a beginner?
Yes, absolutely! This DIY crochet frog is perfect for less experienced crocheters.
Easy construction: This frog crochet pattern is made up of 8 itty bitsy pieces, two pieces for the frog leg, two-piece for the frog arm, two pieces for the frog eyes, and the other two main part is the head and the body.
Basic crochet stitch: All 8 pieces of the crochet are made from a single crochet stitch increase and decrease. And don’t worry if you don’t know how to crochet increase and decrease. I have a step-by-step video tutorial to help you along.
Simple seam: All pieces of this easy crochet frog amigurumi require a basic seam.
Skill and abbreviations.
- American crochet term.
- You will need to know how to make a magic ring or adjustable ring
- Single crochet (sc)
- Crochet increase (inc) which mean-make 2 single crochet in the same stitch
- Crochet decrease (dec) which mean-Crochet 2 stitches together
- Stitch (st)
- * = Repeat stitches from * to end of *
- Chain (ch)
- Slip stitch (sl st)
- change color
If you are new to crocheting amigurumi, here is my beginner guide to crocheting amigurumi dolls.
- The beginner guide before you start to crochet an amigurumi doll.
- How to crochet a magic ring.
- How to attach eyes on an amigurumi doll.
- How to join leg.
- How to attach hair on amigurumi doll.
Mr. Frog amigurumi pattern free instruction.
Materials for crocheted frog.
To make you will need
1. Acrylic yarn, for this pattern, I normally used 8 ply
2. Plastic eyes with safety backing 7.5 mm (you can find it at any craft shop)
3. Polyester fiberfill for stuffing
4. Sewing needle and embroidery
5. Ribbon or button
Finish Size of the frog.
Approximately 8 inches.
Size varies depending on the size of the yarn and crochet hook
*Of course, you can sell the finished dolls that are made out of my original pattern*
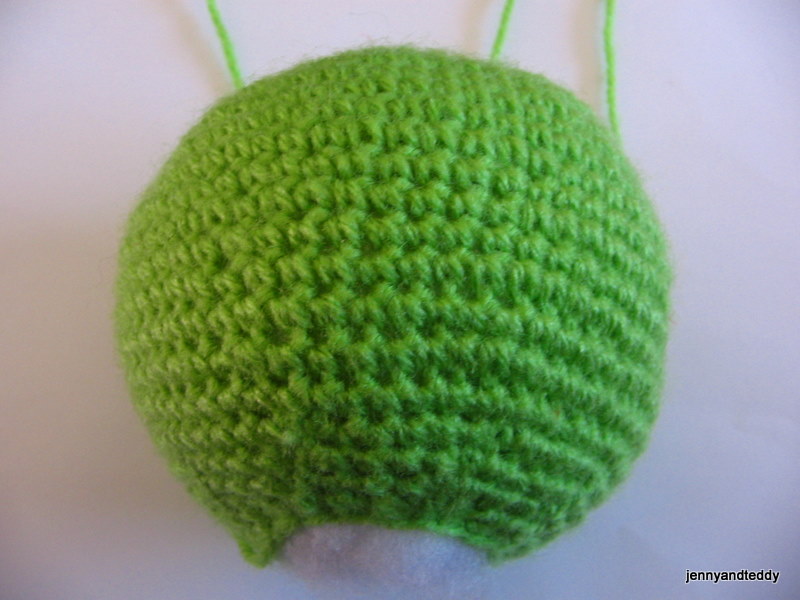
Let’s start with frog head Colour of your choice

You will work from top to bottom.
Round1. Make magic ring and 8sc in ring (8)
Round2. 2sc in each st around (16)
Round3. *Sc in next st, 2sc in next st* and repeat from * around (24)
Round4. *Sc in next 2 st,2sc in next st* and repeat from * around (32)
Round5. *Sc in next 3 st,2sc in next st* and repeat from * around (40)
Round6. *Sc in next 4 st,2sc in next st* and repeat from * around (48)
Round7. *Sc in next 5 st,2sc in next st* and repeat from * around (56)
Round8-18. Sc in each st around (56)
Round19. *sc in each of next 5 st,dec 1* and repeat from * around (48)
Round20. *sc in each of next 4 st,dec 1* and repeat from * around (40)
Round21. *sc in each of next 3 st,dec 1* and repeat from * around (32)
Round22. *sc in each of next 2 st,dec 1* and repeat from * around (24)
Round23. *sc in next st,dec 1* and repeat from * around (16), then finish off and leave long tail for sewing. And stuffing polyester firmly.
The body colour of your choice
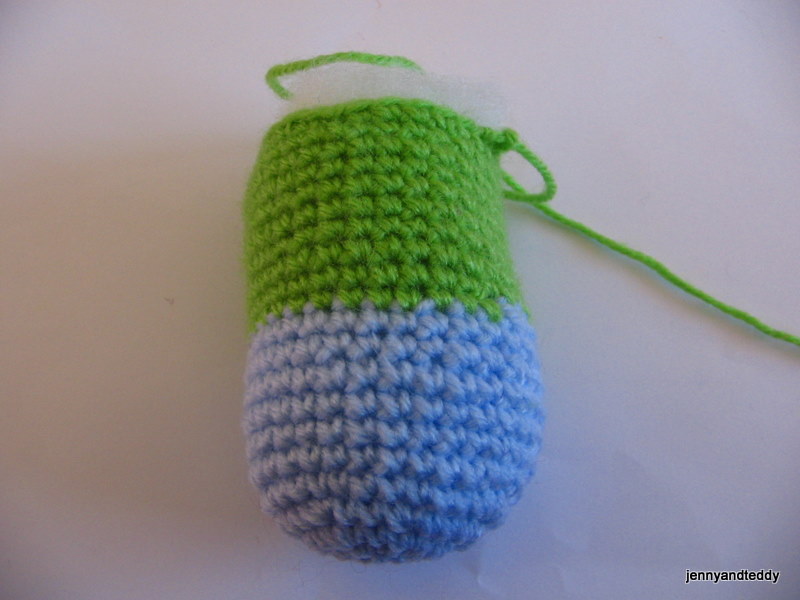
You will work from bottom to top
Round1. Make magic ring and 8sc in ring (8) blue
Round2. 2sc in each st around (16) blue
Round3. *Sc in next st, 2sc in next st* and repeat from * around (24) blue
Round4. *Sc in next 2 st,2sc in next st* and repeat from * around (32) blue
Round5-11. Sc in each st around (32) blue
Round12-20. Sc in each st around (32) green
Round21. *sc in each of next 6 st,dec 1* and repeat from * around (28) green
Then finish off and leave the long tail for sewing. And stuffing polyester firmly.
Froggy Arms color of your choice.

Make 2 pieces
Round1. Make magic ring and 8sc in ring (8)
Round2-14. Sc in each st around (8)
Then finish off and leave the long tail for sewing. And stuffing polyester.
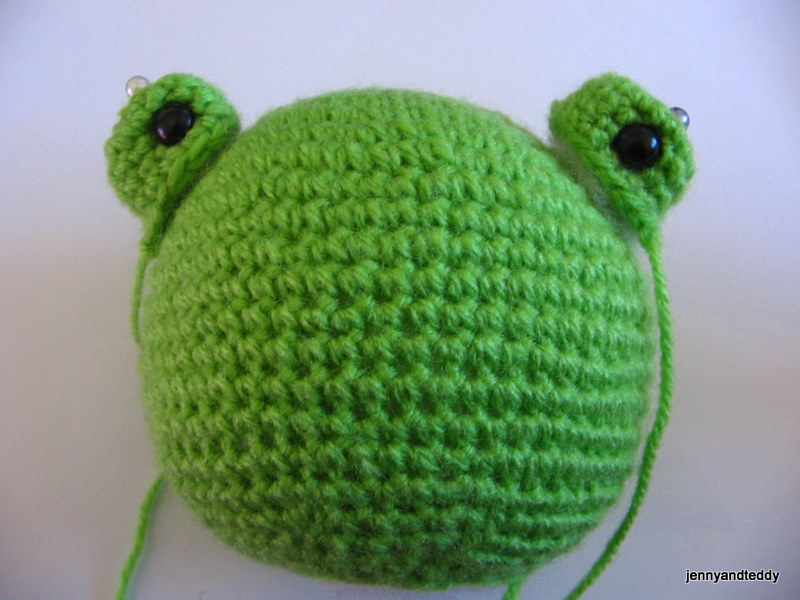
Froggy Eyes. Make 2 pieces (color of your choice)
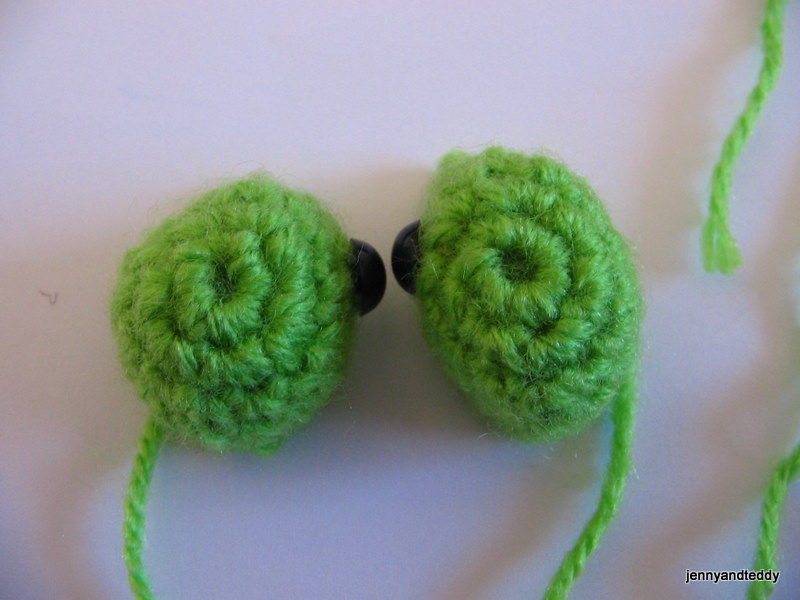
Round1. Make magic ring and 7sc in ring (7)
Round2. 2sc in each st around (14)
Round3-6. sc in each st around (14)
Finish off and leave long tail for sewing. And stuffing polyester.
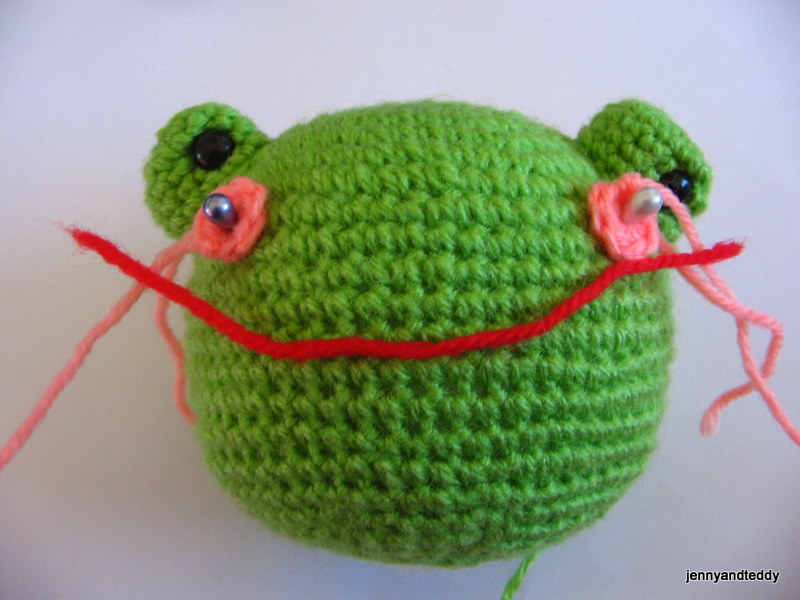
Pink dot for frog cheek. Make 2 pieces (color of your choice)
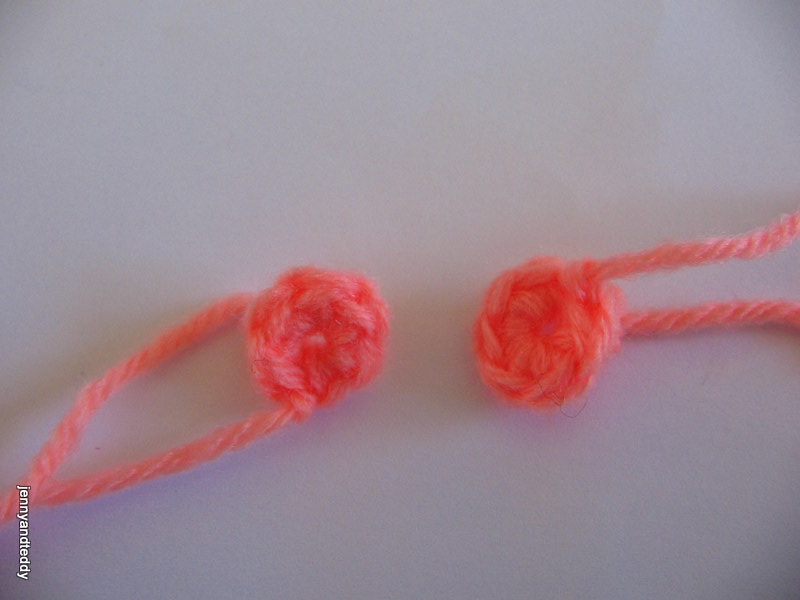
Round1. Make magic ring and 6sc in ring (6) and join with sl st. Leave long tail for sewing.
Froggy Legs color of your choice Makes 2 pieces.
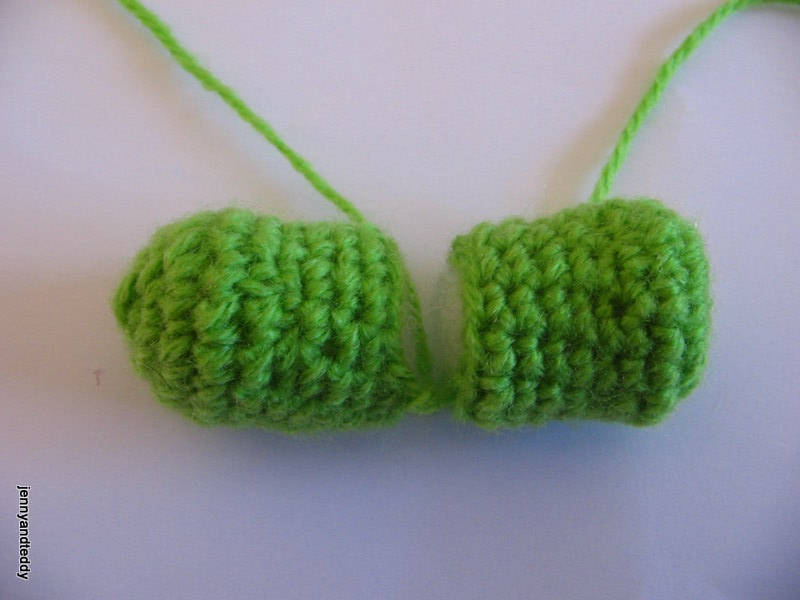
You will work from bottom to top
Round1. Make magic ring and 6sc in ring (6)
Round2. 2sc in each st around (12)
Round3. *Sc in next st, 2sc in next st* and repeat from * around (18)
Round4. Sc in each st around (18)
Round5. *sc in each of next 4 st,dec 1* and repeat from * around (15)
Round6. *sc in each of next 3 st,dec 1* and repeat from * around (12)
Round7-10. Sc in each st around (12)
Then finish off and leave the long tail for sewing. And stuffing polyester firmly.
Shirt strip (blue). Make 1 piece.
Start with 20 chains or more to adjust to fit your frog body, and finish off by leaving a long tail for sewing.
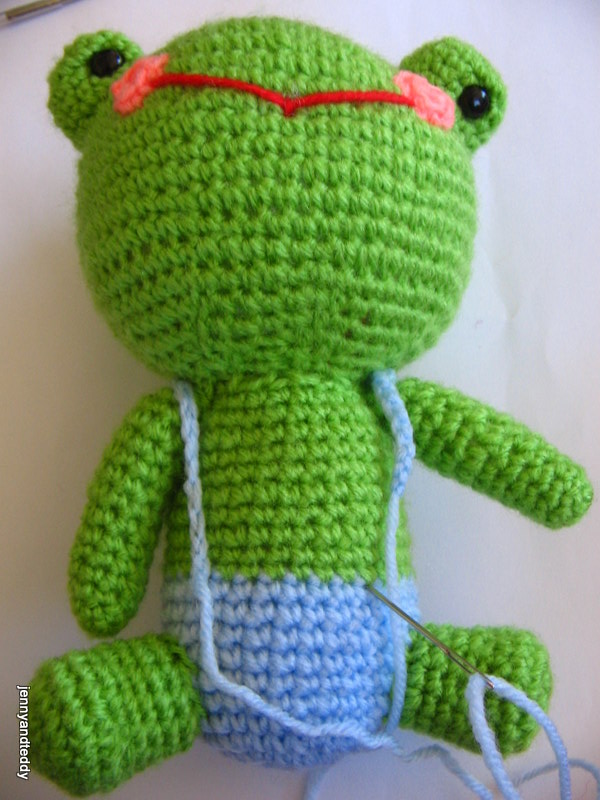
Assemble the frog.
Sewing eyes to the head and body to the head.Then arms and legs.


cyndi
Sunday 8th of November 2015
Hey, I just finished your frog. Mine isn't as good as yours,but I still love it.Thank-you so much for sharing your patterns. I am out of work due to my health and I can't afford to buy patterns.But I love to crochet.My grandson is going to love his frog.
jane
Wednesday 27th of January 2016
thanks Cyndi.
T'onna @ USS Crafty
Monday 1st of September 2014
Adorable frog!
jane
Monday 1st of September 2014
thank you Tonna.
carla
Monday 26th of August 2013
dank je wel voor het leuke patroon, hij zal gaan zwemmen in nederland
jane
Monday 26th of August 2013
thanks.
Astrid Der Kinderen
Monday 26th of August 2013
Hi. Yes thank you! It really helped. My very first amigurimi. http://db.tt/deK7gxTU
Astrid Der Kinderen
Thursday 15th of August 2013
Hi, I love your pattern of mr Frog. I have a question since this is my first amigurimi. After I finished the head I don't know which side to put on the outside and I really can't tell from the pictures. My second question is when you did the decreases to use one or both front and back loop. Sorry for maybe asking silly questions but it really is my first.
Thank you ! Astrid
jane
Saturday 17th of August 2013
Hi Astrid, the side that look nice will be outside for decrease use both loop front and back. Hope this help jane