
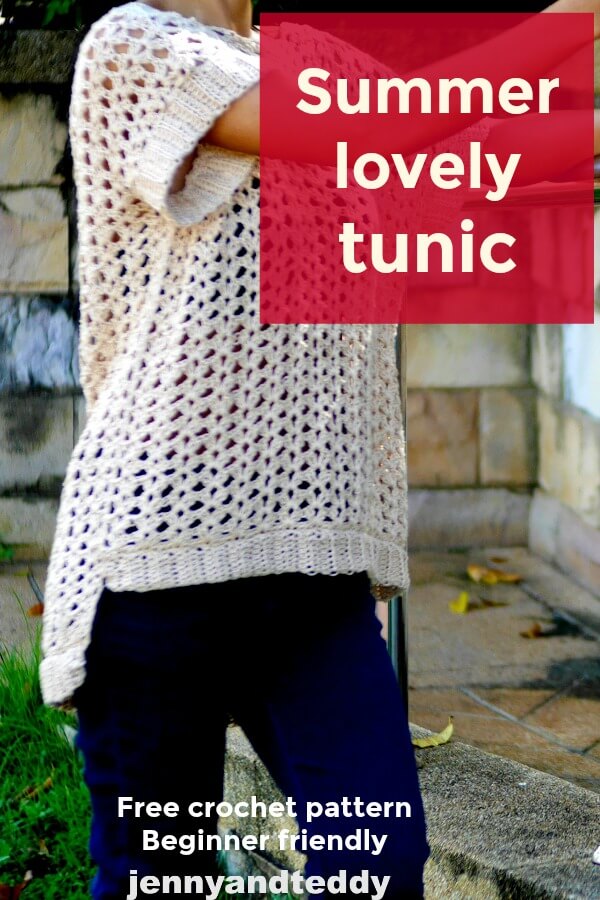
Summer is a wonderful time to crochet a cover-up. This free crochet summer tunic pattern will be perfect for you to wear and style with any outfit.
The unique design that is short in the front and long back will give you good coverage for a swimsuit cover-up or just casual everyday wear.
Pair it with short jeans cheeky style or leggings and have a fabulous summer day.
Simple summer tunic pattern.
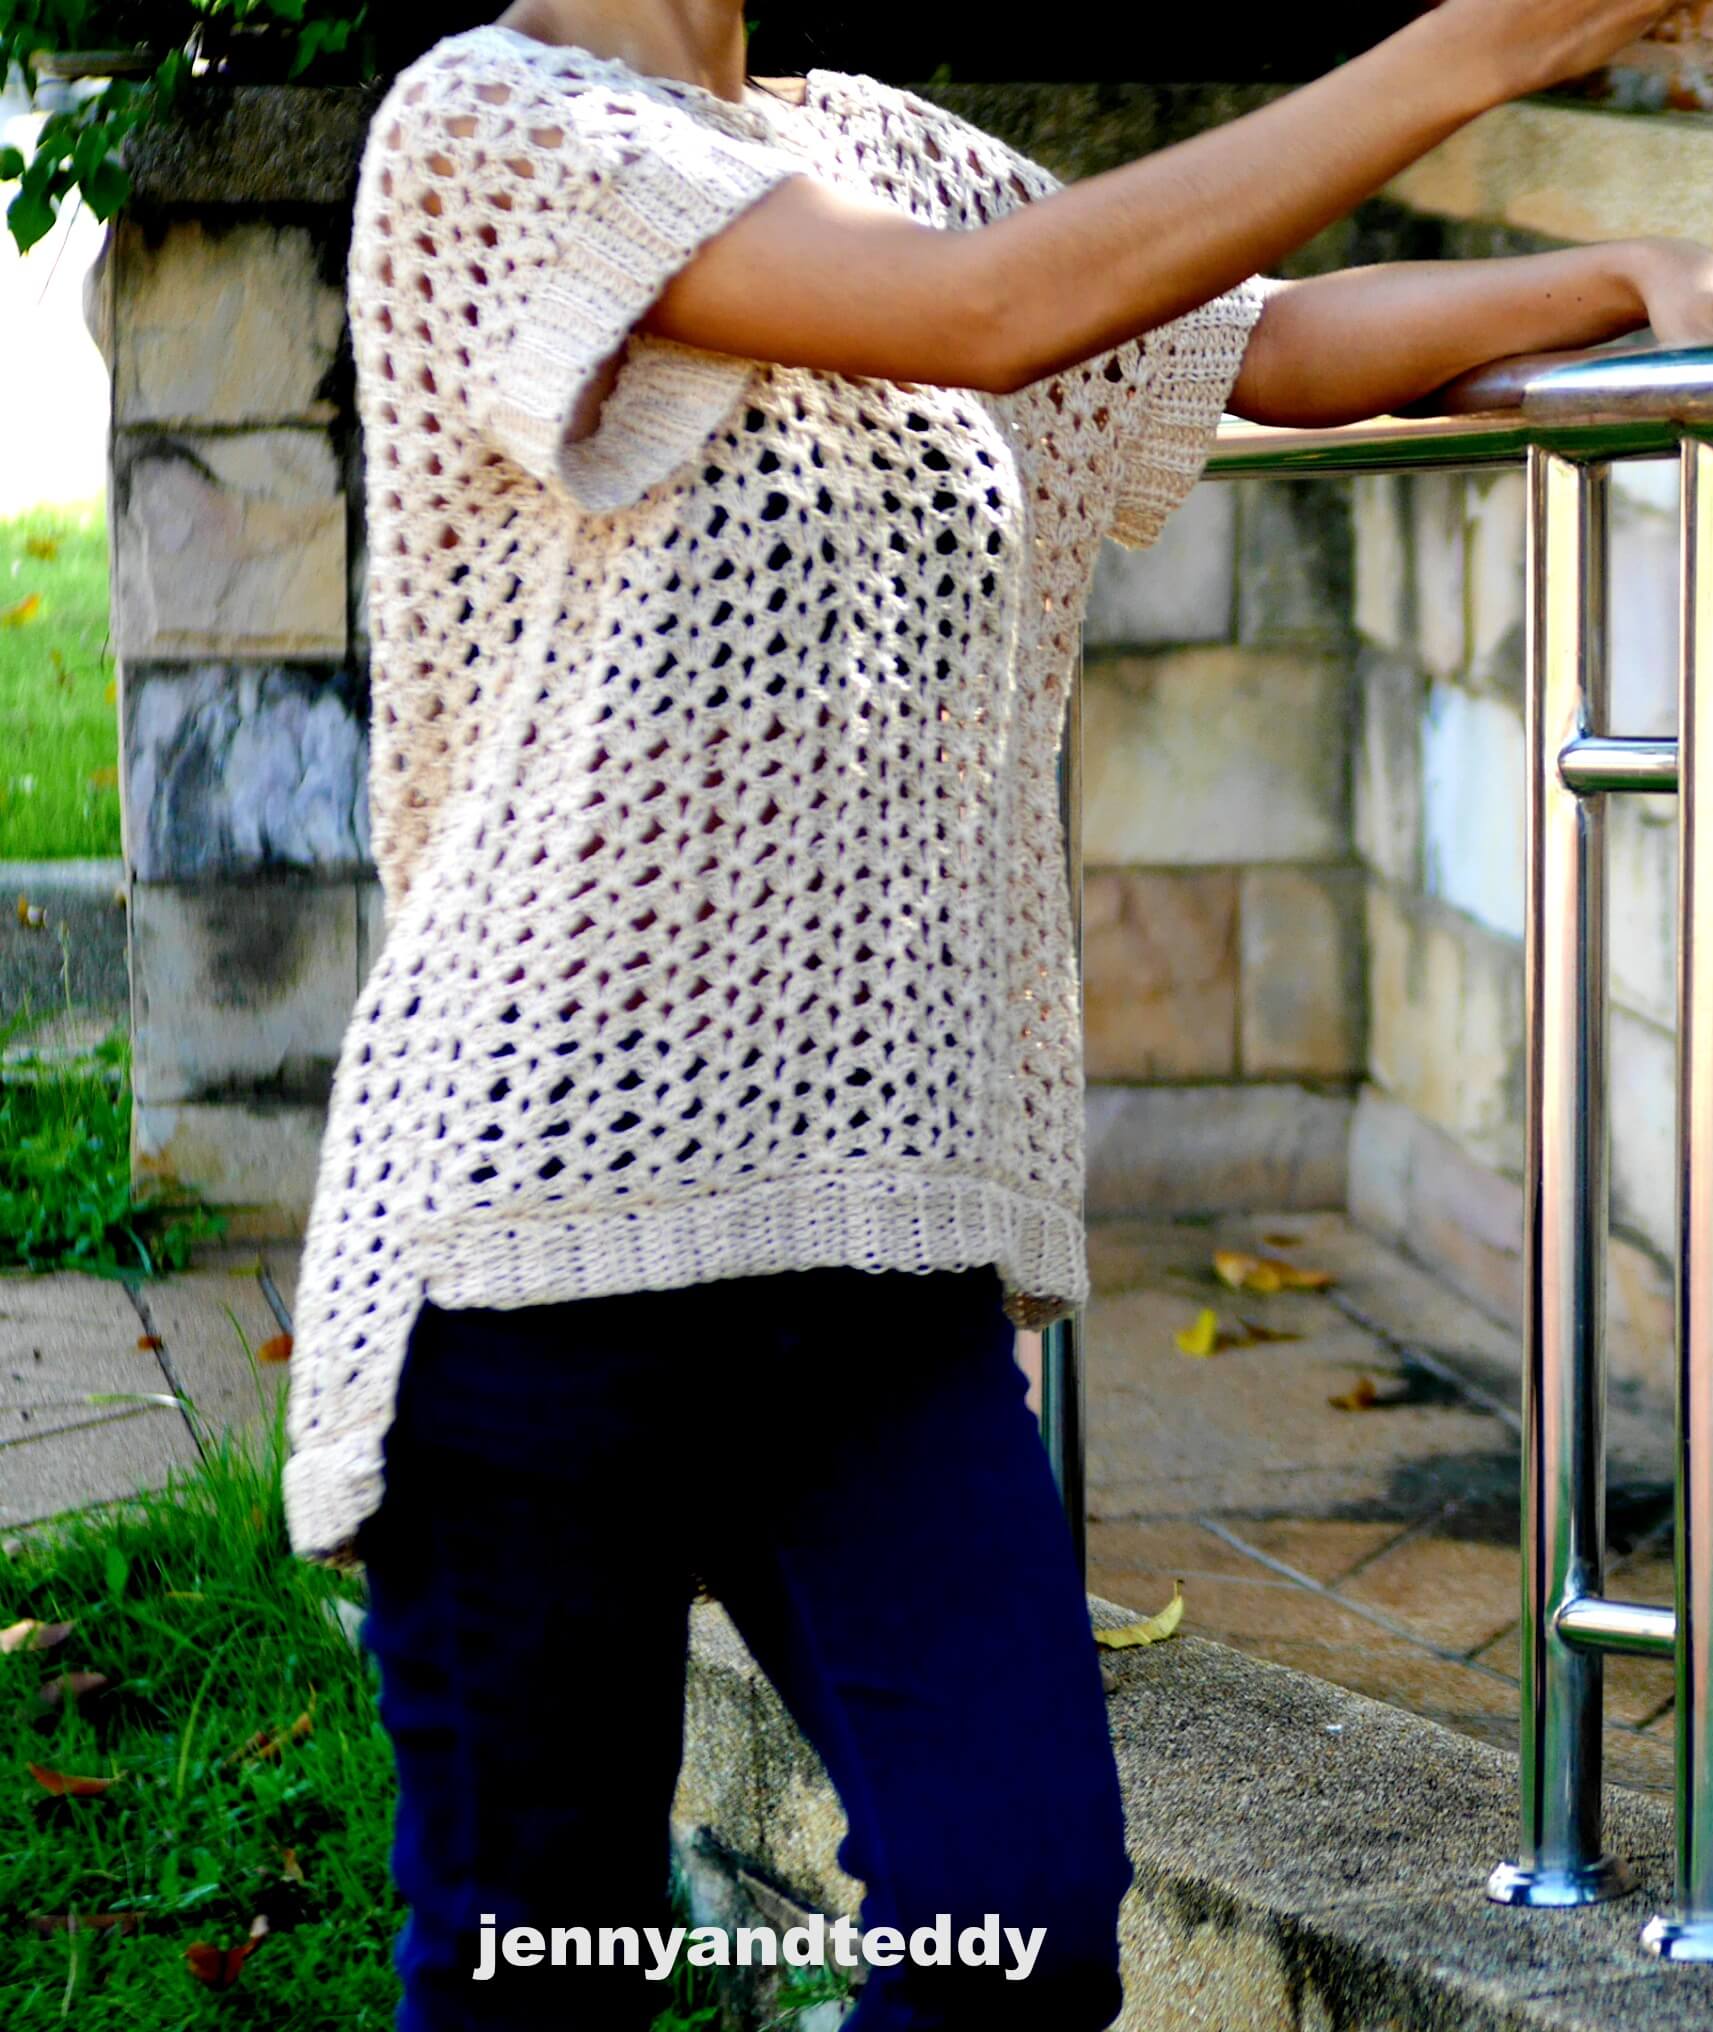
This easy crochet tunic top has a relaxed fit with no shaping at all.
They are lightweight and breeze-perfect for hot and humid weather like Thailand.
You will be surprised how simple they are, they are made from two identical rectangles.
I am so into the lace stitch bandwagon right now.
Because they give a beautiful sparkling finish to your crochet project and let the air come through the garment.
So you won’t be hot and sweaty when you wear them.
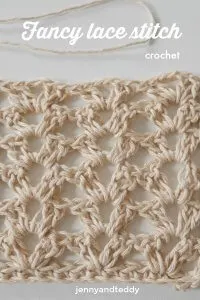
The simple fancy lace crochet stitch that I just discover and am in love with.
You can see them in many of my crochet top patterns, sweater top, and much more.
And oh mind they are very so simple stitches mostly double crochet and chain mixed together that is easy enough for a beginner crocheter, it is a perfect stitch!
Short-sleeved is created by just adding a crochet ribbed band to the armhole.

Let’s customize this easy breezy tunic pattern that is perfect just for you.
- Adjust to your size:
In the pattern, I have given you guys approximate sizes from S – 2XL.
But here me out this crochet top pattern actually you can customize them to be a perfect fit.
Or loose fitting for any size that you want them to be by measuring your bust.
Here is how, for example, my bust size is 32 inches then we dive by 2 so it equals 16 inches wide for each panel front and back for a perfect fit.
If you want a relaxed fit or loose fitting adjust by adding more inches to each panel for example 16+2= 18 inches wide for both the front and back panels of your tunic top.
- Boho tunic style:
If you love a bohemian style just skip the ribbed band at the bottom edge of the tunic then add the fringe instead.
- Perfect beach cover-up:
You guys could turn them into crochet beach cover-up dresses by adding more length to the front and back panel.
- Easy crochet sweaters:
Love the sweater type? Yep, that’s right you can also easily make them into breezy lace sweaters.
Make 2 more identical panels for the long-sleeved and attach them to the armhole and you’re all set!
Possible is endless if you have more ideas.
I am open to suggestions load me with the comment below.

Summer lovely tunic crochet pattern construction.
This crochet tunic top, They are made up of just 2 rectangles and the ribbing at the bottom of the tunic.
And the short sleeve is created by attaching the ribbed band to the armhole, the ribbed band is work separately and attaches to the tunic.

About yarn & yarn substitution.
In This crochet tunic pattern, the example piece I use is cotton yarn DK weight yarn or 3 light.
The cotton yarn gives more comfortable to wear and feels really nice on your skin, they also give a beautiful drape to the top.
You can also use 4 medium weight worst yarn and any kind of plant fiber will do just fine for the pattern.
Acrylic yarn will be fine also as long as they have a cotton blend.
Wool yarn will be ok also but it might give you not the same beautiful drape as cotton yarn.
Let’s get into making this crochet tunic-free pattern shall we?
Material
- I used cotton DK-weight yarn. I use around 1000 yards.
- 4.0 mm crochet hook
- Sewing yarn needle
- stitch marker
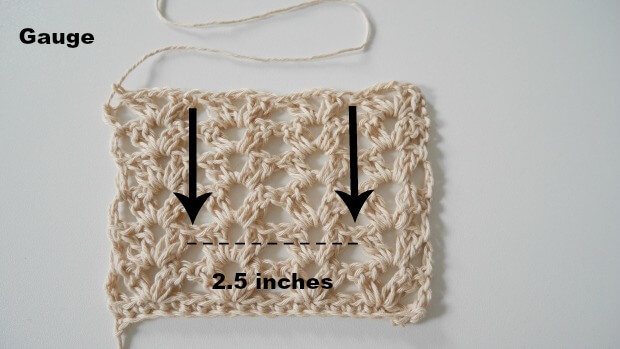
Gauge: 2 groups of fancy lace stitch = 2.5 inch
Skill and abbreviations
You will need to know how to make (American crochet term)
- sc which mean single crochet
- dc which mean double crochet
- hdc which mean half double crochet
- blo which mean back loop only
- ch Chain
- slip knot
- sk mean skip stitch
- Fancy lace crochet stitch

Add to your ravelry.
Get the free pattern below or this pattern is also available as an inexpensive, ad-free, PDF printable instant download in my etsy shop. Thank you so much for your love and support. I am really appreciate you.
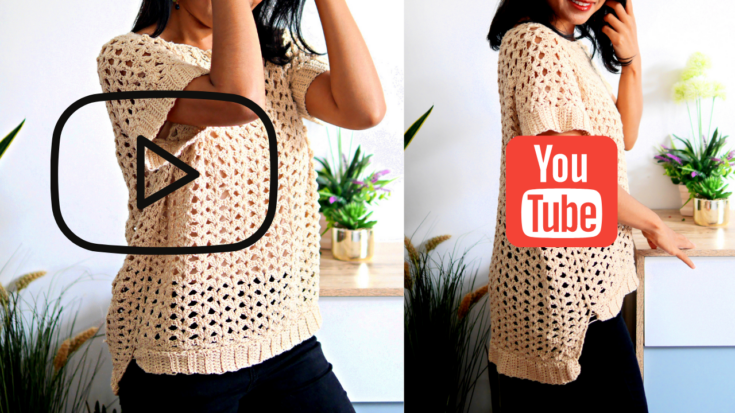
How to crochet a summer lovely tunic top pattern video tutorial on youtube.

Finished Size Approximately:
This summer crochet tunic is made in sizes small to medium.
the other sizes are easy to adjust by just adding more chains to the foundation chain to make it bigger.
See the pattern below.
For me the model wearing this piece, I am 4’9 feet tall.
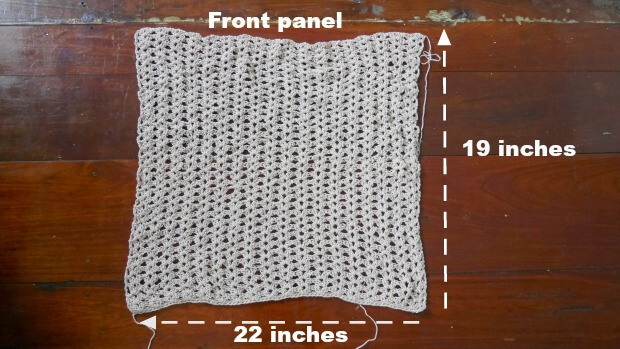
Front panel.
of one rectangle. (front panel)
- 19 inches long
- 22 inches wide
Pick up a crochet hook size 4.0 mm and Start off by making a slip knot Then make 72+2= 74chains for sizes small and medium.
(foundation chain multiple of 4+2).
- ( size L 80+2 chain)
- ( size XL 92+2 chain)
- ( size 2XL 100+2 chain)
Row 1: Sc across, ch 3, turn.
Row 2: then skip the first stitch and make 2dc,ch2,2dc all in the same of the next stitch, then
* skip 3 and make 2dc, ch2,2dc all in the next stitch* repeat * to * across until the end of the row, then you will have 2 stitches left sk1 and make 1dc in the last stitch. ch3 and turn.
Row3. now you will make * 2dc,ch2,2dc in the chain space of the previous row* repeat * to * across until the end of the row. at the end make 1dc in ch3 space of the previous row. ch3 and turn.
Repeat row 3 until you get around 19 inches long for the front panel.
Repeat the same process for the back panel until you get around 23 inches long for the back panel.

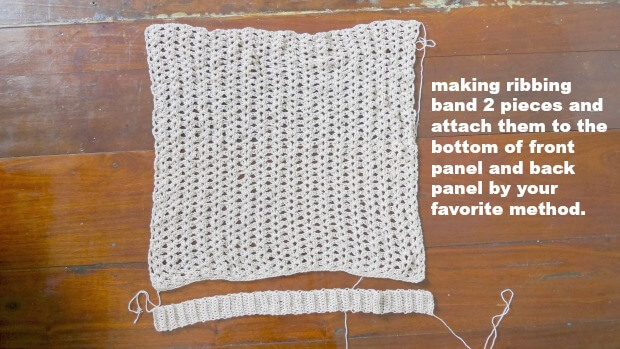
Now we are going to make a separate ribbing band to attach at the bottom ( the wide) part of the front panel and back panel.
Pick up your 4.0 mm crochet hook and start with making a slip knot and 10 chains and crochet row by row the back loop only until you get the length that matches the length of the wide part of both panels.
Row1. crochet 1hdc in each of the next 9 chains from hook, ch1 turn (9)
Row2. crochet 1hdc in each of the next stitches from hook ( blo only), ch1 turn (9)
Repeat round 2 until you get the length matching the wide around 22 inches.
After you got the length of the band that matches the length of the wide now it’s time to attach them.
I attach them by sc or you can attach them with your favorite method ( whip stitch) or else.
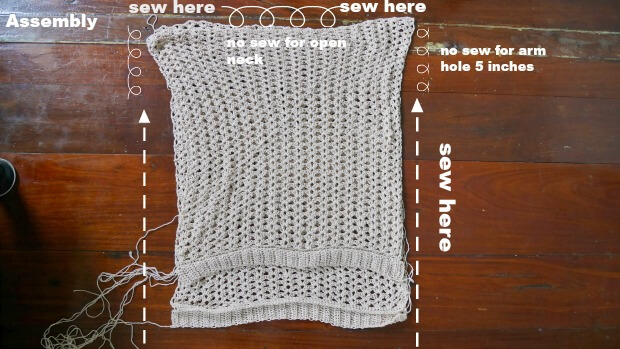
Assembly the tunic.
Side Seams to create the arm hole:
Lay the back panel first then the front panel on top then.
Seam up each side of the tunic with a whip stitch or your preferred stitch method.
Leave for the arm hole about 5 inches long at the top upper end.
You may adjust the how long of the arm hole to fit your size.
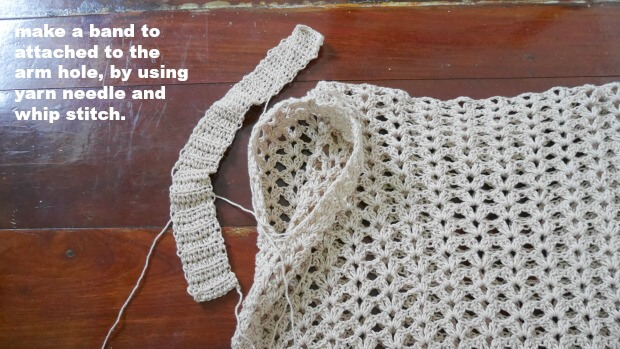
Create short sleeves.
Now we are going to make a separate ribbing band to attach to the armhole.
Pick up your 4.0 mm crochet hook and start with making a slip knot and 10 chains and crochet row by row the back loop only until you get the length that matches the length of the armhole.
Row1. crochet 1hdc in each of the next 9 chains from hook, ch1 turn (9)
Row2. crochet 1hdc in each of the next stitches from hook ( blo only), ch1 turn (9)
Repeat round 2 until you get the length matching the armhole.
After you got the length of the band that matches the length of the armhole now it is time to attach them.
I attach them by sc or you can attach them with your favorite method ( whip stitch) or else.
All done!
Now enjoy your new simple crochet tunic!
If you make one I would love to see your creation tag me on Instagram!
Diane
Thursday 6th of July 2023
Tres chic, looks so pulled together and relaxed. Thanks for sharing.
Violeta
Friday 28th of April 2023
Hi Jane! I wanted to drop a quick message to let you know that I featured your awesome tutorial on Crafts on Display. You can check it out here – https://craftsondisplay.com/crochet/diy-tunic-free-crochet-pattern-28628/ All the best!
jane
Thursday 4th of May 2023
Thank you so much Violet.
Johanne
Friday 6th of May 2022
Thank you so much for this wonderful,easy crochet pattern! I started one already and I find it's very pleasant to work on! Depending on the yarn we use, it can be worn in summer or winter too! 👍❤️
Bhagyashree
Monday 14th of March 2022
Buttyful
Ute
Tuesday 11th of January 2022
Can you use Bamboo yarn for this tunic also?I really like you patterns there easy to understand!🙂
Ute Bivens
Friday 11th of March 2022
@jane, thank you i will try it.you got some really nice patterns.
jane
Friday 14th of January 2022
Hi Ute yes you can use bamboo yarn