
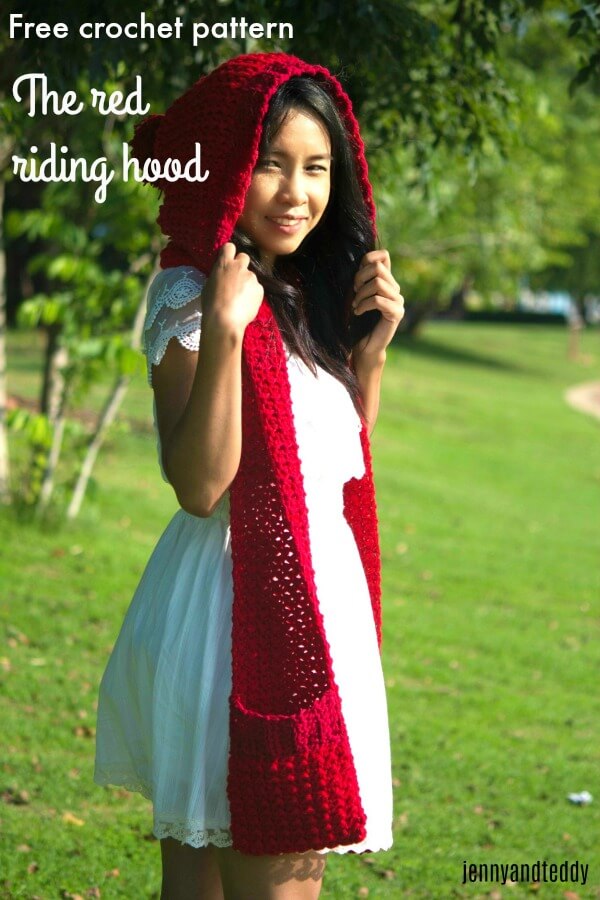
Halloween just coming around the corner, so this fairytale-inspired the red-riding hood crochet pocket scarf is here.
I had so much fun crocheting this quick and easy-pocket shawl. Or you guys could call it a chunky pocket scarf because they are made from DK weight yarn held double when crocheted.
The inspiration for this scarf with pockets pattern.
The pocket shawls/scarves are so hot right now You could find them everywhere in the crochet community. And I can’t resist I had to make one for myself.
Moreover, Halloween is coming closer, Why didn’t I crochet myself an easy pocket scarf and turn them into a fairytale-inspired costume?
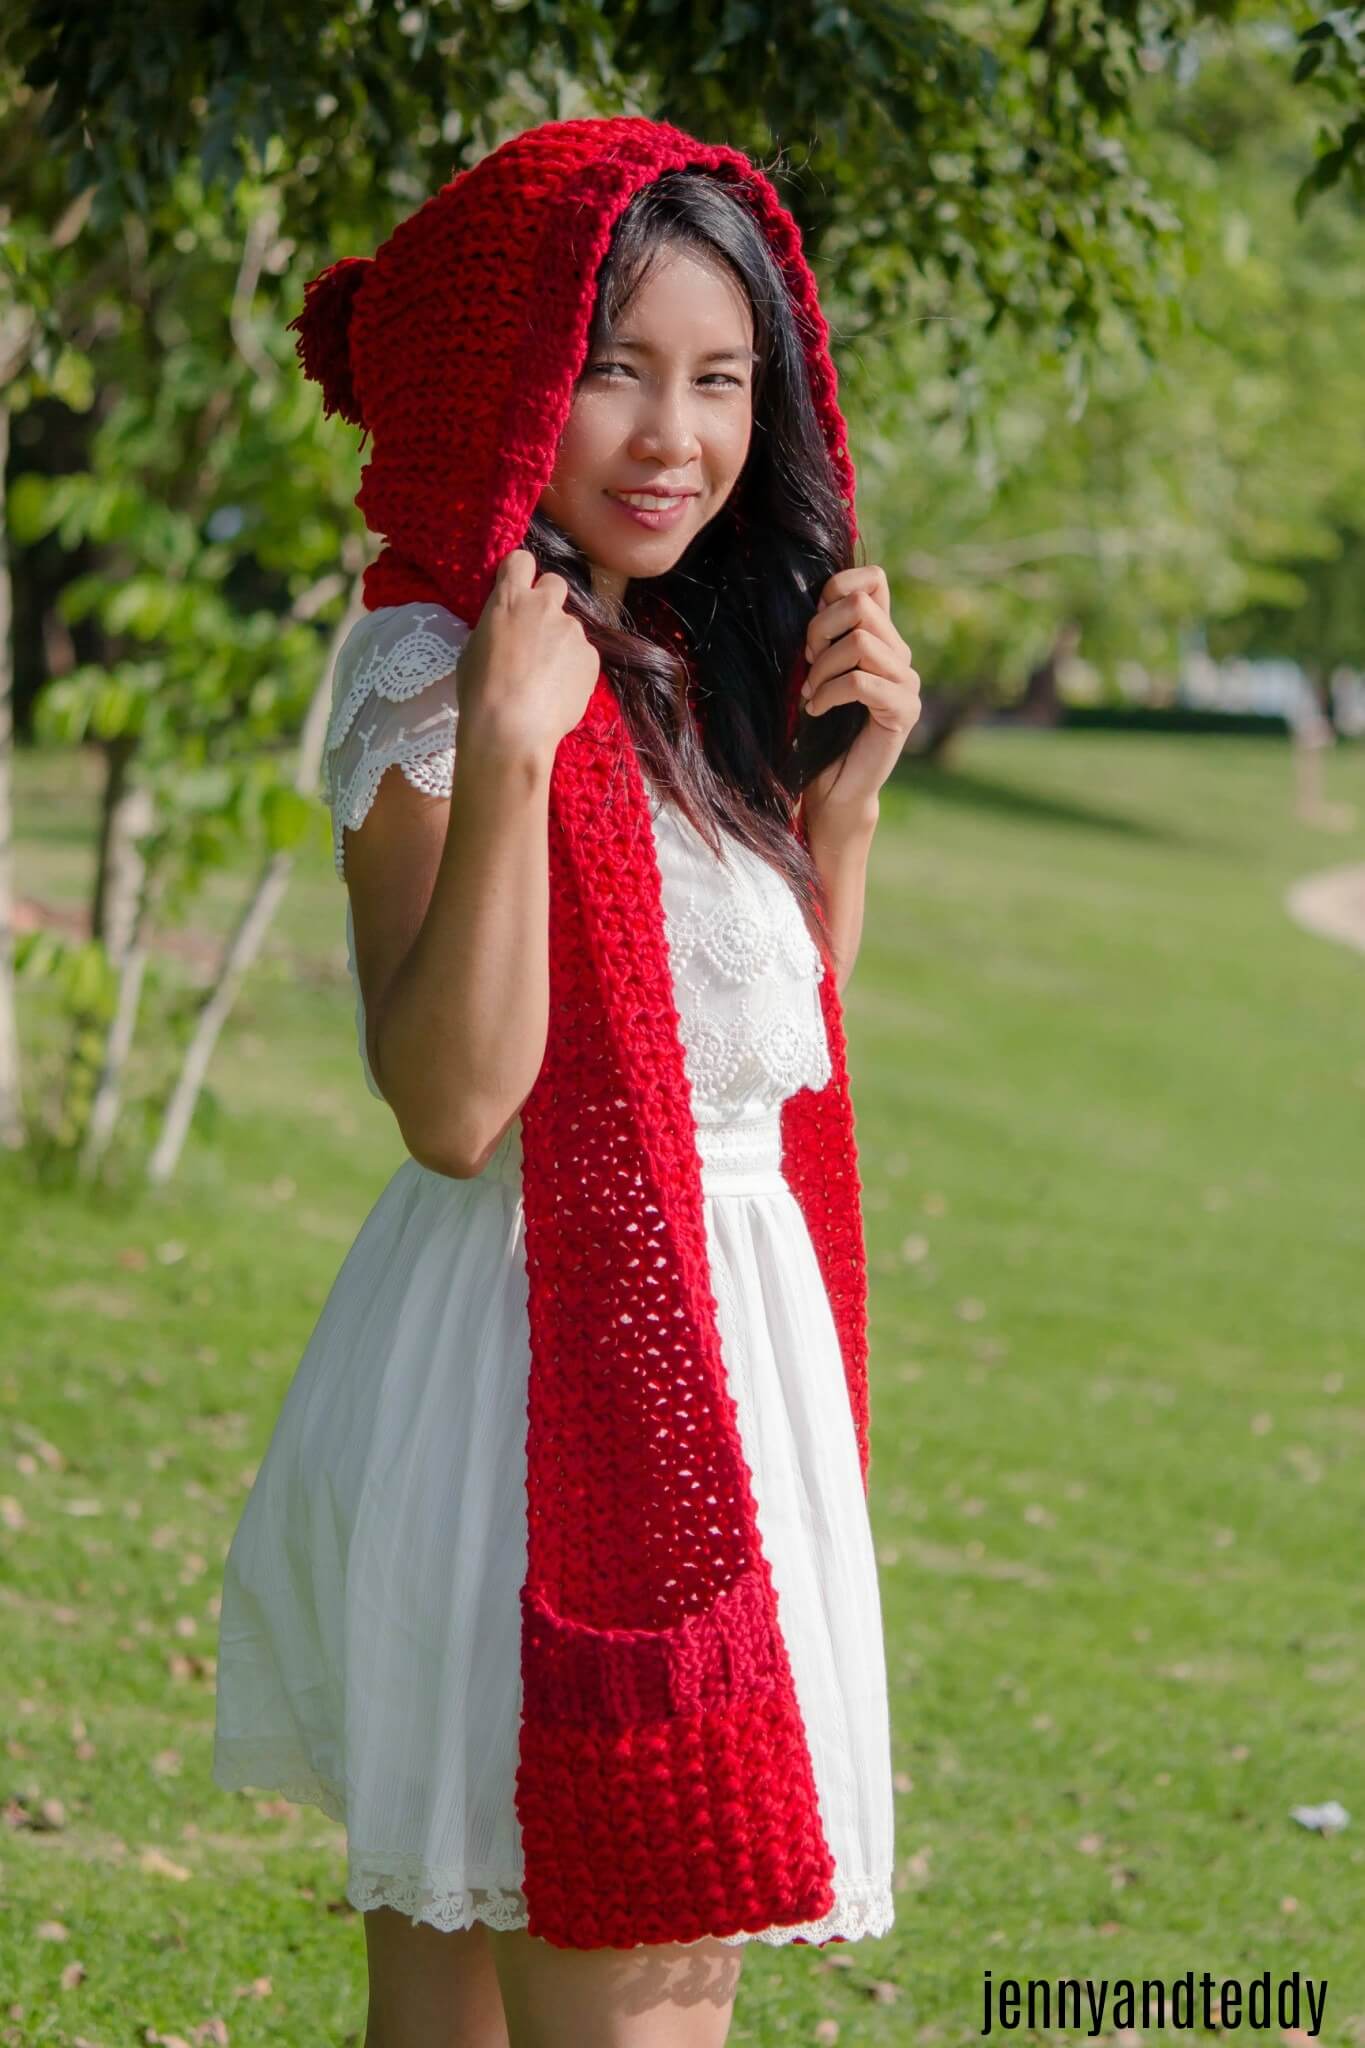
So what I did was add a crochet hoodie to the pocket scarf and tadaaa the red riding hood is here.
Want more fun fairytale inspires crochet patterns? I got you cover here another fairytale crochet hood cape.
Moreover, this easy crochet bunny ear headband is perfect for Easter and last but not least is a super quick crochet cat ear headband.
and the last is my popular Chole easy crochet hooded scarf pattern also had pockets.
About this easy pocket scarf pattern.
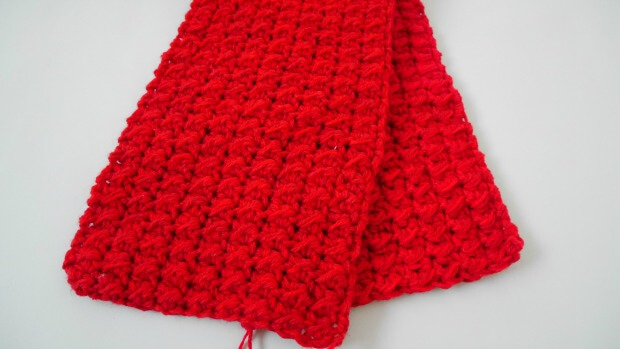
This red-ridding hood pocket scarf is made from one long crochet rectangle with easy stitches and the hood is crocheted separately and attached to the scarf body.
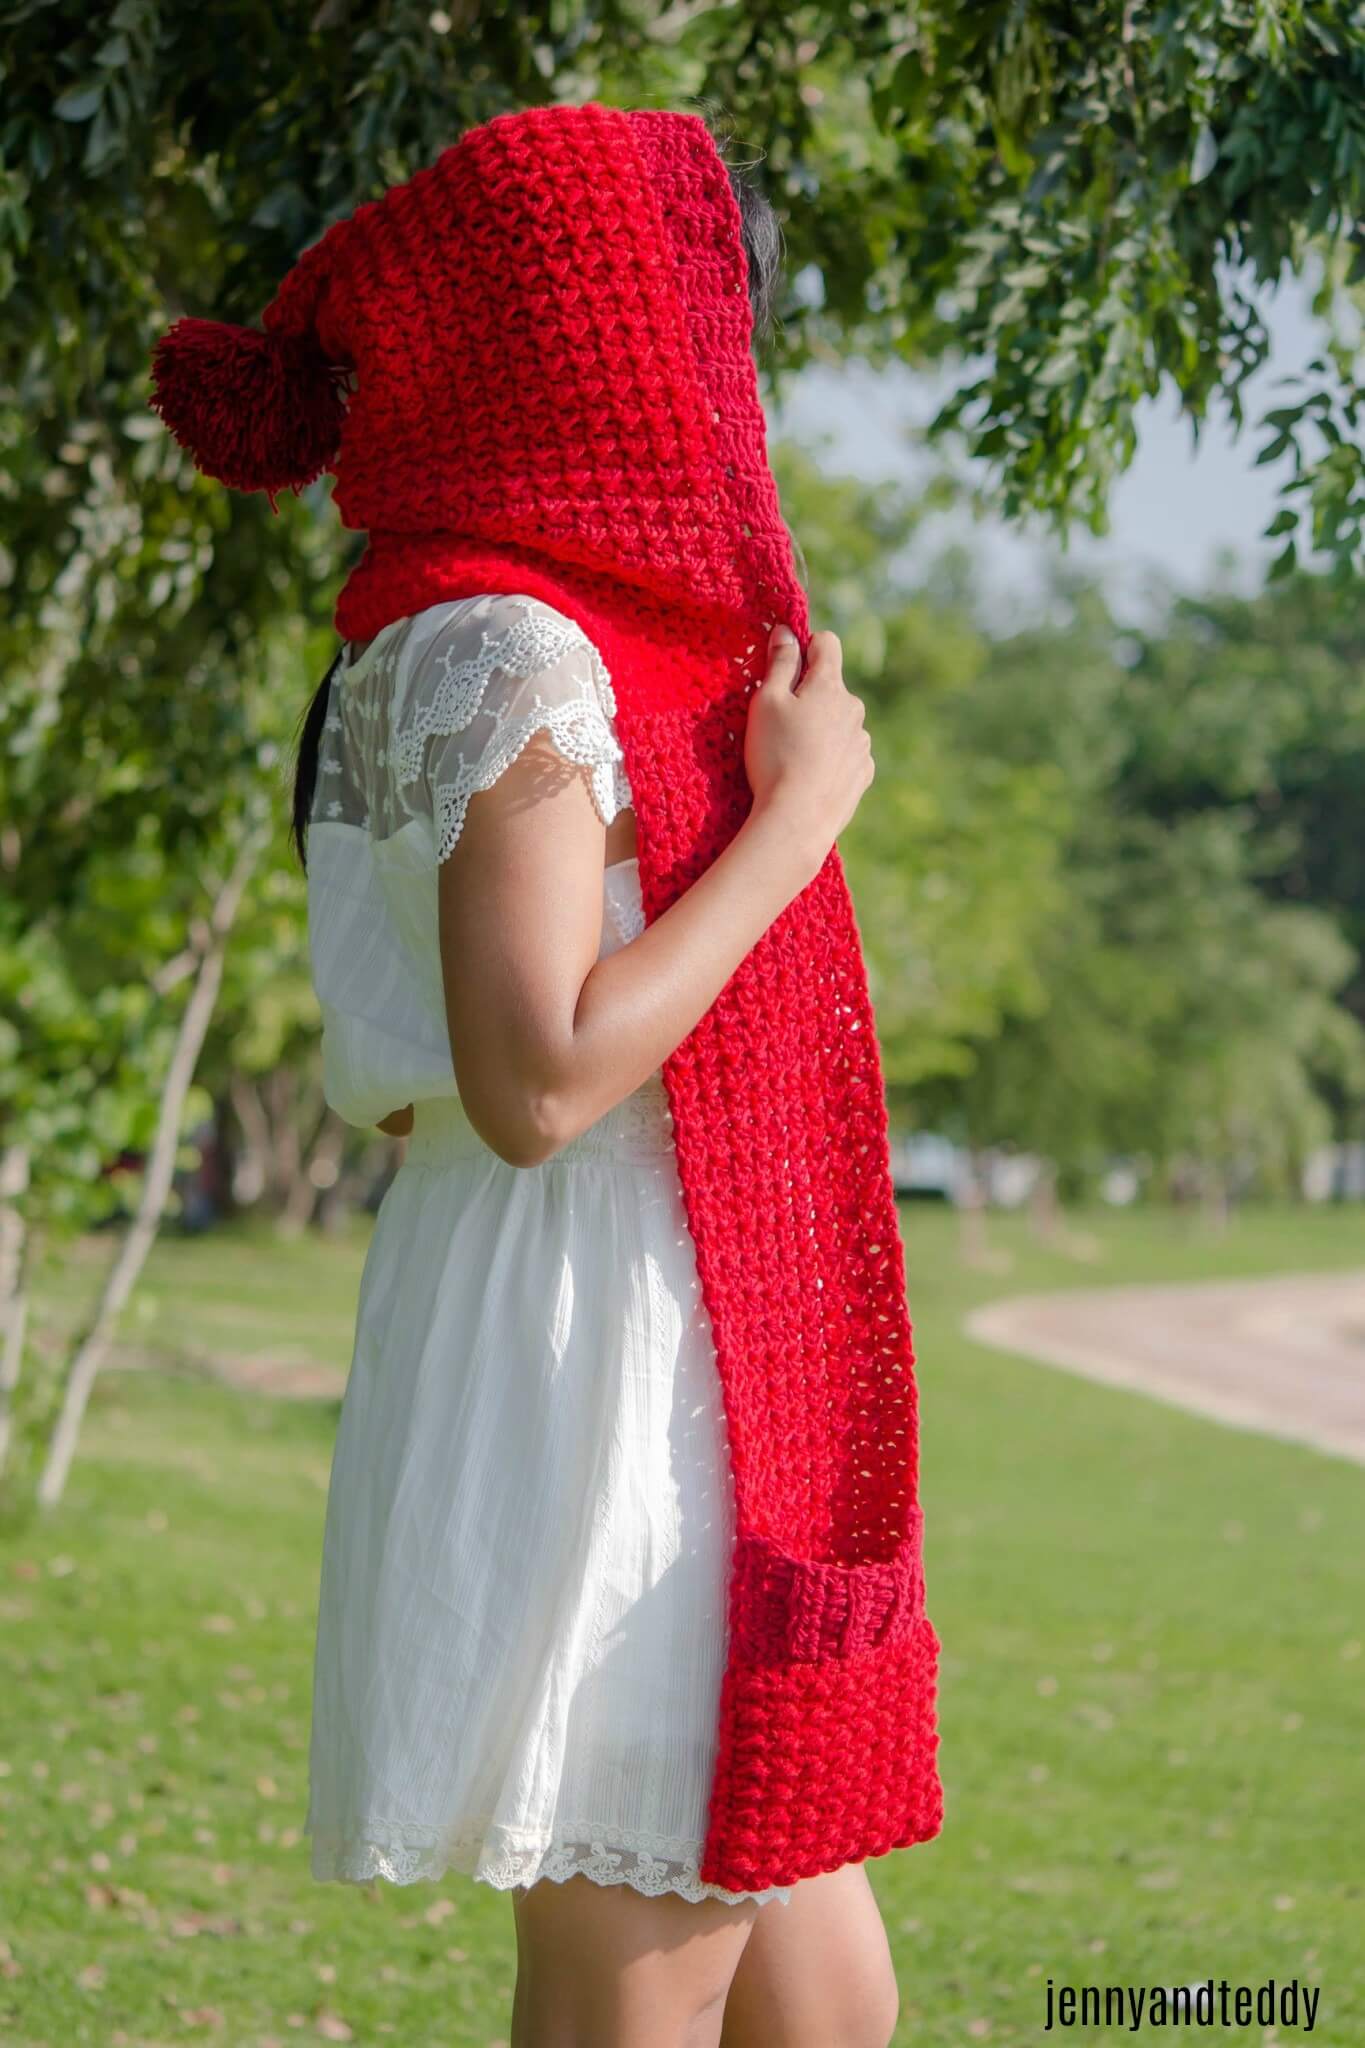
The pocket is created by folding each end of the scarf and then seam on the side.
This simple pocket shawl scarf is super quick to whip up because uses thick yarn, in this pattern I use acrylic DK weight that holds double when crocheted to create the chunky look to the scarf.
Let’s get started with how to crochet a pocket scarf step by step.
Material for making this easy crochet scarf with pockets.
- I used 100% acrylic Lion brand Heartland color redwood.
- Yarn weight 4 medium 142 gram, 251 yard
- You will be holding 2 strands of yarn while crocheting at all times for this pattern.
- But If you do not like to work with 2 strands of yarn while crocheting just switch up with 5 chunky weight yarn instead it will do the job.
- For chunky yarn or bulky yarn, I would recommend Lion brand wool to ease thick and quick.
- 6 mm crochet hook or J/10 US hook size
- Sewing yarn needle
Skill and abbreviations
- You will need to know how to make
- Sl st (slip stitch)
- hd which means half double crochet
- ch, Chain
- slip knot
- Blo which means crochet in the back loop only
- Gauge: 2 crochet stitches x 2 rows = 1 square inch
This crochet scarf with a pocket pattern is made for beginners! There is a basic skill level required to make.

Get the free pattern below or this pattern is also available as an inexpensive, ad-free, PDF printable instant download in my etsy shop. Thank you so much for your love and support. I am really appreciate you.
Add to your ravelry queue.
The easy pocket scarf pattern instruction.
Start off by making a slip knot Then make 20 chains (foundation chain) to hold yarn double which means holding 2 strands of yarn while crocheting.
Row1. Sl st in the next chain from hook, then * Sl st in the next chain, 1hdc in the next chain*. Repeat from*to* all across, and make Sl st in the last chain. Turn chain 1
Row 2. Sl st in the next stitch from the hook, then 1hdc in the next stitch. Then * Sl st in the next chain, 1hdc in the next chain*. Repeat from*to* all across, and make Sl st in the last chain. Turn chain 1
Repeat row 2 until you have reached the desired length.
For my pocket scarf, I measure about 78 inches long and 6 inches wide.
Finish off and leave the long tail for sewing,
Time for crocheting the hoodie.
Start off by making a slip knot Then make 28 chains (foundation chain) and hold the yarn double which means holding 2 strands of yarn while crocheting.
Row1. Sl st in the next chain from hook, then * Sl st in the next chain, 1hdc in the next chain*. Repeat from*to* all across, and make Sl st in the last chain. Turn chain 1
Row 2. Sl st in the next stitch from the hook, then 1hdc in the next stitch. Then * Sl st in the next chain, 1hdc in the next chain*. Repeat from*to* all across, and make sl st in the last chain. Turn chain 1
Repeat row 2 until you have reached the desired length.
For my rectangle for the hoodie I measure about 26 inches long and 9 inches wide.
Finish off and leave the long tail for sewing,
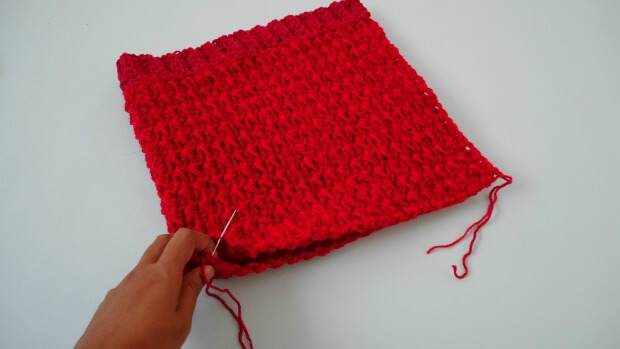
Assemble the hoodie part of the scarf.
Fold the rectangle in half and we stitch up the back of the rectangle to form the hoodie by using a yarn needle.
If you guys can’t picture how I did this then have a look at my teddy bear hoodie hat have more detail on it.
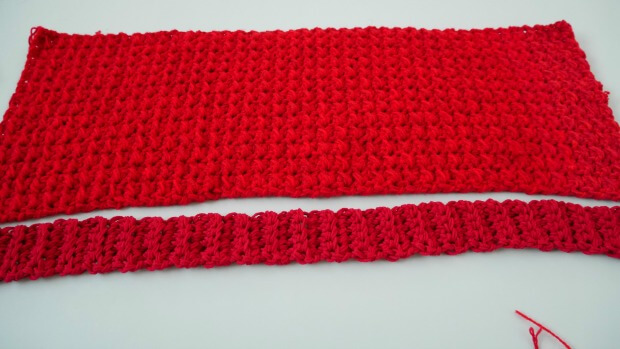
Make a ribbed band for the hoodie and the pocket part.
A ribbed band We make separate from the scarf and hoodie
So we make 2 pieces for each side of the pocket scarf and 1 piece for the hoodie hat.
Start off by making a slip knot Then make 6 chains (foundation chain) hold the yarn double which means hold 2 strands of yarn while crocheting.
Row1. hdc in the next chain from hook, then 1hdc in the next all across until the end of the row, Turn chain 1
Row 2. Blo, hdc in the next stitch from hook, then 1hdc in the next all across until the end of the row, Turn chain 1
Repeat row 2 until you have reached the desired length.
The band of the hoodie I measure is 26 inches long and 1.5 inches wide.
For the scarf band, I measure mine as 6 inches long and 1.5 inches wide.
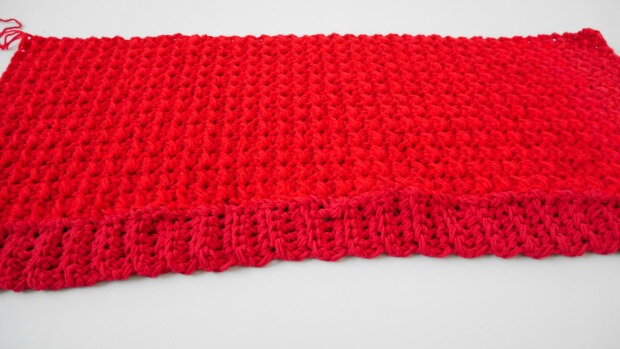
Now we are ready to assemble the red riding hood pocket scarf.
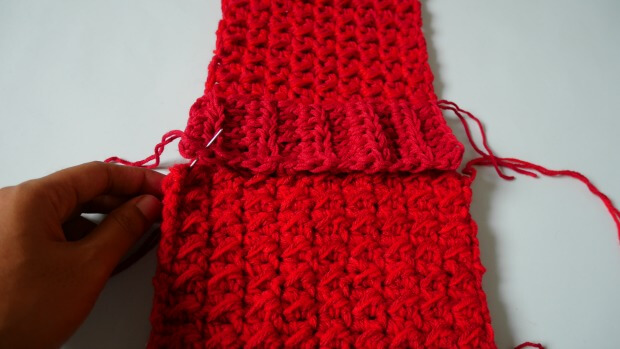
We attach the ribbed band to each end of the scarf by sewing using a yarn needle after we finished attaching the band. Then we take one end of the scarf and fold it back 8 inches on top of the scarf. This will create the pocket.
Repeat on the other end of the scarf.
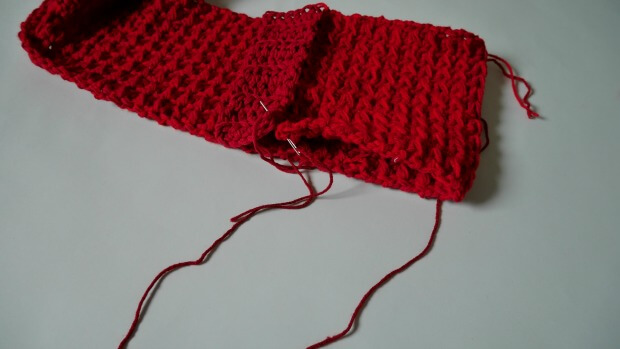
For the band of the hoodie, we attached them by sewing.
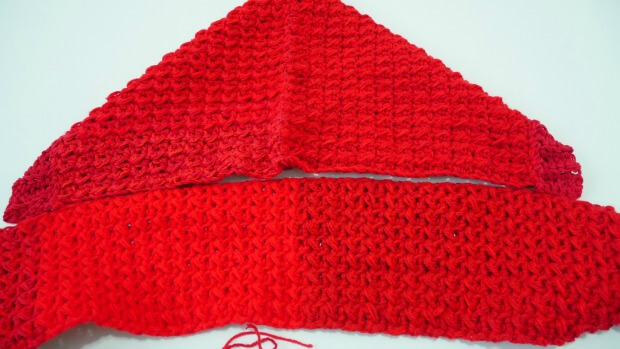
After we did with 1 piece of the hoodie and the pocket scarf then we attach the hoodie to the pocket scarf.
Finally, you could add the pom pom to give the finishing touch or it’s also very pretty as it is without the pom pom.
If you make one I would love to see your creation tag me on Instagram! would love to see your creation.

Happy crocheting.
Lizzie
Monday 16th of October 2023
Hi I’ve started this project and I’m sure I need to trust the process.. however I feel like it’s pretty stiff? Will it loosen as it get longer?
jane
Monday 23rd of October 2023
Hi Lizzie you colud go with bigger crochet hook size
sandra
Tuesday 22nd of October 2019
could you estimate yardage in chunky yarn at all? please I've made this scarf already n it's beautiful! I want to try in chunky yarn too tho
Lizzie
Monday 16th of October 2023
@sandra, hi when you made this scarf if you can remember .. was it stiff.. I’m using red heart super saver 100% acrylic medium 4 two strands and it seems very stiff but the pattern looks right to the pictures just that it’s really stiff
jane
Monday 28th of October 2019
HI Sandra, yarn yard would be around 600-700 yard.
Vickie 453 Foster
Monday 25th of February 2019
In the beginning of the foundation row, you do not mention what stitch to start in after the 20 chains?
jane
Wednesday 27th of February 2019
Start with sl st as in row 1. Row1. Sl st in the next chain from hook , then * Sl st in the next chain , 1hdc in the next chain* . Repeat from*to* all across , and make sl st in the last chain. Turn chain 1.
Ashley
Thursday 10th of January 2019
I am having a bit of issue as to how to sew the hood on the scarf, are you supposed to sew it to the edge of the scarf or in the middle? Do you attach the edge of the hood before sewing rectangle together or after? More instruction on this would be helpful!
jane
Friday 11th of January 2019
HI Ashley, I sew the hood to the edge of the scarf but before hat I attach the ribbing band to the rectangle first then make sew the hood after that attach the hood to the edge of the scarf. hope this help .
Suzanne Campbell
Sunday 25th of November 2018
Oh, this is beautiful! Easy to follow pattern & for free?! Thank you so much! I'm going to make this for my two daughters ❤️
jane
Sunday 25th of November 2018
Thank you Suzanne.