Sharing is caring!
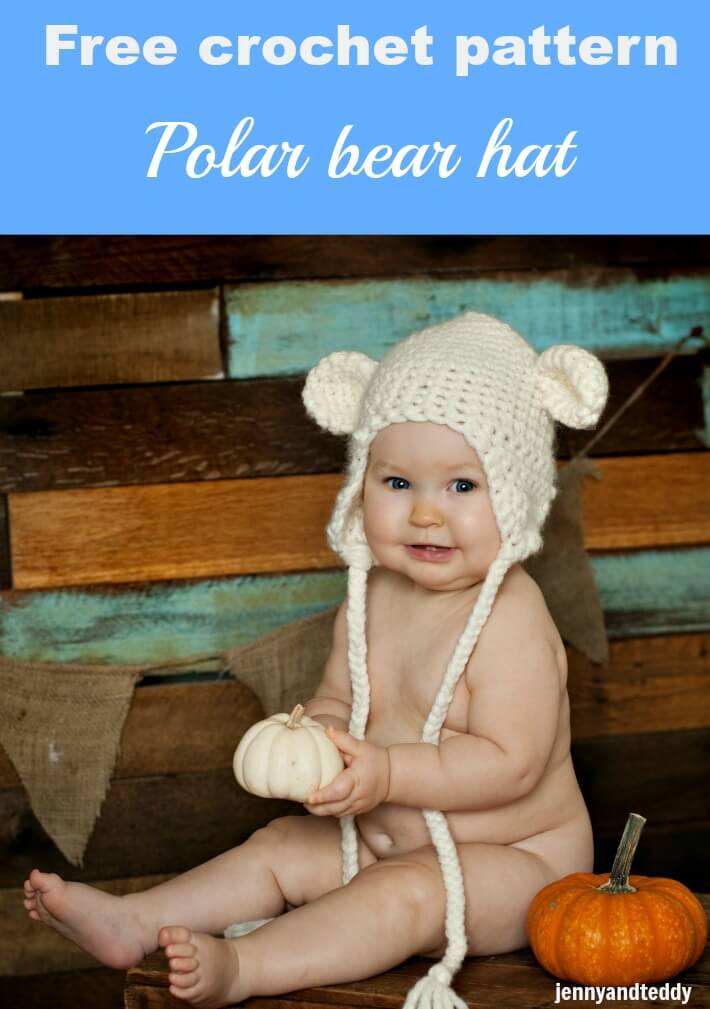
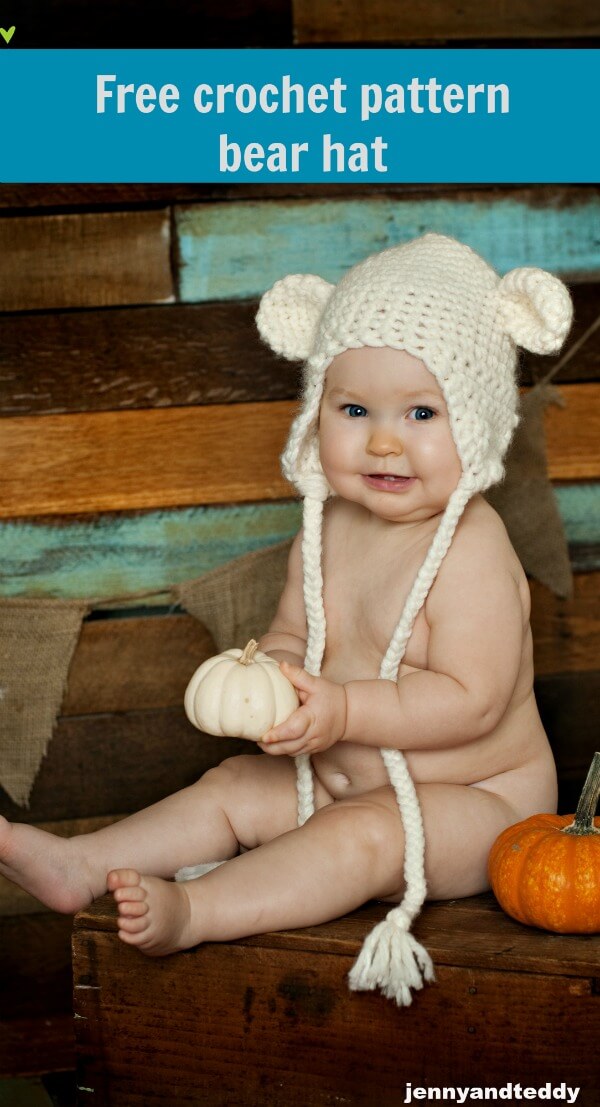
Hi guys! How are you doing so far this year? Any new project that you have made?I love to hearing from you all.This project bear hat is so easy to make. So if you are crochet or Amigurumi beginner this pattern is perfect for you, you can whip up with in an hour. It’s will be a great gift for babyshower or any occasion for your friends and family.
Special thanks to jennifer Jayne photographer visit here at
http://www.facebook.com/JenniferJaynePhotography?sk=photos
Are you ready to make one?
Let get the supply first.
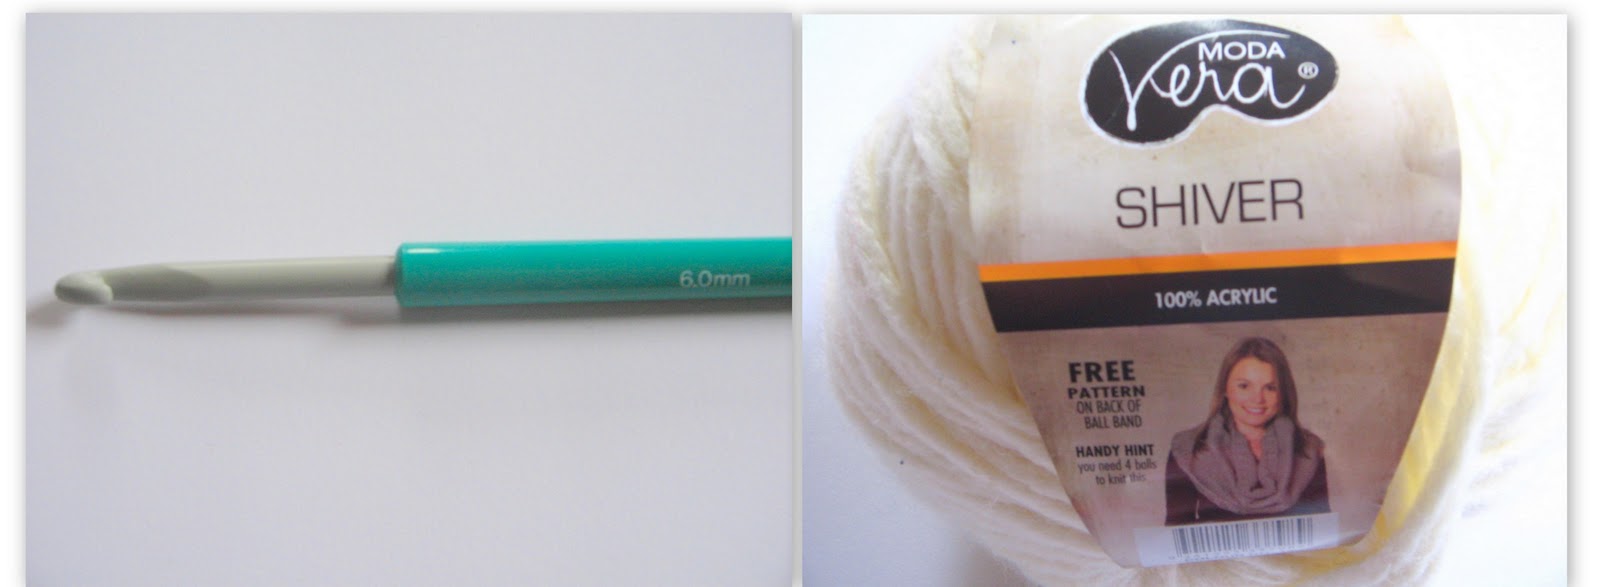
Materials:
You will need
MC (shown here in White colour): 100 grams/85 meters of super bulky yarn (brand MODA Vera Shiver 100% acrylic)
Crochet hook size 6.0mm
Sewing yarn needle
Removable stitch markers or contrasting coloured yarn
Sizes:
Newborn-3 months (fits up to 14 inch)
3-6 months (fits 14- 17 inch)
6 months-1 year (fits 16- 19 inch)
Bigger size can be easy to make by add more round.
Gauge: 2 single crochet stitches x 2 rows = 1 square inch
Skill and abbreviations:
You will need to know how to make:
Chain (ch)
Slip stitch (sl st)
Single crochet (sc)
Magic ring or adjustable ring
For instruction on how to make magic ring, change colour, and basic technique to make crochet hat, try this tutorial.
Crochet beginner start here on how to make magic adjustable ring.
Note:
1. In this pattern, you will work in the round continuously. You may use a removable stitch marker or a short piece of yarn of contrasting colour to mark the beginning of each round. At the end of each round, you will not join, but begin the next round in the next stitch.
2. The stitch counts at the end of each round are given.
Hat body (All size)
You will work from top to bottom
Round1. Make magic ring or adjustable ring and 5sc in ring (5 sts)
Round2. 2sc in each st around (10 sts)
Round3. *Sc in next st, 2sc in next st*, repeat from * around (15 sts)
Round4. *Sc in next 2 st, 2sc in next st*, repeat from * around (20 sts)
Round5. *Sc in next 3 st, 2sc in next st*, repeat from * around (25 sts)
0 – 3 months only:
Rounds 6-12. Sc in each st around (25 sts). Finish off.
3 – 6 months /6 m– 1 years/ sizes:
Round6. *Sc in next 4 st, 2sc in next st*, repeat from * around (30 sts)
3 – 6 months only:
Round7-15. Sc in each st around (30 sts). Finish off.
an style=”line-height: 115%; mso-bidi-font-family: Calibri; mso-bidi-theme-font: minor-latin;”>6 months – 1 years/sizes:
Round7. *Sc in next 5 st, 2sc in next st*, repeat from * around (35 sts)
6 months – 1 years only:
Round8-19. Sc in each st around (35 sts). Finish off.
You can also make hat bigger by increasing round until they fit.
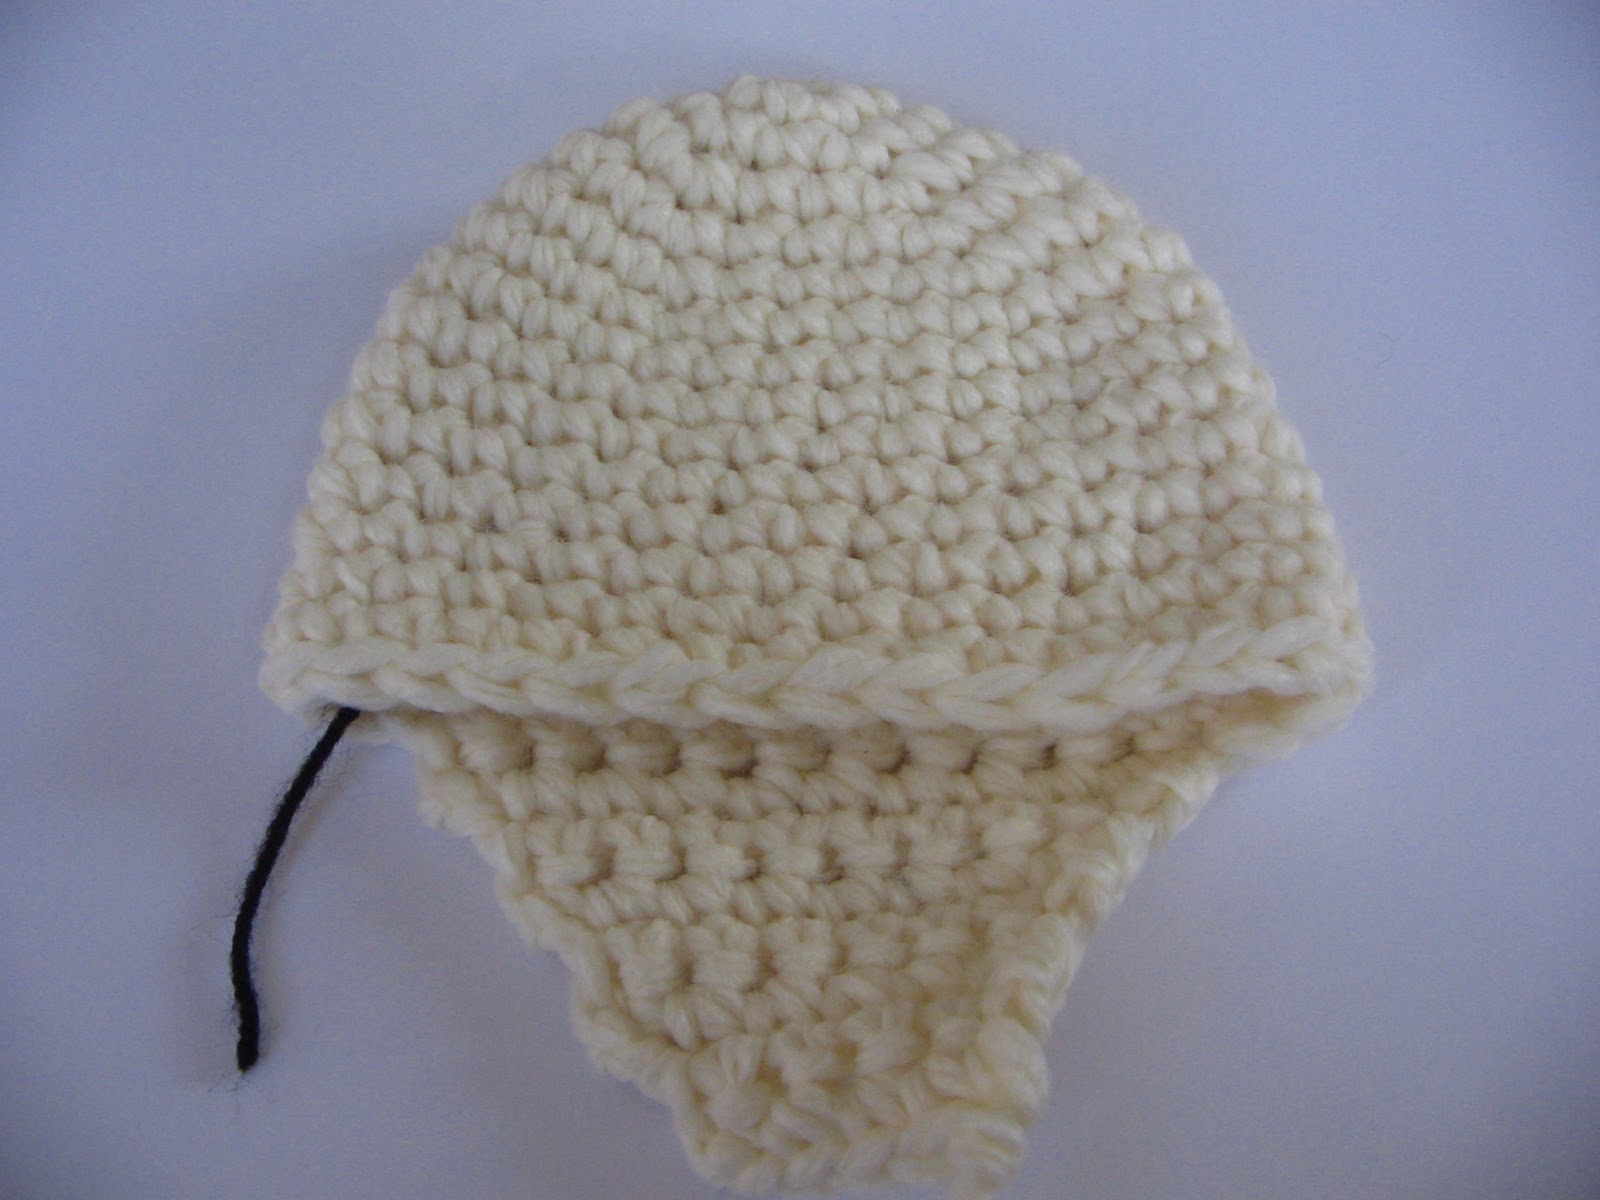
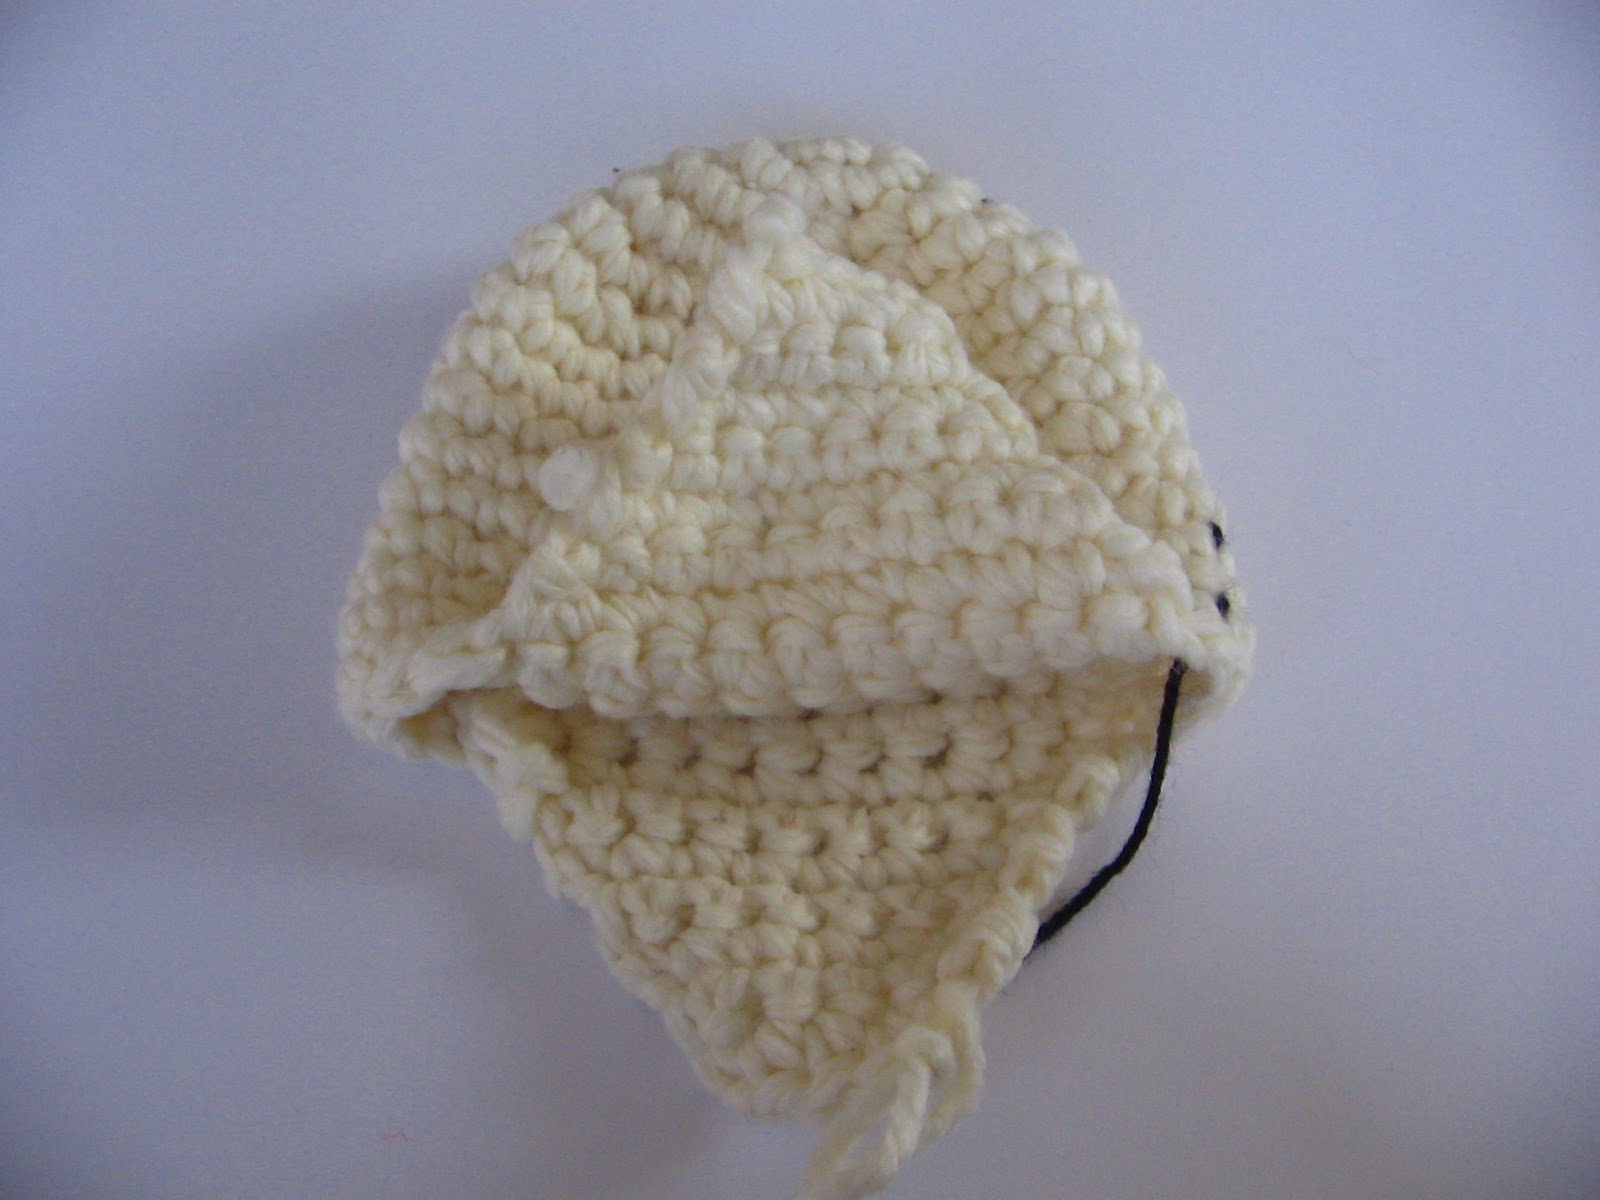
Shape earflap:
Row1. Ch 1 (counts as first sc here and throughout), sc 10, ch1, turn (11 sts)
Row2. Sc in next 9 sts, ch1, turn (10 sts)
Row3. Sc in next 8 sts, ch1, turn (9 sts)
Row4. Sc in next 7 sts, ch1 turn (8 sts)
Row5. Sc in next 6 sts, ch1 turn (7 sts)
Row6. Sc in next 5 sts, ch1, turn (6 sts)
Row7. Sc in next 4 sts, ch1, turn (5 sts)
Row8. Sc in next 3 sts, fasten off. Join MC at second maker with sl st and repeat as above for second earflap.
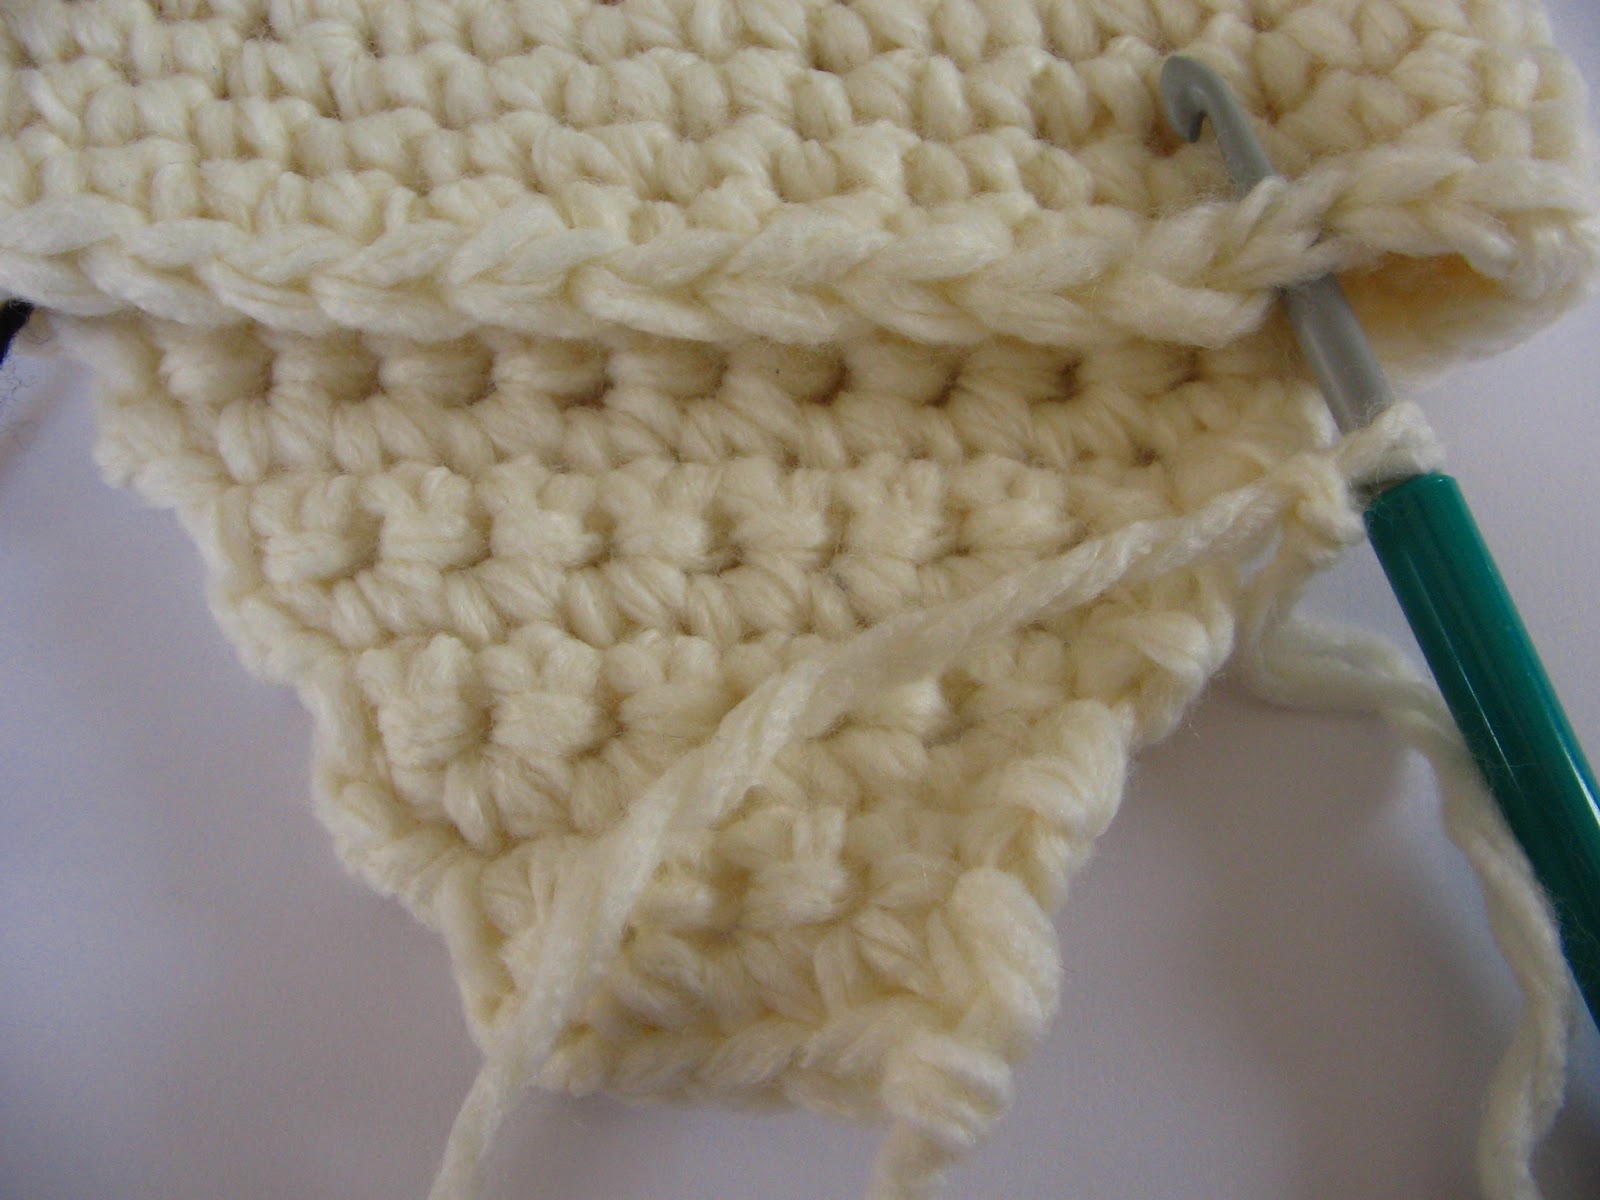
Join MC at any st along the edging with sl st and work one round of sc around the edge, going around the earflaps. Fasten off.
Ties:
With MC, loop yarn into approximately 18-20 inch long.Using a crochet hook, pull the folded side of the yarn through the center stitch at the bottom of the earflap, making a loop. Pull the free ends of the yarn through this loop and pull tight. Divide yarn in to three parts, plaint or braid to the end, and tie a knot to finish up. One tie is made. Repeat on the other earflap to make second tie.
Ears:
Make 2 pieces with MC
Round1. Make magic ring, work 5sc in ring (5 sts)
Round2. 2sc in each st around (10 sts)
Round3. *Sc in next st, 2sc in next st*, repeat from * around (15 sts)
Round4-7. Sc in st around (15 sts),Fasten off and leave long tail for sewing.
Finishing
Sew ears of the teddy bear to the hat as shown, using yarn tails.
All done! You can share your finished bear hat project at jennyandteddy flickr group.
I would love to see your creation and will pick to featured here in my blog.
Love
Jane


shahzad
Tuesday 30th of April 2024
What an adorable pattern! I love how simple and quick it is to make this cute teddy bear hat. It's perfect for beginners and makes a wonderful gift for little ones. Thanks for sharing this delightful crochet project!
tw conroy
Saturday 31st of October 2015
This is so fun, unique and very cool! Thank You so much....
PaTTiigg
Wednesday 22nd of January 2014
Hi! I loove your pattern. Found it a long time ago and finally i thought myself how to crochet enough to make it..8) Im just a bit confused about the ties..do i make a chain?
jane
Friday 24th of January 2014
Hi Pat, Thank you so much for like this pattern you can on my tutorial on how to make the tie here
AliciamHughes
Thursday 19th of September 2013
Thank you So much Jane! I'm almost done now. Can't wait to give to my nephew!
jane
Monday 23rd of September 2013
Hi Alicia, I am glad you like the hat.
alicia hughes
Thursday 19th of September 2013
I'm having a lot of trouble with the flaps. Do I slip stitch off and start a separate piece when done with hat??
jane
Thursday 19th of September 2013
Hi Alicia, yes, that right just slip stitch off and start again by attach yarn in any part along side of the hat body and start from there.