

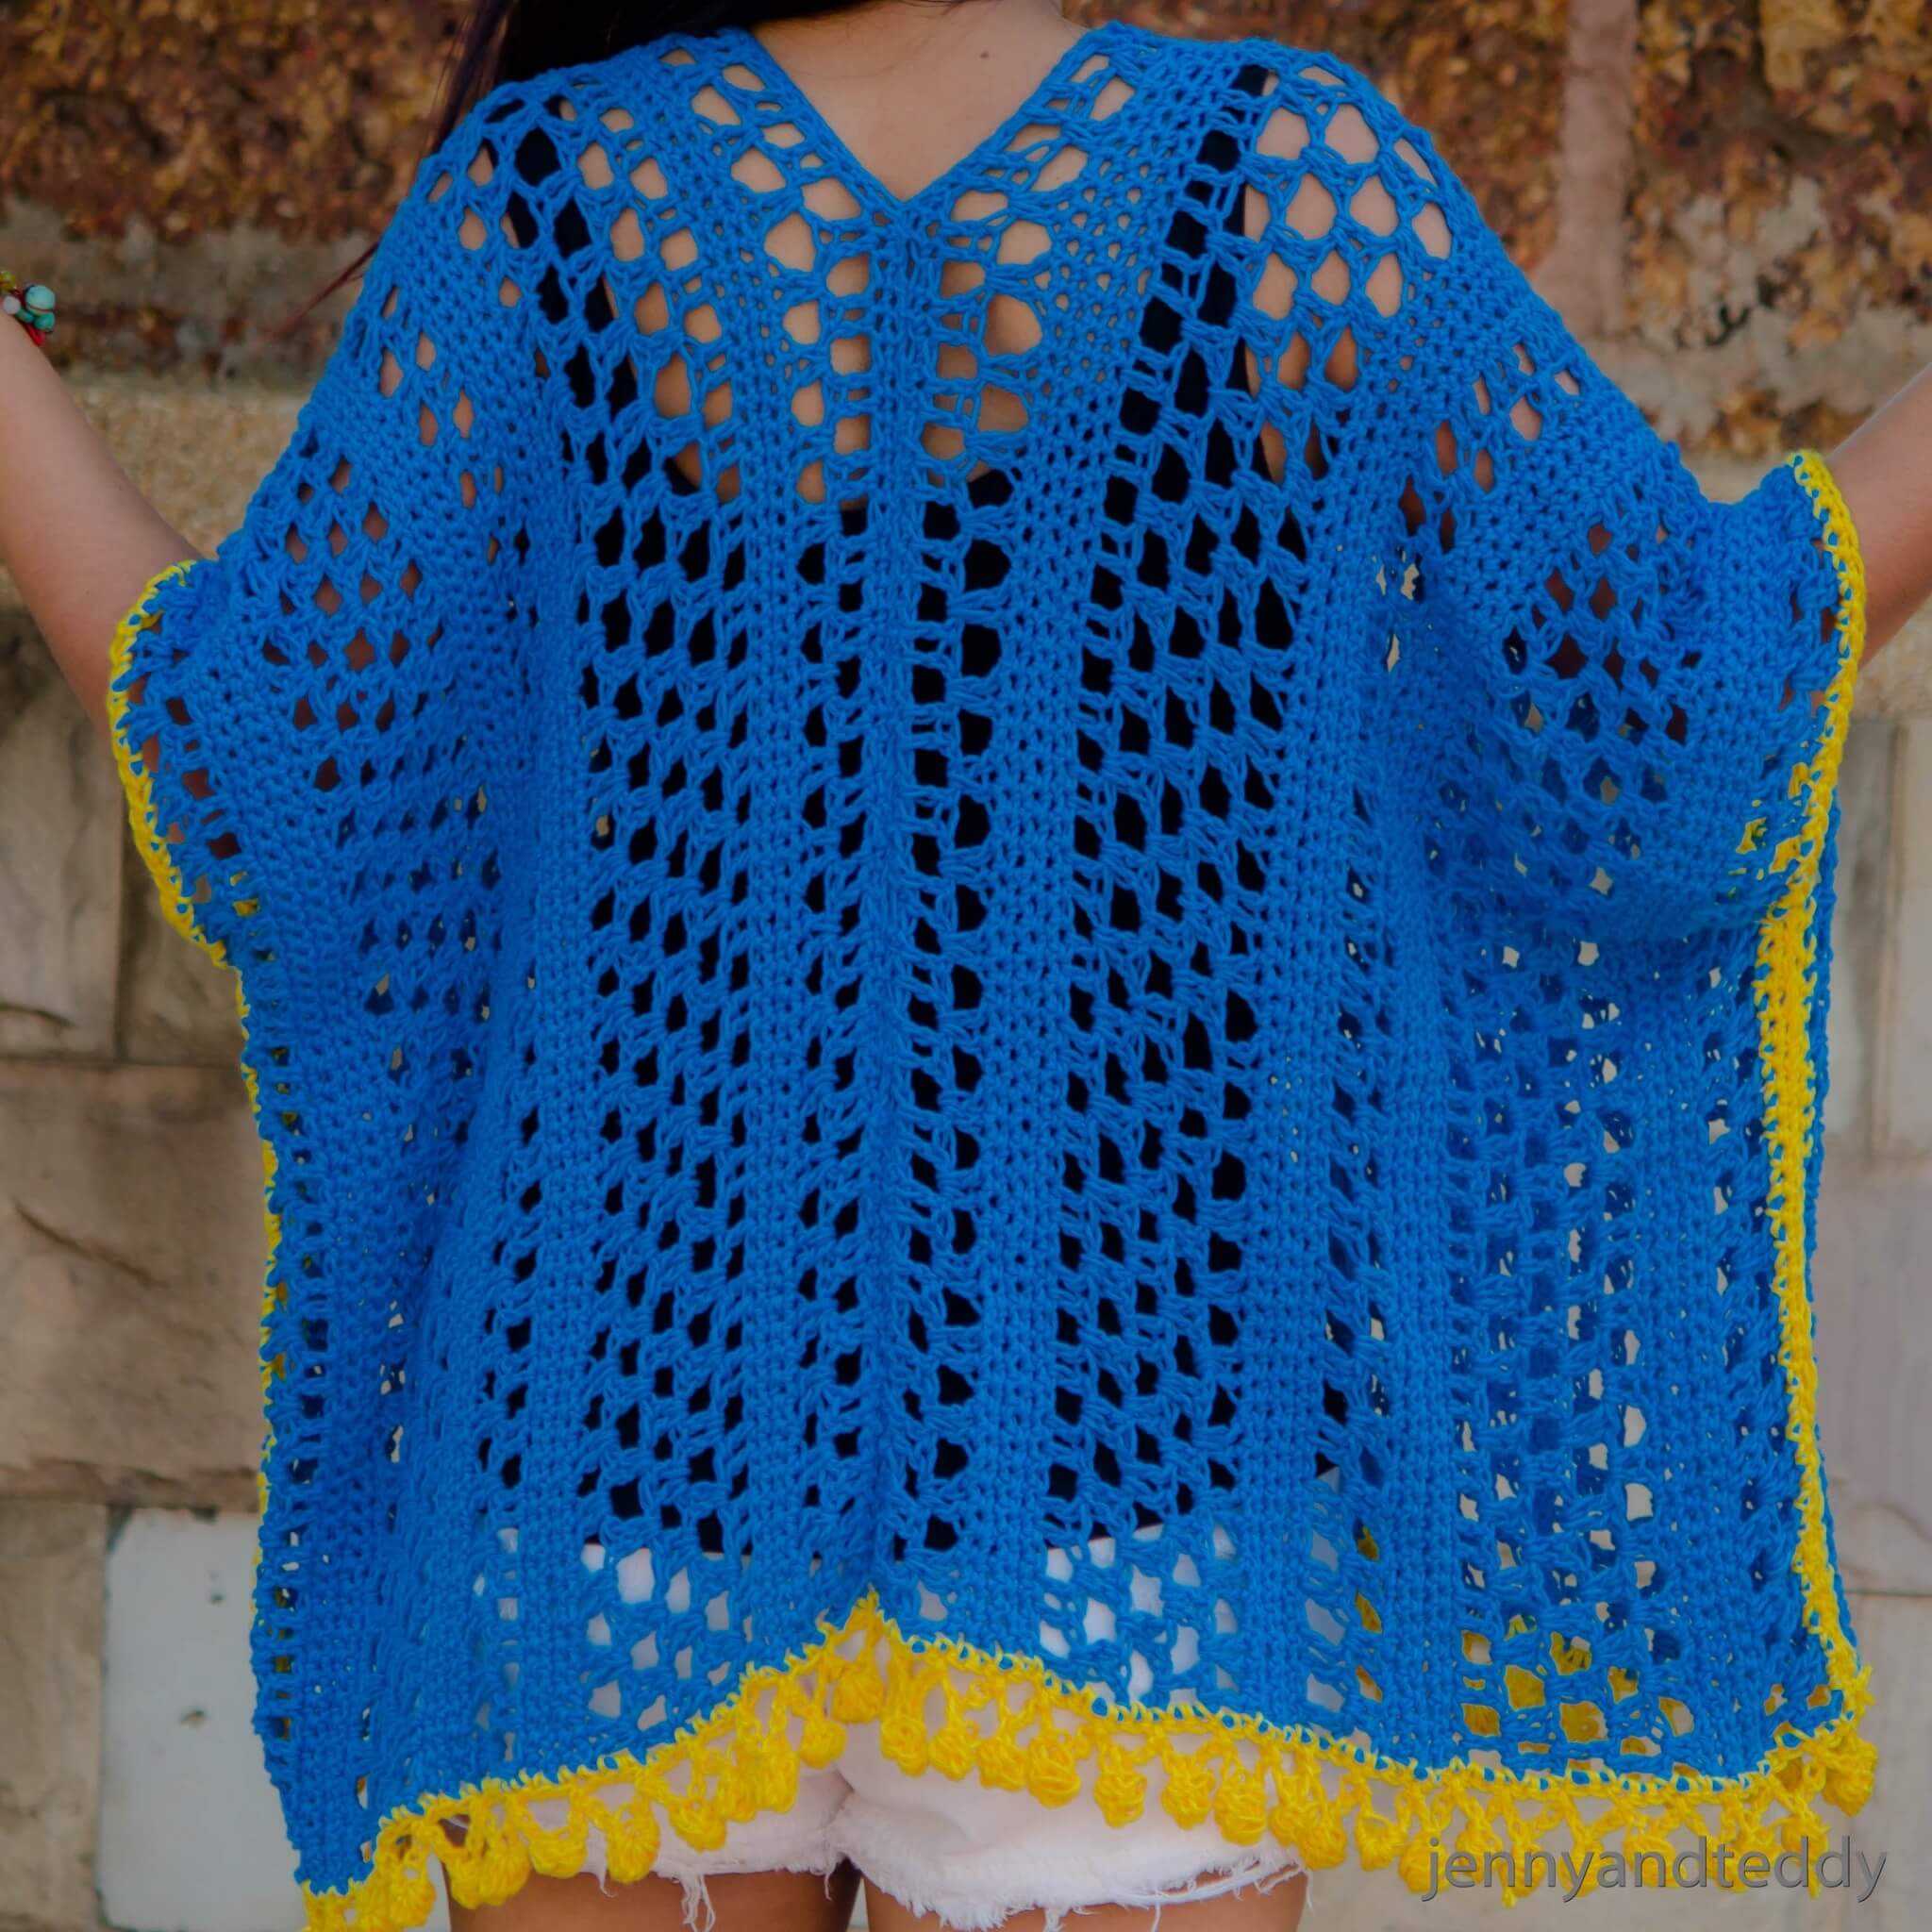
Hi guys, I’m back here again and so excited to show you my new crochet lace kimono cardigan.
I am so obsessed with crocheting summer kimonos right now.
This is my 3rd crochet kimono cardigan that I made for summer.
In this lacey cardigan, I added a little touch of cuteness by crocheting the pom pom edge at the bottom part of the kimono.

The inspiration for this cute lacey kimono cardigan.
Right now I am so into making summer crochet clothes, especially cardigan patterns.
Let me quickly tell you how I name this lacey summer cardigan called ” Lemon drop kimono”.
Here is the story, My Lemonade easy crochet kimono cardigan is so popular and I wanna create a lace version of them.
But I go ahead with a blue color.. because yellow color is not enough for the whole kimono so I did was by adding the bright yellow pom pom edge to the piece instead.
The pom pom edge kind of looks like a lemon drop. That’s all about how I came up with the name. lol.
Best yarn and substitute for this crochet lace kimono pattern.
I made this lacey summer crochet kimono in cotton DK weight yarn or 3 light, The cotton yarn will always give a beautiful drape to the crochet garment and is breathable in the high-temperature season.
If you do not have DK weight in hand you can also use 4 medium weights that would be fine for this summer kimono pattern.
Any plant fiber content is also great for this pattern as well.
Let’s get started!
Material for making this summer lace crochet kimono pattern.
- I used cotton DK-weight yarn
- 6 mm crochet hook or J/10 US hook size
- Sewing yarn needle
Skill and abbreviations
You will need to know how to make
- Sl st (slip stitch)
- dc which mean double crochet
- hdc which mean half double crochet
- sc which means single crochet
- ch Chain
- slip knot
- Special stitch pom edge: Start with sc at the corner of the border then *chain 6, skip 2 chains from the hook to make a crochet cluster then sl st in the next chain finished pom pom then chain3 skip 2 stitches then make sc in the next stitch, now we finish our first pom pom edge * then repeat the same for the next pom pom border.
Watch the video tutorial on how to make pom pom border at 29:03 minutes.

How to crochet easy kimono cardigan step-by-step video.
Gauge: 3 single crochet stitches x 3 rows = 1 square inch
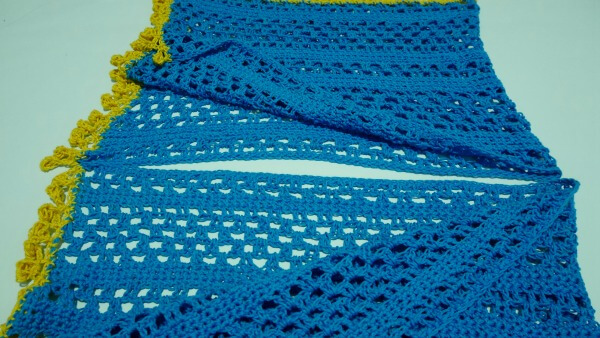
Structure for this lacy summer kimono pattern.
This Lemon drop summer kimono cardigan is made by crocheting 2 pieces of rectangles and seaming them together at the back.
The original size fits S/M/L.
For the example size of the lemon drop kimono, I measure around: 20 inches from shoulder to bottom of trim (pom pom edge not included) and 29 inches wide when laid out flat.
Each rectangular I measures around 13” x 42” inches
How to adjust the size for this crochet kimono cardigan pattern
For the width: If you need to make it wider simply add more rows at the end.
For the length: work in even numbers like 120, 130, and 132. I start this kimono cadi with foundation chains of 120.

Get the free pattern below or this pattern is also available as an inexpensive, ad-free, PDF printable instant download in my etsy shop. Thank you so much for your love and support. I am really appreciate you.
Add to your ravelry queue.
Need more easy crochet summer kimono cardigan-free patterns?
Linen stitch crochet kimono cardigan
Lemonade easy summer kimono cardigan
Lemon drop kimono cardigan instruction.
Crocheted body part of the kimono.
Make 2 rectangles.
Taking your cotton yarn main color and 6.0mm crochet hook, start by making a slip knot Then make 120 chains
Row1. Sc in 2nd chain from hook and sc in each chain across, chain2 turn
Row2. dc in next stitch from hook, *ch1, sk 1 st, 1dc in next st,1dc in next st* repeat * to * across until the end of the row, ch2, turn
Row3. dc in 2nd st from hook, * ch1 and 2dc in each chain space * repeat this * to * until the end of the row, chain2, turn
Row4-6. Sc in 2nd st from hook and sc in each st across. each row ch1 and turn, but on row6 chain2 and turn
Row7. dc in next stitch from hook, * ch1,sk 1 st, 1dc in next st,1dc in next st* repeat * to * across until the end of the row, ch2, turn
Row8. dc in 2nd st from hook, * ch1 and 2dc in each chain space* repeat this * to * across until the end of row. chain2, turn
Row9-11. repeat row8.
Row12-15. Sc in 2nd st from hook and sc in each st across, each row ch1 and turn, but on row12 chain2 and turn.
Repeat from rows 2-15 until you get the desired width. I measure mine around 13 inches wide.
Repeat the same process to make the second piece of rectangle.
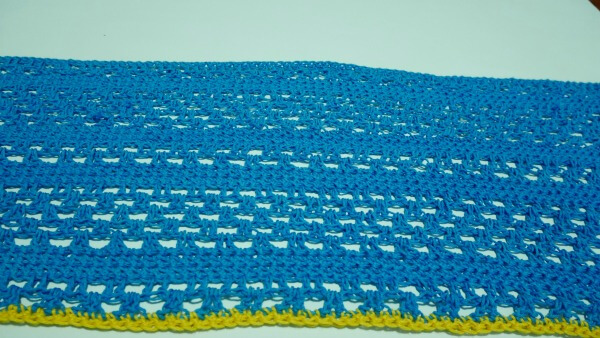
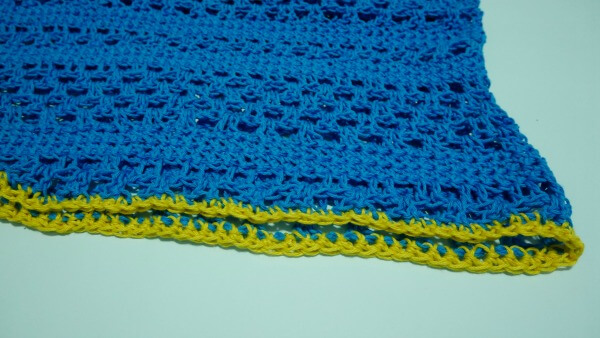
Crocheted the yellow edging on the outer part of the rectangles.
After we finished the piece of the rectangle then, Pick up the yellow color and sc around the edge except for the starting row.
Repeat the same for the second piece of the rectangle.
Assemble the kimono.
After finishing 2 pieces of the rectangle, it’s time for assembling.
Center back Seam:
Lay 2 pieces of rectangles side by side, using a yarn needle and whip stitch to seam up the middle part together ( the center back panels, from the bottom up, around 17 inches).
Tie off and weave in ends.
Side Seams to create the arm hole:
Now, fold your piece in half and seam up each side of the kimono cadi with a whip stitch.
Leave for the arm hole about 7 inches long at the top upper end. You may adjust the how long of the arm hole to fit your size.
Time to add pom pom edge at the bottom trim.
After finishing the assembly of the cardigan. pick up the yellow color and Join yarn at the corner end of the bottom trim and work a pom pom edge throughout the bottom trim.
Now enjoy your new lacy crochet kimono cardigan.
Happy crocheting!
If you make one I would love to see your creation tag me on Instagram! would love to see your creation.
Happy crocheting.
Maria
Sunday 13th of January 2019
Wonderful pattern! Thank so much for sharing!!!
Joan Shropshire
Wednesday 18th of April 2018
Beautiful! Did it take just one skein to finish? I want to make sure I get enough yarn!
jane
Wednesday 18th of April 2018
Hi Joan, I use around 1000 yard.
Chandra Blackwrll
Sunday 18th of March 2018
Hi Jenny, I just started this pattern because its so pretty. On the second row, I put a chain after the 2 double chains and my work lays flat now. Is thus correct?
jane
Sunday 18th of March 2018
yep, that was perfect. thanks you.
georgia
Thursday 8th of February 2018
I love this pattern, but my first couple of rows are not laying flat. What could I be doing wrong? The edge is wavy instead of straight. It seems as though there aren't enough stitches in the 3rd row where you do 2 dc, skip one and do two more dc across . Any ideas please?
jane
Thursday 8th of February 2018
Hi Georgia, to make it not look wavy by add chain 1 after 2 double. see detail in the pattern I just fixing it now.
Penny Childers
Thursday 11th of January 2018
What yarn did you use? Weight and brand?
jane
Thursday 18th of January 2018
Hi penny, I am using cotton yarn 200gram per skein probably go for Lion brand 24/7 cotton worsted-weight 186 yard per skein To complete the cardigan.