
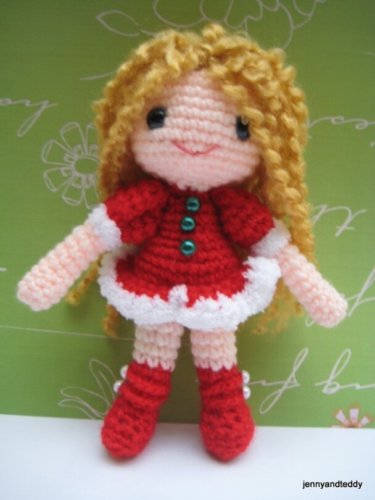

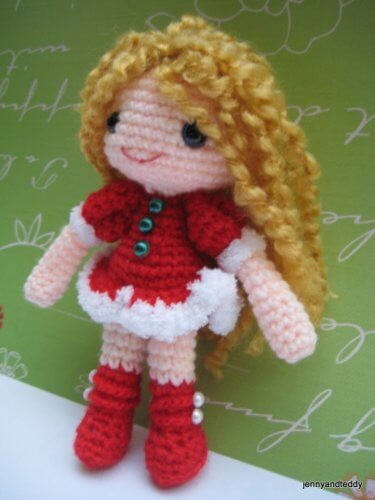
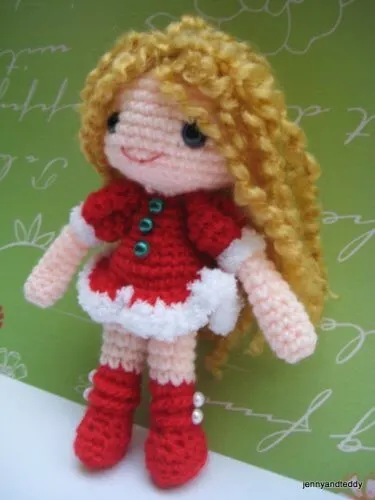
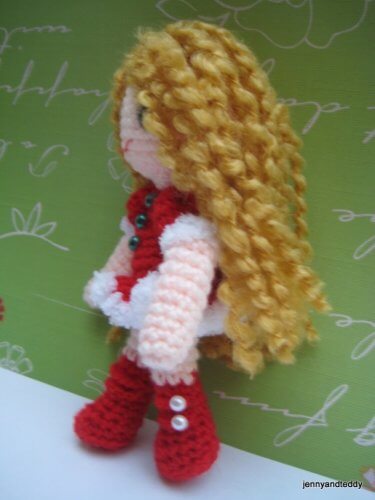
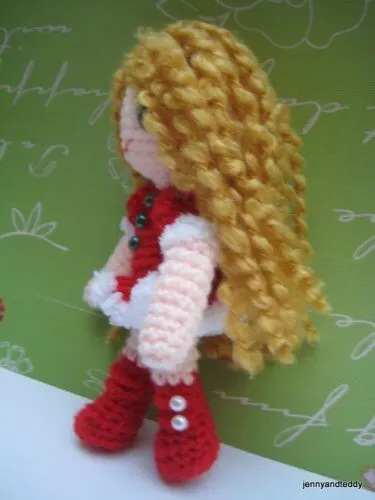
Hey everyone! how are you doing so far this year? Christmas just around the corner! So I got this cute girl doll amigurumi free crochet pattern for you, her name is Sandy. She is a Santa helper. When the Xmas time come around she will be very busy with helping Santa to send out Xmas gifts to every child in the world.
So would you like to make her for a handmade gift to your special person in your life? Or keep her in your amigurumi doll girl collection.
Let’s get ready and make her!
Finish Size
-Approximately 6.5 inch tall.
-Size of Sandy may varies depend on size of yarn and crochet hook.
Materials
To make you will need
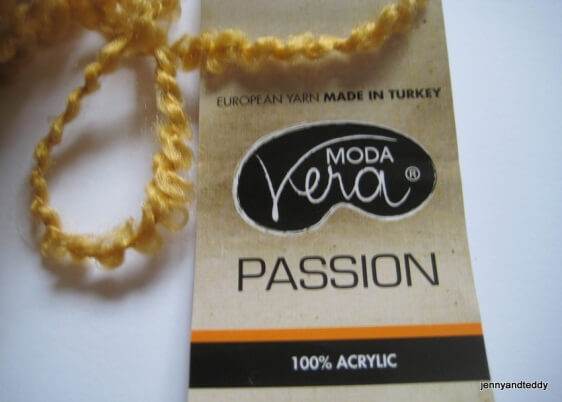
- (White, red , brown 8 ply) and (orange for skin colour 5 or 8 ply) acrylic yarn of Lion brand Vanna’s Choice® Yarn in this pattern. And for the doll hair I used Lion Brand Homespun Yarn
- Plastic eyes with safety backing 7.5mm ( you can find it at any craft shop)
- Fibre polyester fill for stuffing
- Sewing pin
- Embroidery
- Ribbon or button for an optional
- Crochet hook size1.25mm and craft glue
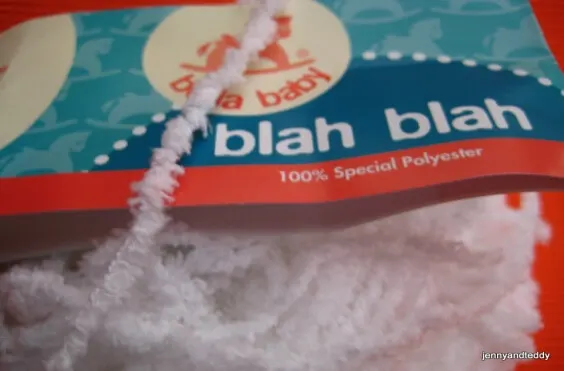
- A fancy yarn for the skirt as seen in picture2.
- A fancy yarn for Sandy hair
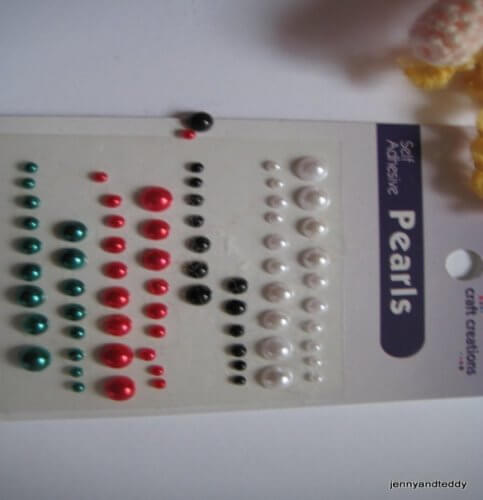
- Decoration for doll


Skill and abbreviations
You will need to know how to make a magic ring or adjustable ring.
-Single crochet (sc)
-Crochet increase (inc) which mean-make 2 single crochet in same stitch.
-Crochet decrease (dec) which mean-Crochet 2 stitches together.
-Stitch (st)
* = Repeat stitches from * to end of *
-Chain (ch)
-Slip stitch (sl st)
Work in front loops only (flo)
Work in back loops only (blo)
Change colour
My beginner tutorial check it out here
Beginner guide to making your first ever amigurumi
How to start magic ring or adjustable ring
How to put an eyes on amigurumi
Let’s start with head (colour orange)

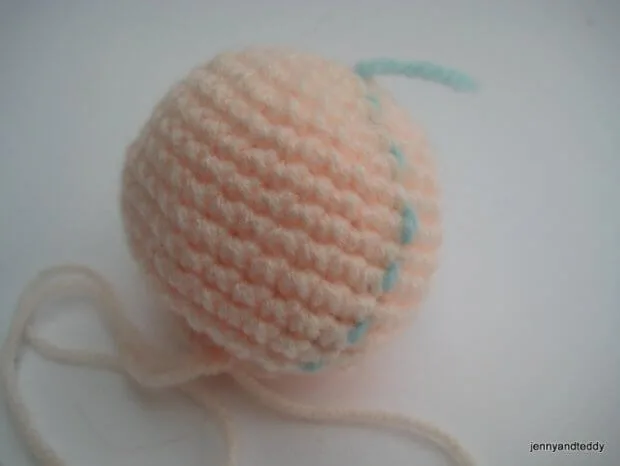
You will work from top to bottom
Round1. Make magic ring and 7sc in ring (7)
Round2. 2sc in each st around (14)
Round3. *Sc in next st, 2sc in next st* and repeat from * around (21)
Round4. *Sc in next 2 st,2sc in next st* and repeat from * around (28)
Round5.* Sc in next 3 st,2sc in next st* and repeat from * around (35)
Round6-13. Sc in each st around (35)
Round14. *sc in each of next 3 st,dec 1* and repeat from * around (28)
Round15. *sc in each of next 2 st,dec 1* and repeat from * around (21)
Round16. *sc in each of next st,dec 1* and repeat from * around (14)
Round17. *sc in each of next st,dec 1* and repeat from * around,then have last 2 st free make sc on that st and finish of leave long tail for sewing(10)
And stuffing polyester firmly.
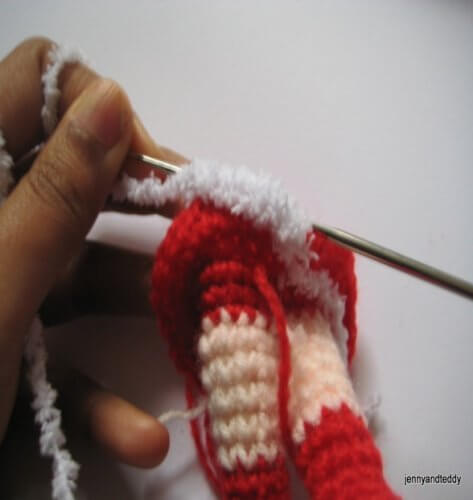
Legs

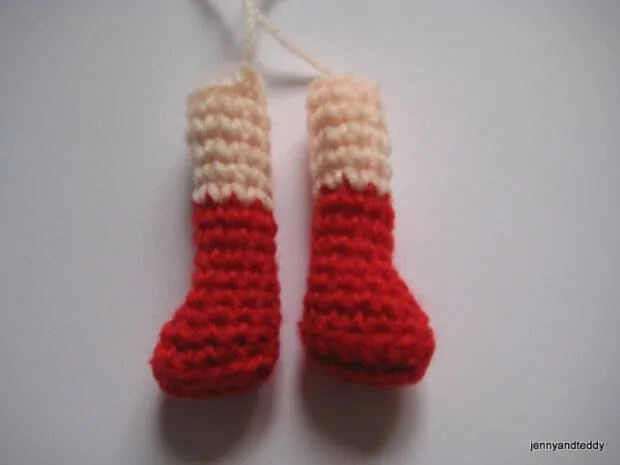
Make 2 pieces. Start with chain 8 (8)
Round1. Sc in next 7 st from hook and around (14) red.
Round2. Sc in each st around (14) red.
Round3. sc in each st around (14) (blo of round2) red.
Round4. ( sc in each of next 3st) and (dec1,dec1,dec1) then (sc in each of next 5 st)
(11) red.
Round5. ( sc in each of next 3st) and (dec1,dec1) then (sc in each of next 4 st)
(9) red.
Round6-10. sc in each st around (9) red.
Round11-15. sc in each st around (9) orange.
Then finish of and stuff polyester just a little.
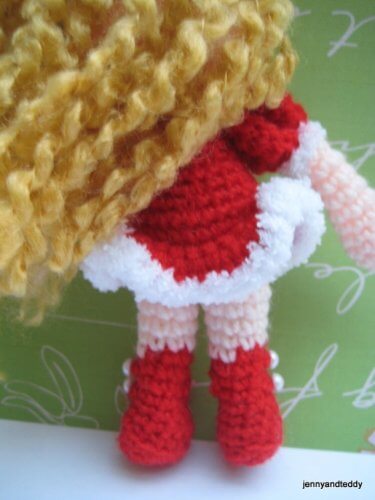
Body (red)
We will work from stitch 2 leg together


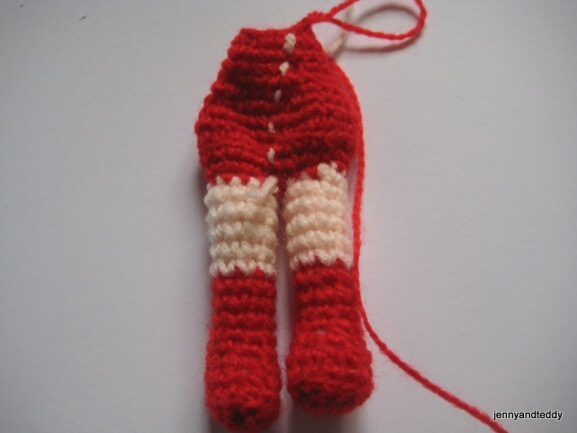
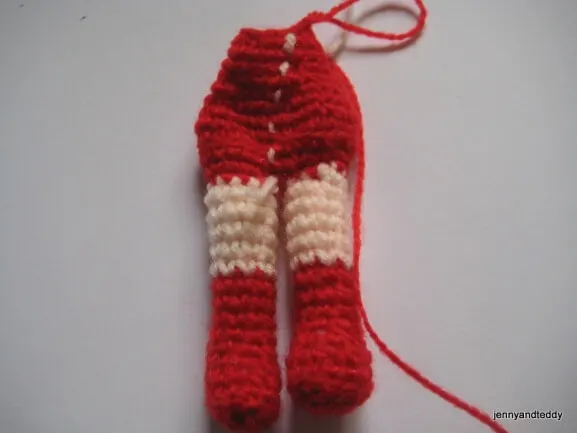
Round1. sc in each st around two legs (18).
Round2. *sc in next st ,2sc in next st * and repeat from * around (27).
Round3. Sc in each st around and on the last st make 2sc on that st (28).
Round4. Sc in each st around (blo of round 3) (28).
Round5. Sc in each st around (28).
Round6. *Sc in next 5st,dec1* and repeat from * around (24).
Round7. *Sc in next 4st,dec1* and repeat from * around (20).
Round8. Sc in each st around (20).
Round9. *Sc in next 3st,dec1* and repeat from * around (16).
Round10-11. sc in each st around (16).
Round12. * sc in next 2st,dec 1* and repeat from * around (12).
Round13. sc in each st around (12) and finish of leave long tail for sewing.
Make a skirt
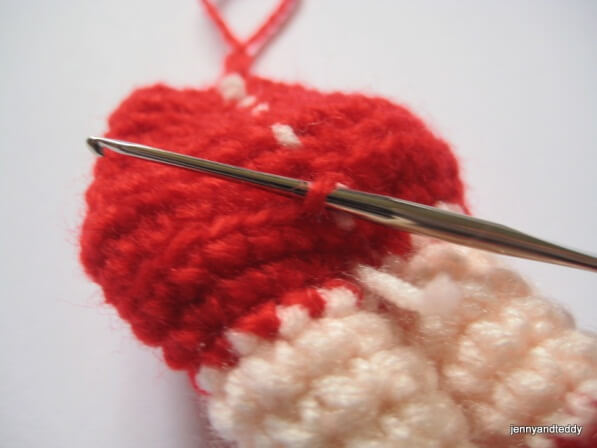

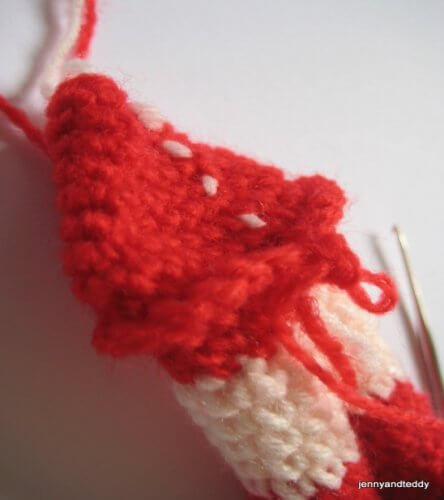


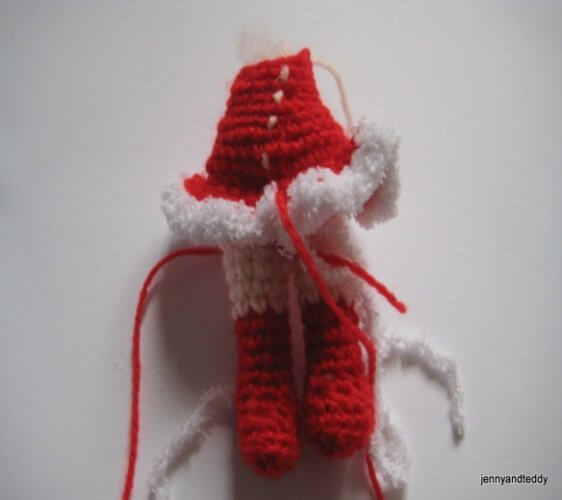
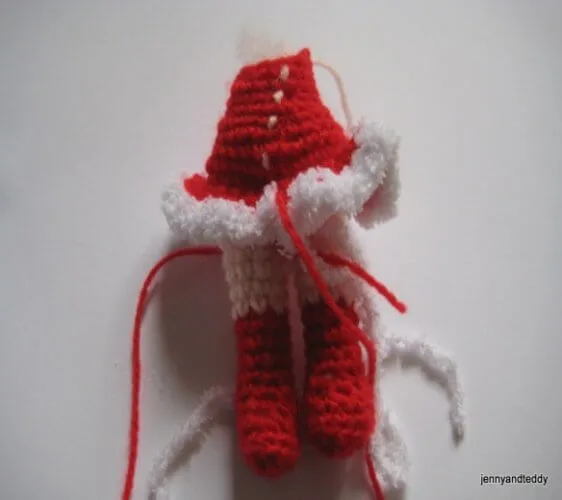
We are continuing to make a skirt from round 4. From body.
Round4.1 Sc in each st around (flo of round 3) (28). red
Round4.2 2 Sc in each st around (flo of round 3) (56). red
Round4.3 Sc in each st around (flo of round 3) (56). White
Then finish off.
Arms

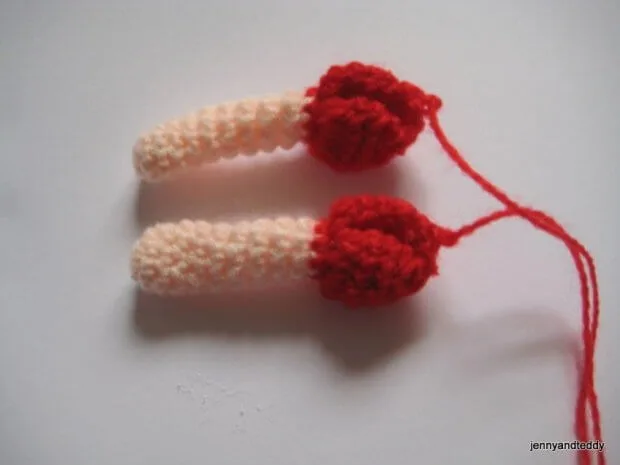
make 2 pieces
Round1. Make magic ring and 8sc in ring (8) orange
Round2-10. sc in each st around (8) orange
Round11. Sc in each st around (8) red
Round12. 3Sc in each st around (24) red
Round13. Sc in each st around (24) red
Round14. *Sc in next 2st,dec1* and repeat from * around (18).red
Round15. *dec1* and repeat from * around (9).red
Round16. *dec1* and repeat from * around until the hole is close ( count the stitches is not important in this round) .red
Then finish of leave long tail for sewing and stuffing polyester just a little.
Then we make cuffs 2 pieces. (white)
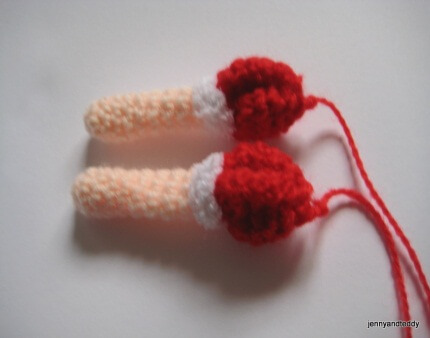
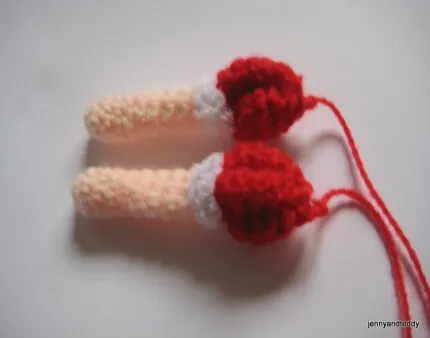
Start with chain 10 and finish of, leave long tail for sewing.
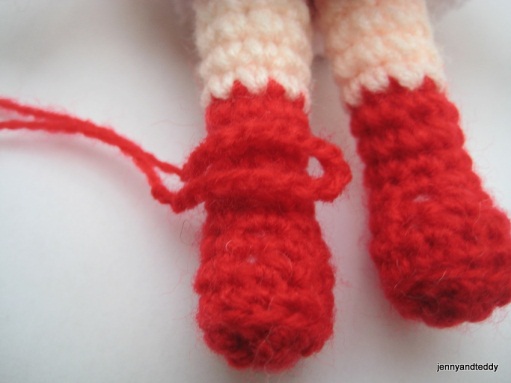

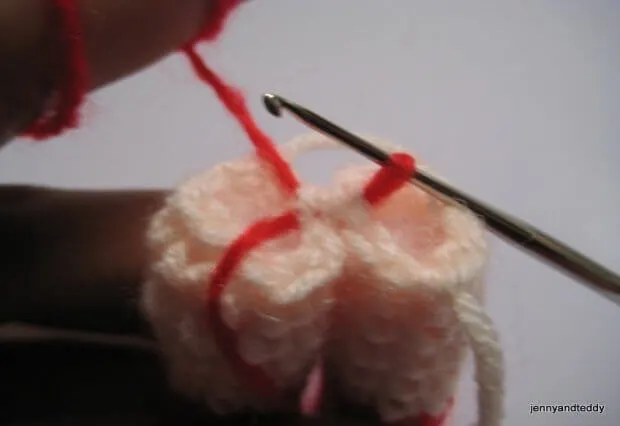
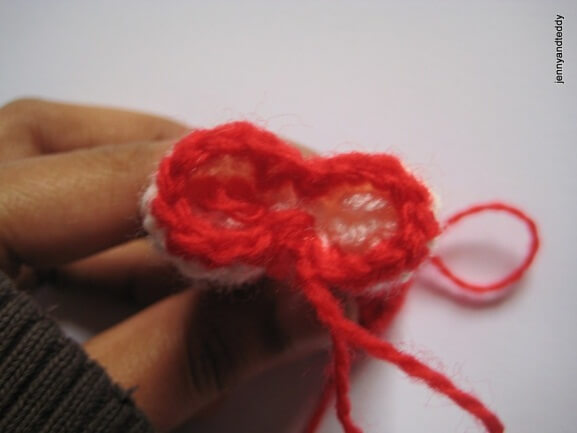
Boot laces (red)
Start with chain 20 (20) and finish of then fold it in half as seen in picture.
Then attach it to the boots and add decoration.
Hair

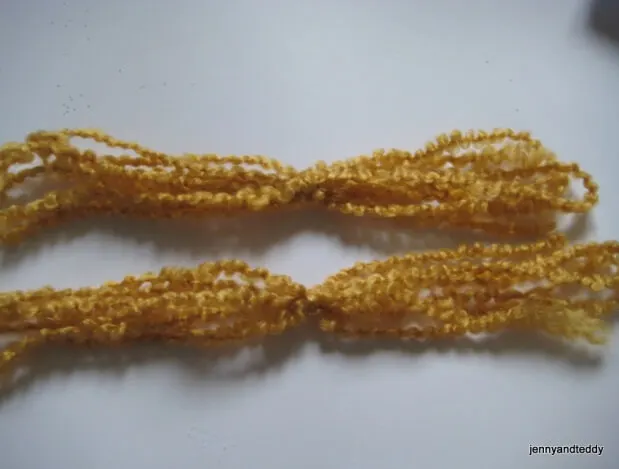
When making hair for the doll, my technique I normally used a small book or you can use a piece of card board to hold yarn together it depend on how long of doll hair you want.
More detail on making doll hair on my previous Amy girl free amigurumi pattern.
For me my hair doll approximately 4 inch each side.
Then cut it one side.
Then we divided yarn into many groups and tight it up.
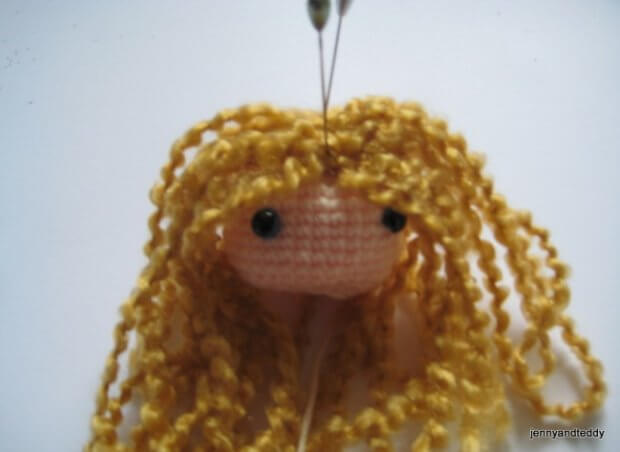
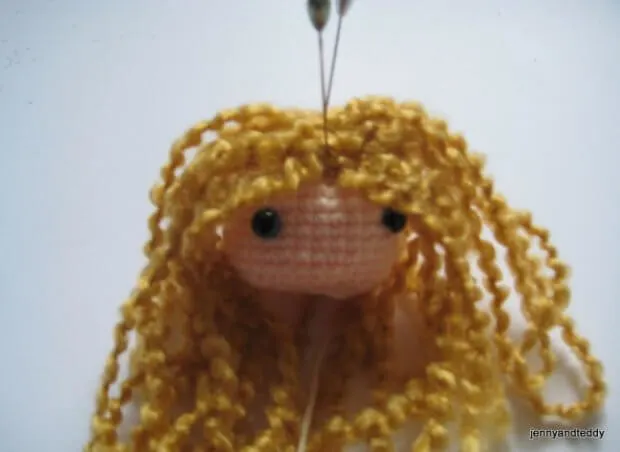
Then we sew it on the doll head but before that we should put doll eyes first because you can know and adjust the position of the hair.
We used the similar colour of thread or embroidery for sew the hair doll.
Finishing
Sew head to body first then arms.
Add decoration like button to the shoe or body by using craft glue.
Happy crocheting!