
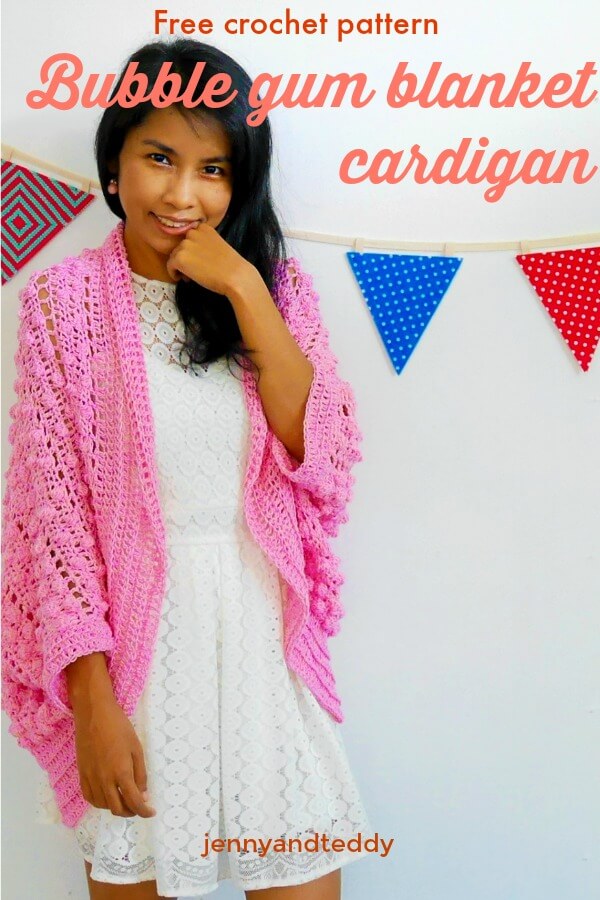
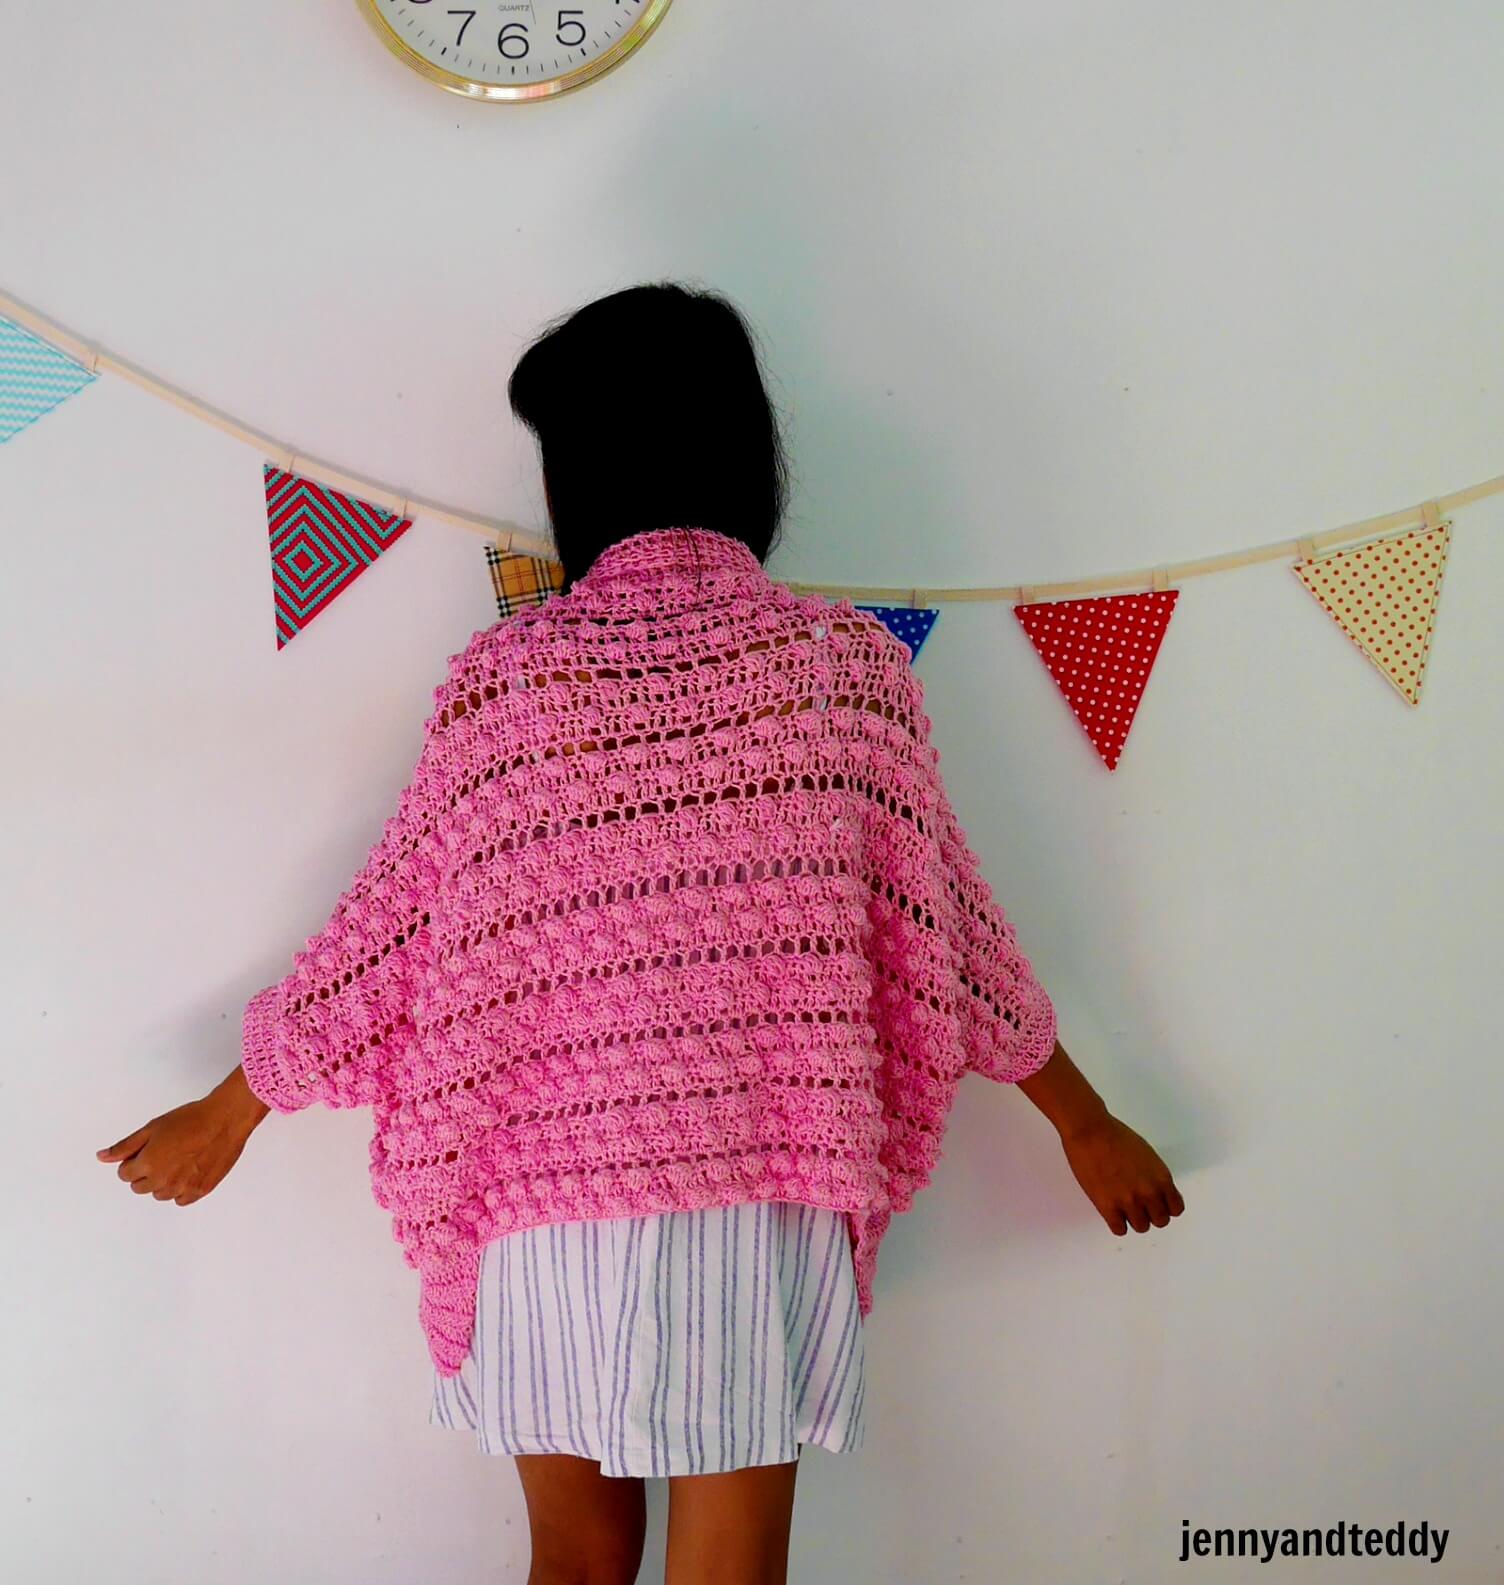
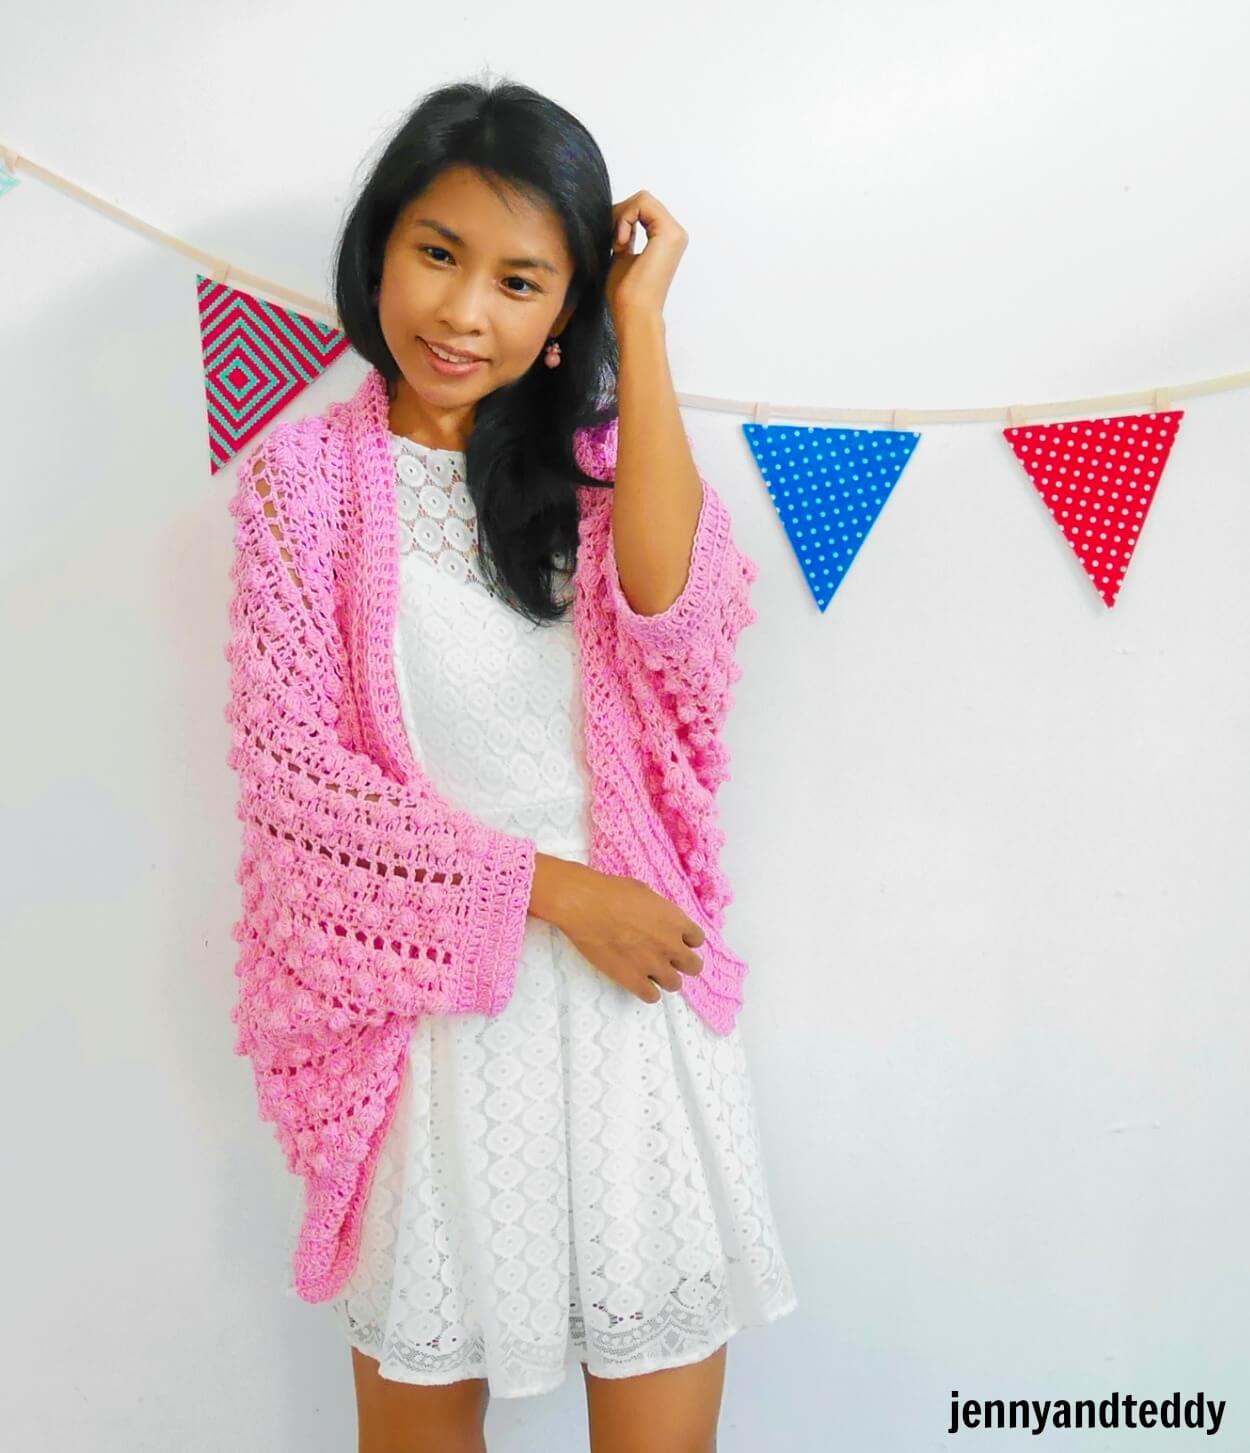
This simple blanket cardigan free crochet pattern with full step by step video tutorial size from small to plus size.
This bubble gum blanket cardigan is just another version of my obsessed with the bobble crochet stitch which will give your cardigan a fun texture and result is beautiful.
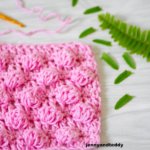
I just learn is a bobble crochet stitch, I just feel inlove with this 3d texture crochet stitch. They make the work pop out like a candy!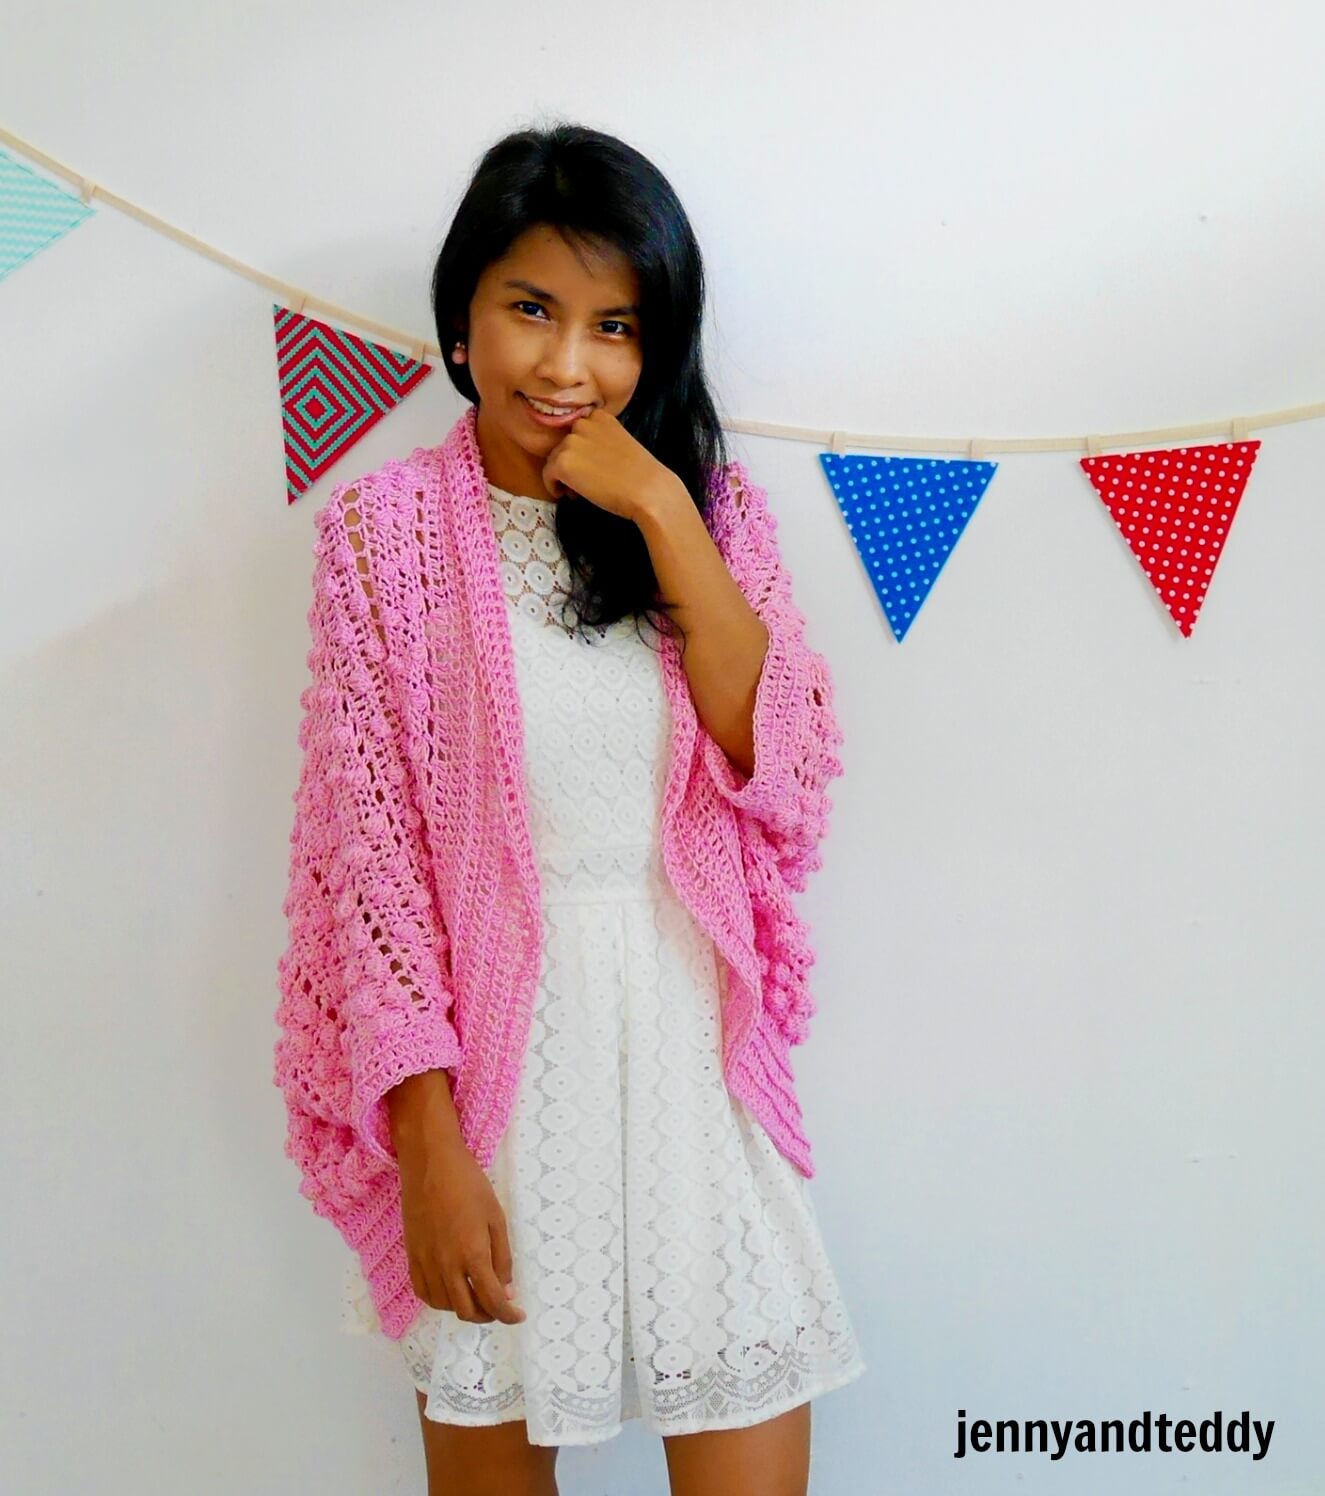
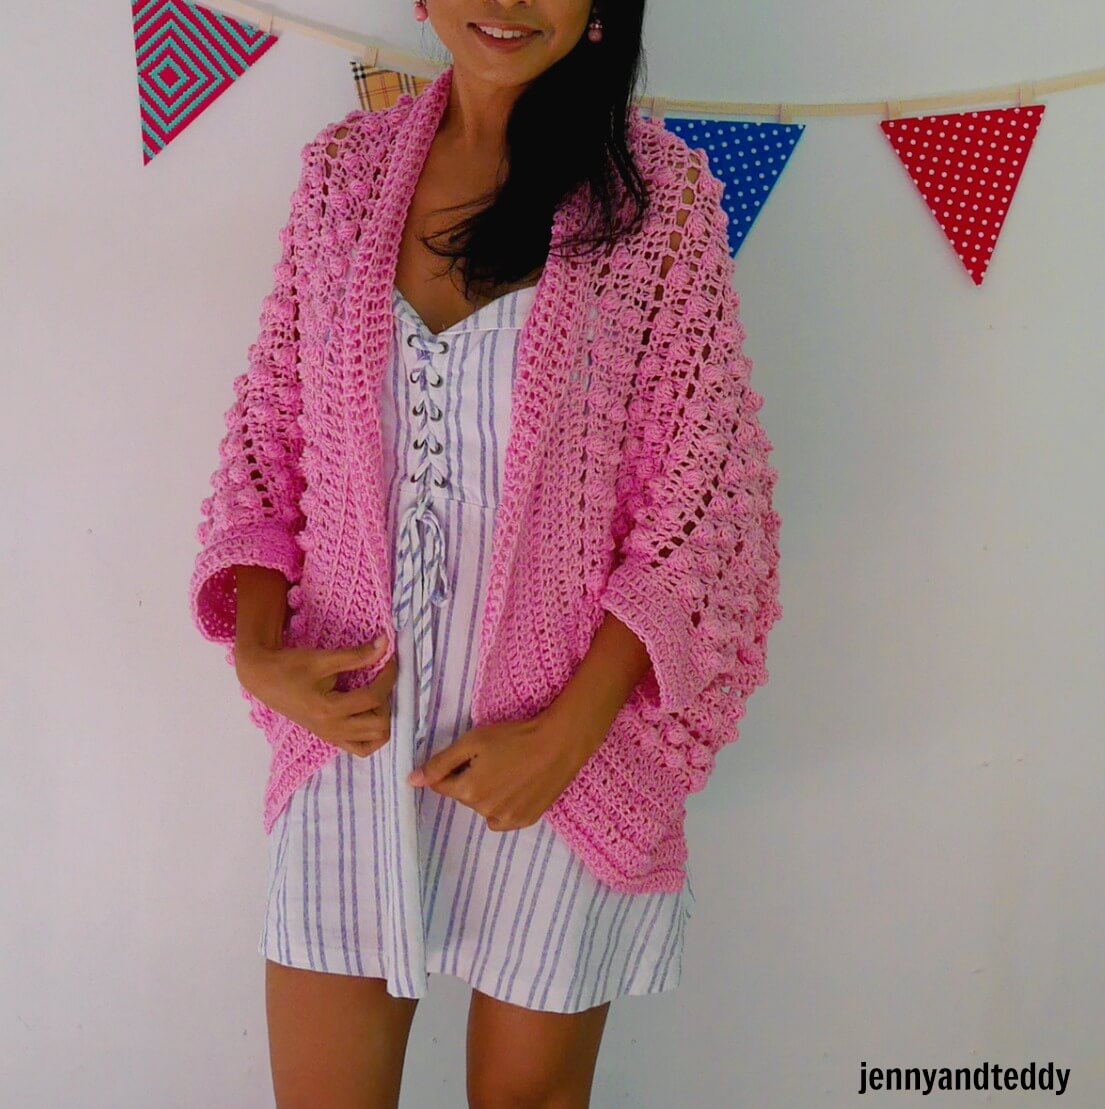
Simple & modern blanket cardigan.
This cute and easy blanket crochet cardigan is made from just one simple rectangle! See how easy it going to be? I made with cotton yarn but you guy can switch up with acrylic yarn or whatever yarn you have in hand will work just find.
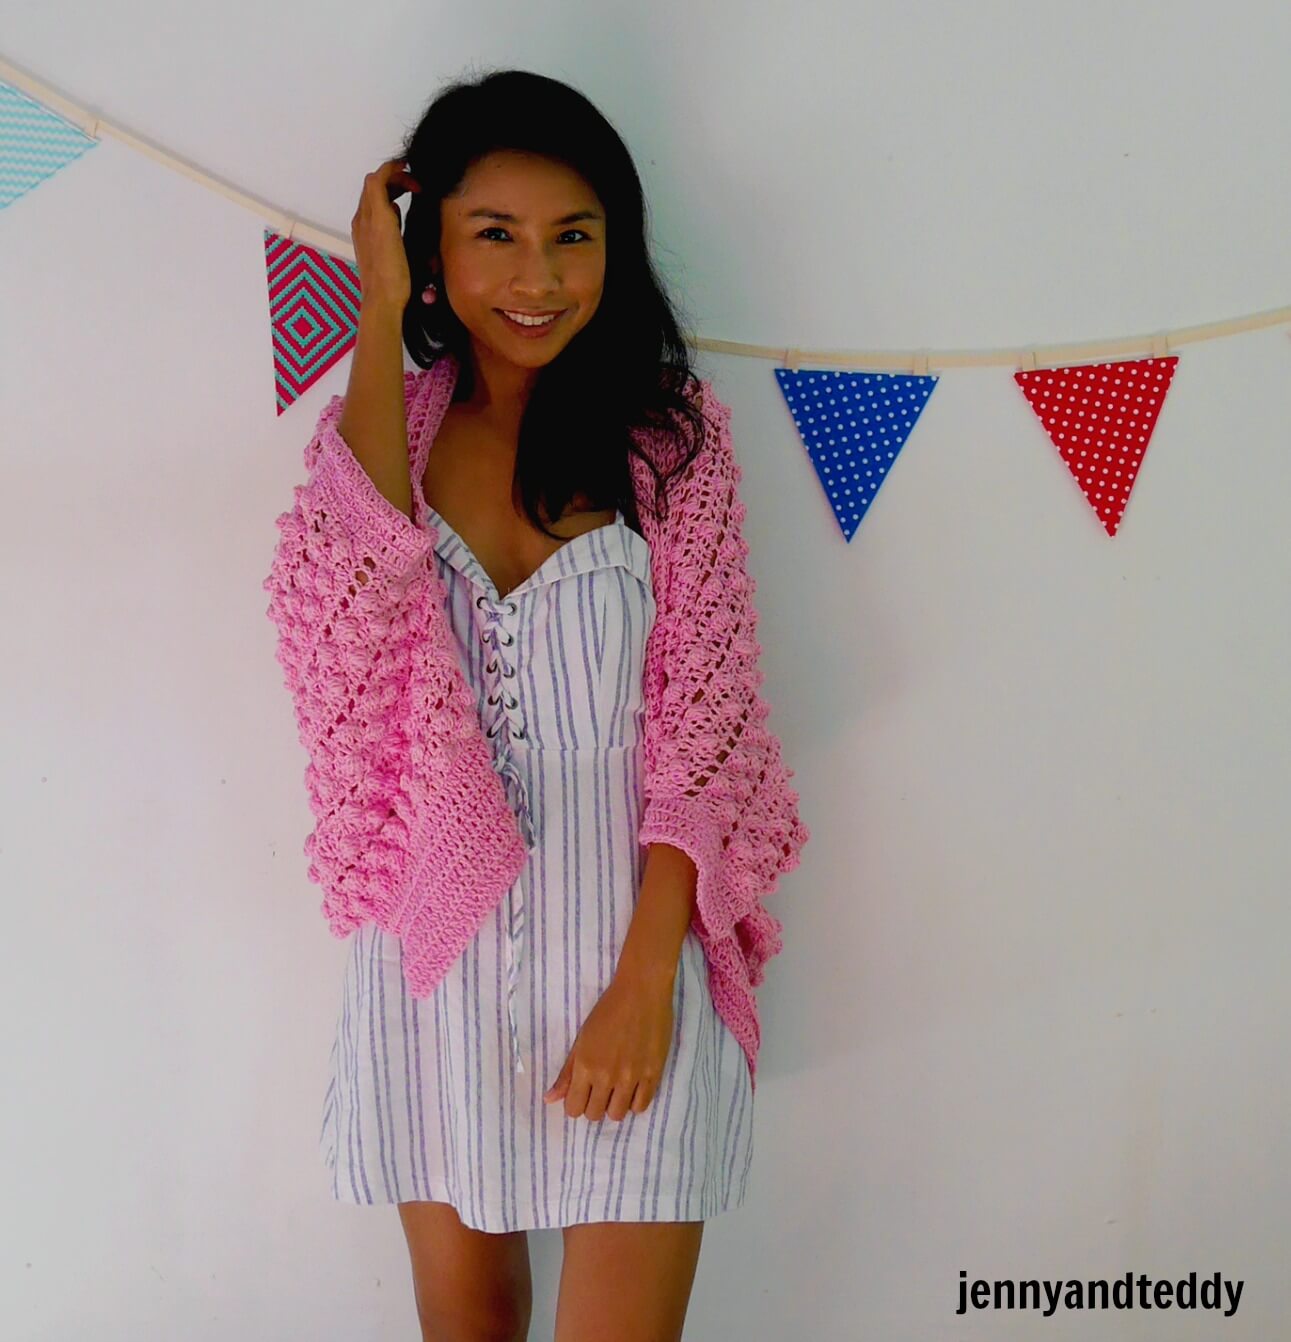
This bubble gum blanket cardigan will be one of your favorite item to wear in this cold season.
Let’s get start!
– I used cotton DK weight yarn / 3 light . I am using about 3 yarn cake around 1,200 yard fit size small to medium.
( easy to adjust the size see pattern instruction below)
Color is pink
– 4.0 mm crochet hook
– Sewing yarn needle
Gauge: 2 bubble crochet stitch = 2 inch

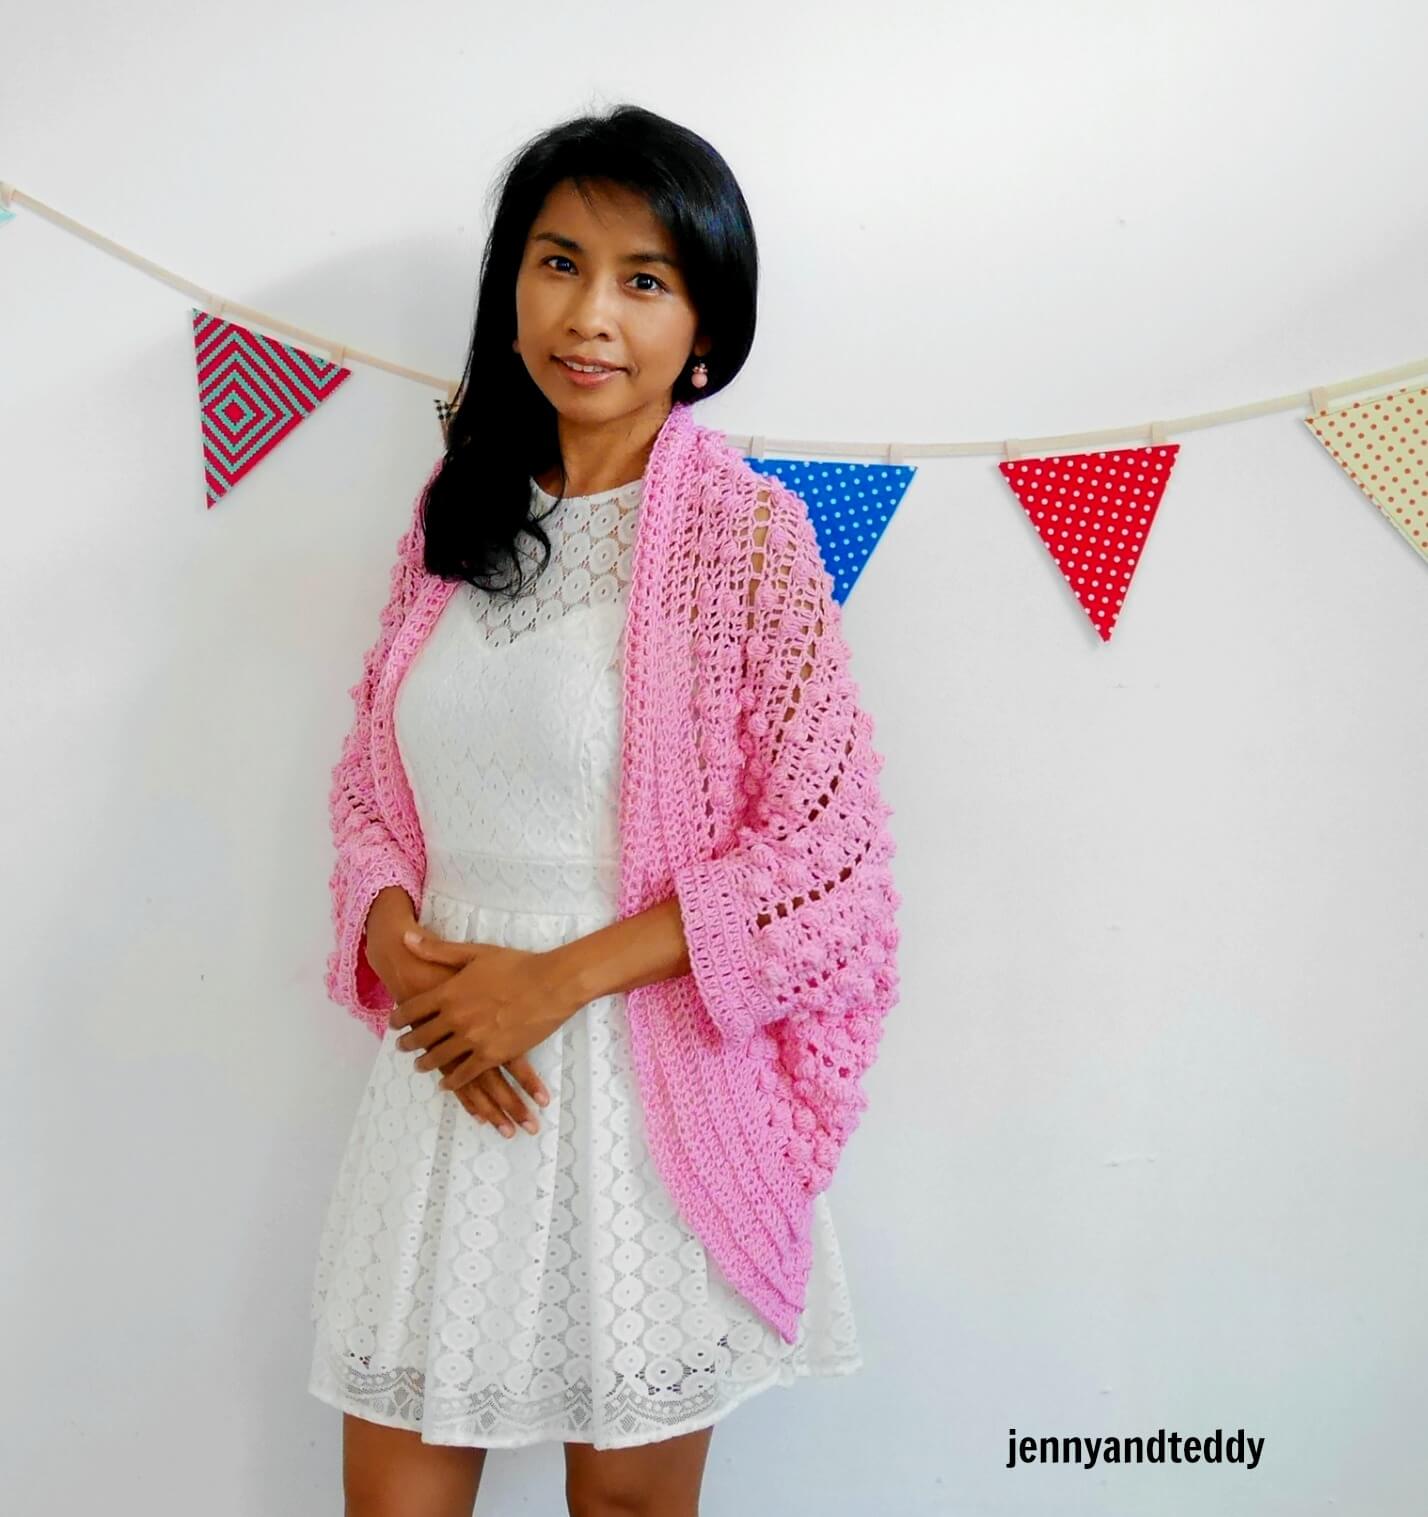
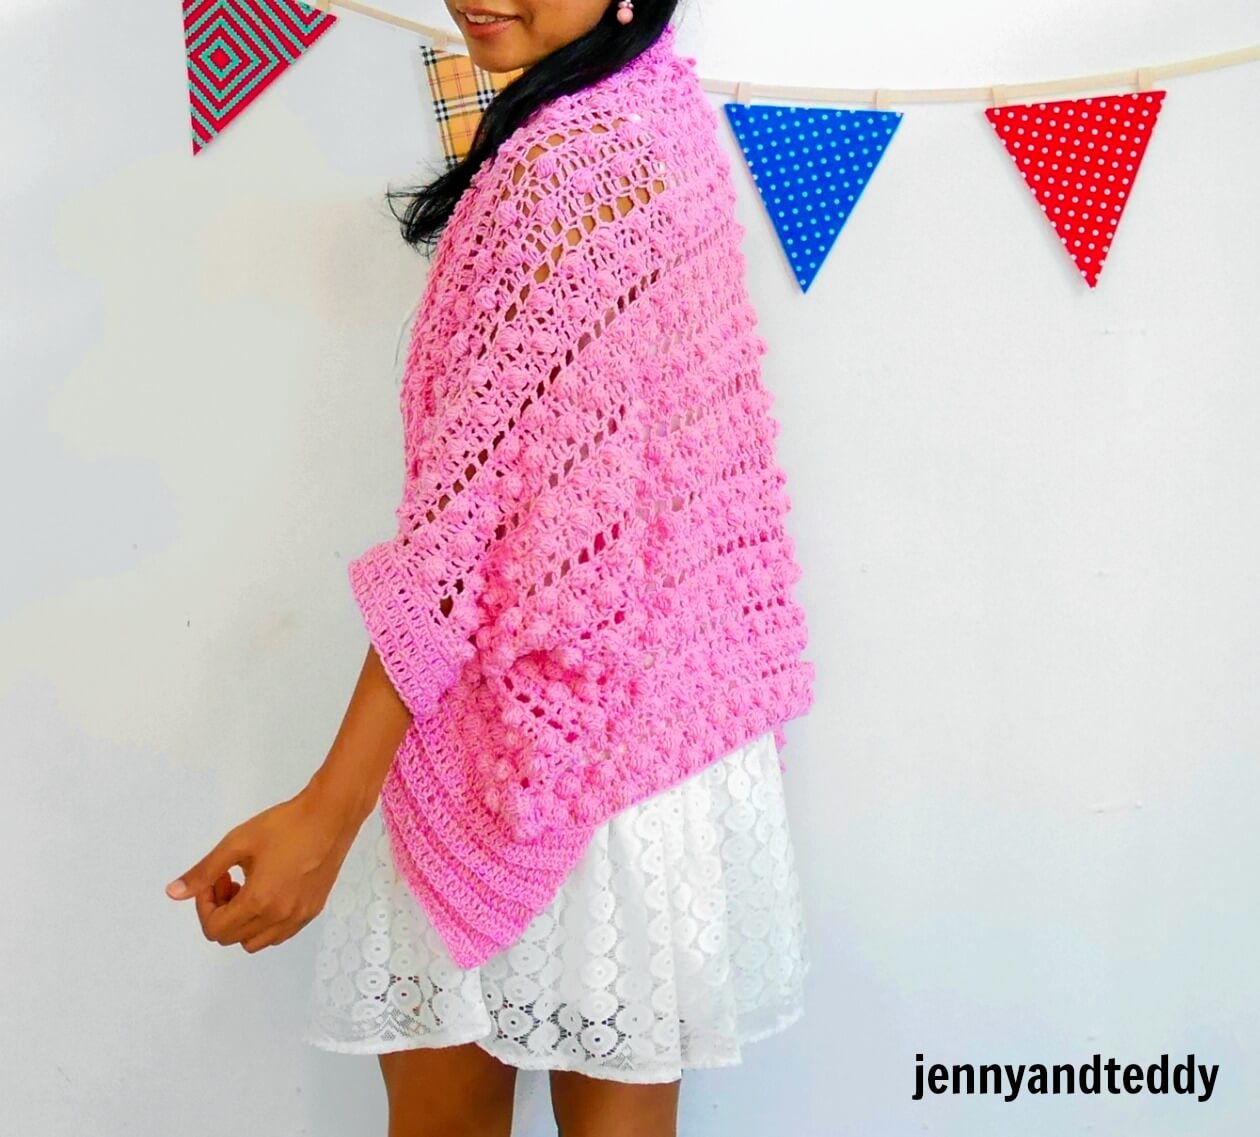
Another look of this pretty crochet cardigan.
Get the free pattern below or this pattern is also available as an inexpensive, ad-free, PDF printable instant download in my etsy shop. Thank you so much for your love and support. I am really appreciate you.
Skill and abbreviations
(American crochet terms)
You will need to know how to make
-St which mean stitch
-sc which mean single crochet
-dc which mean double crochet
-Blo which mean crochet in back loop only
-ch, Chain
-slip knot
Bobble stitch: yarn over insert your hook into the stitch that you want to make bobble then pull up a loop and yarn over pull through 2 loop then insert your hook into same stitch and repeat that 4 time until have 6 loop on your hook then yarn over pull through all 6 loop and make single in the next st, Bobble complete!

Finished Size Approximately:
Small to medium ( other size to make it bigger by add more chain to foundation chain, detail in the pattern)
For me the model wearing this piece, I am 4’9 feet tall.
![]()
![]()
Video tutorial.
Measurement.
![]()
![]()
of one rectangle.
-20 inches tall
-38 inches wide
Bubble gum blanket crochet cardigan instruction.
Pick up crochet hook size 4.0 mm and Start of by making a slip knot Then make 132 chains for s to m (foundation chain multiple of 4 ).
( for size L and xl 144 chain) , ( size 2xl and 3 xl 164 chain).
Row1: make, dc into next chain from hook and in each chain across until the end of the row.
Row 2: ch 1 turn, sc into first 2 sts. *Bobble stitch into next stitch, sc into next 3 sts*. Repeat between * and * until you have 4 sts left then make sc in each of the last 4 sts.
Row 3: ch 1 turn, dc in each stitch until the end of the row.
Row 4: ch 1 turn, sc into first 4 sts. *Bobble stitch into next stitch, sc into next 3 sts*. Repeat between * and * until you have 2 sts left then make sc in each of the last 2 sts.
Row5: ch2, turn, *dc in next st, ch1,skip1 st then dc in next st* repeat this * to * until the end of the row.
Row6: repeat row3.
Row7: repeat row2.
Row8: repeat row3.
Row9: repeat row4.
Row10: repeat row5.
Keep Repeating row 6-10 until you get 20 inch long.
![]()
![]()
Shape armhole.
Lay the piece of rectangle in flatted and fold each corner inward until they meet then using your yarn needle to seam the corner with your prefer method ( I used whip stitch) and leaving holes for the arm. For the arm holes I leave my one about 5-6 inch or your prefer length.
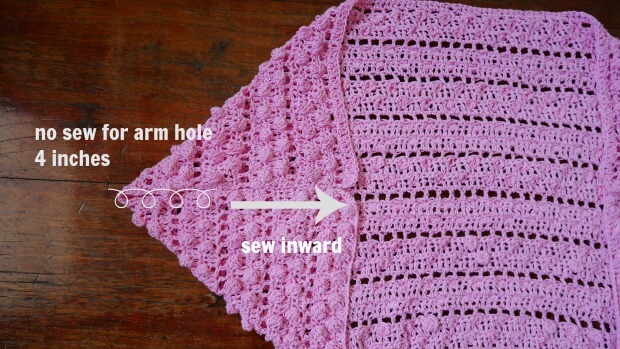
Repeat for the other side.
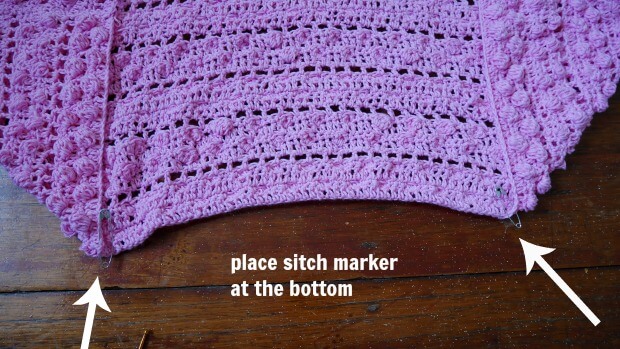
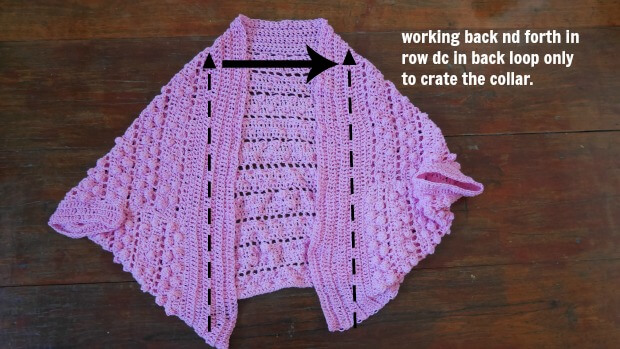
For the edging/collar.
For the collar we will worked along the edge of the opening of the cardigan back and forth in rows with dc in back loop only. Start at the bottom front corner of the cardigan where the first stitch marker place, working around the back of the neck to the bottom front corner on the other side where the second stitch marker place. (See photo below.)
Start by Place each stitch marker at the bottom front corner of the cardigan.
Rejoin your yarn at the first stitch marker is place.
Row1. sc all around the opening of the cardigan start at where the first stitch marker is place and finish at the second stitch marker is place.
Row2. ch2 turn, then make dc in back loop only all around the opening of the cardigan start at where the first stitch marker is place and finish at the second stitch marker is place.
Row3. Repeat row2 until your collar measure around 6 inches deep. Fasten off and weave in end.
Sleeve for the arm.
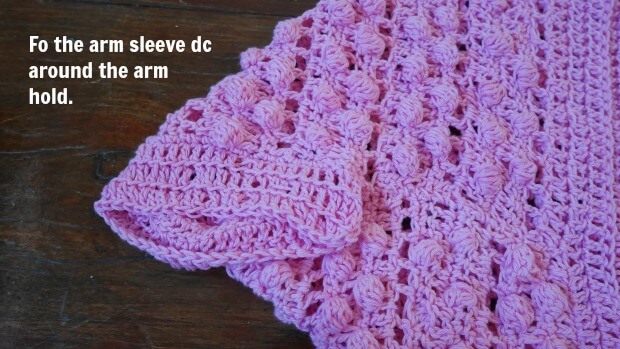
Rejoin your yarn at any stitch of the arm hole.
Round1. sc all around the opening of the armhole.
Round2. make dc in back loop only all around the arm hole. on the armhole work in spiral donot join yarn.
Round3. Repeat row2 until your sleeve measure around 1 inches deep. Fasten off and weave in end.
![]()
![]()
Now enjoy your new cardigan.
If you make one I would love to see your creation tag me on Instagram!
Happy crocheting.
Jan
Sunday 6th of March 2022
Hi, I have done rows 1 to 6. Row 7 says repeat row 2, but, that is a right side row, and the bobble stitch is worked on a wrong side row! Have I missed something or is there a row missing, thanks
Leah Ketley
Sunday 10th of May 2020
Can I just clarify on row 2, is the bobble and the single crochet that follows classed as the bobble stitch so effectively there's 4 sc's that follow or is it just 3 sc's?
Part way through the row and thought I'd clarify before I go any further.
jane
Monday 8th of June 2020
leah yes,.
Steph
Monday 4th of November 2019
When it says for Row 1: make, dc in next stitch from hook, does that mean the last chain stitch- chain 132/144? Thank you
Teresa Burrill
Friday 21st of December 2018
This bubble gum blanket cardigan pattern is little problem. I see 'Keep Repeating Rows 7 - 12 until you get 20 inches long', but I only see rows 7 to 9 and not see rows 10 to 12. Where is the rows 10 to 12 instructions, please? Help me out.
jane
Friday 21st of December 2018
Hello Teresa, I just fixed the error, now it show up. thanks you so much for let me know.