

I had so much fun making this simple shell stitch crochet slouch hat. Do you like to crochet a beanie? I do.
Especially, The slouchy style crochet hat is one of my favorite things to do this day because they are quick and so so simple. 
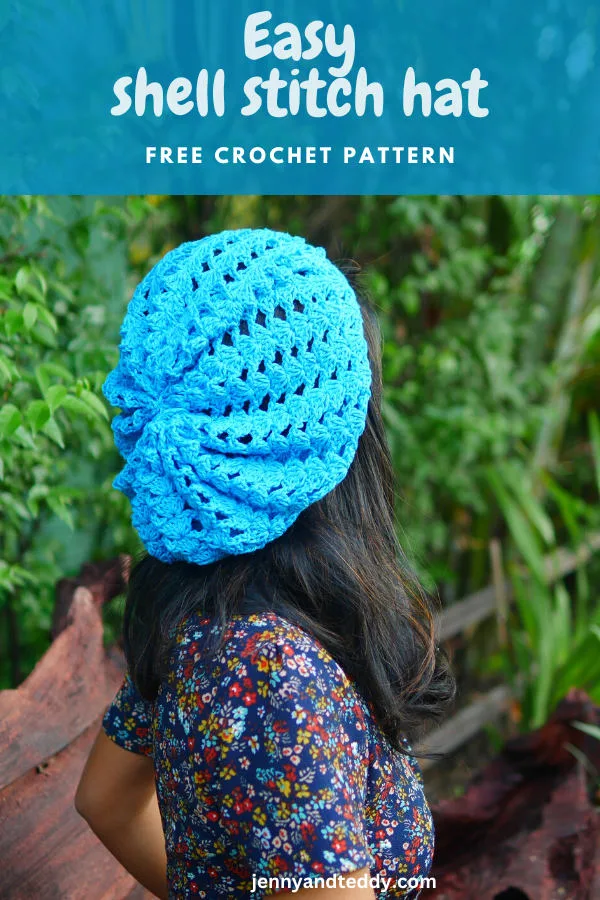
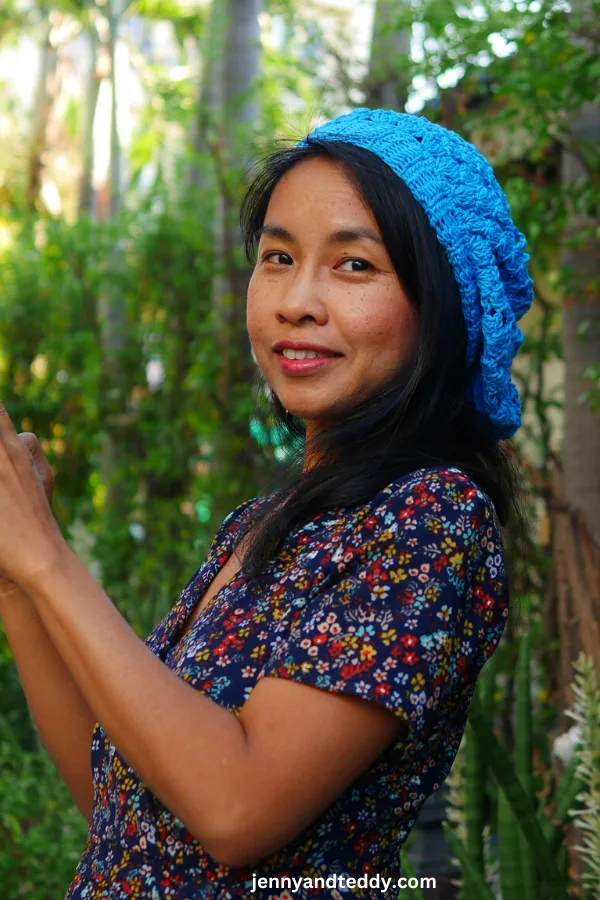
The inspiration behind this open shell stitch crochet hat.
Now, I love the previous simple slouchy hat patterns that I’ve made, but I wanted something a bit more feminine, something a bit more delicate with lacey stitch.
So, I created the Easy Shell Stitches Hat and can’t wait to share it with you today.
The free crochet pattern comes with a full step-by-step video tutorial on youtube for you all visual learners.

Although this uses a few different stitches, it’s still a great pattern for beginners.
In fact, I think it’s a great pattern for veteran crocheters to practice their basic stitch work on too.
Be sure to check out these slightly slouch men beanie hat patterns that I made for my guy friends, too – they turned out great, and they wear theirs all the time.
Learn how to crochet the slouchy shell stitch beanies for any size in 3 easy steps.
To crochet a shell stitches, you simply do five double crochet stitches in the same space, chain one, and then repeat that pattern until you get to the end of the row.
Step1. crochet the ribbed band.
I started by making a ribbed band by chain 9 and then Half double crocheting row by row until I got the desired length that fit my head.
I made mine about 20 inches long, but you can make it longer or shorter, depending on your preferences.
You then connect the ends to make a circle.
Step2. crocheted shell stitch part.
From there, you go into your crochet shell stitch hat pattern and repeat that until you’ve created enough deep for the hat.
Before you cut the yarn, be sure to leave a long tail because you’ll be using that to stitch up to create the actual hat.
Step3. stitch up the circle to create the hat.
After you finish up the shell stitch part of the hat now, it is time to stitch up to close the gap to create the hat, and you are all done!
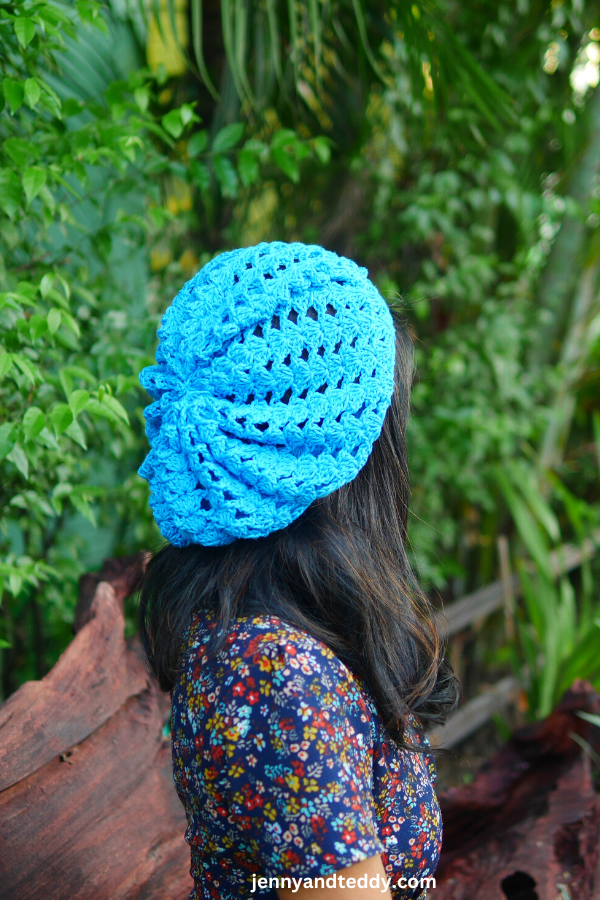
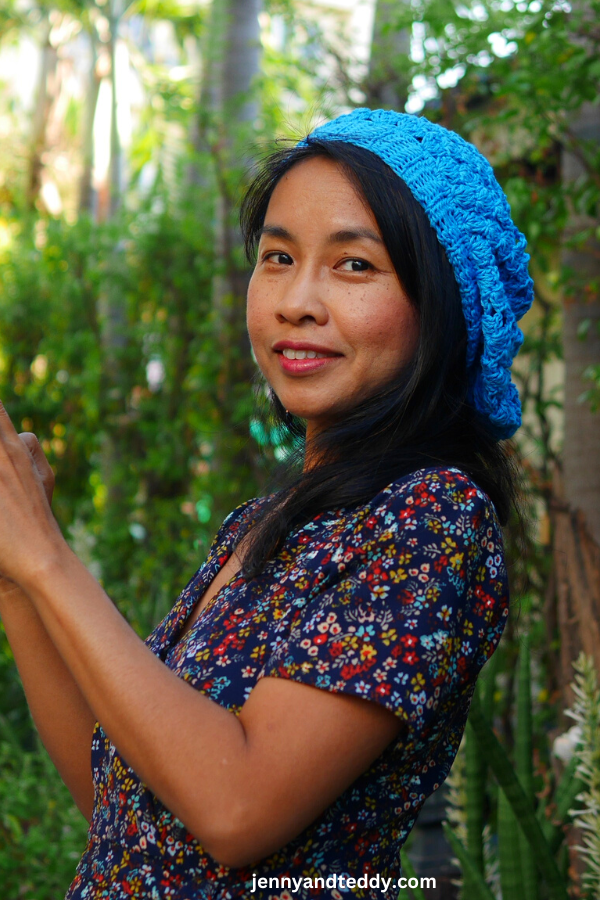
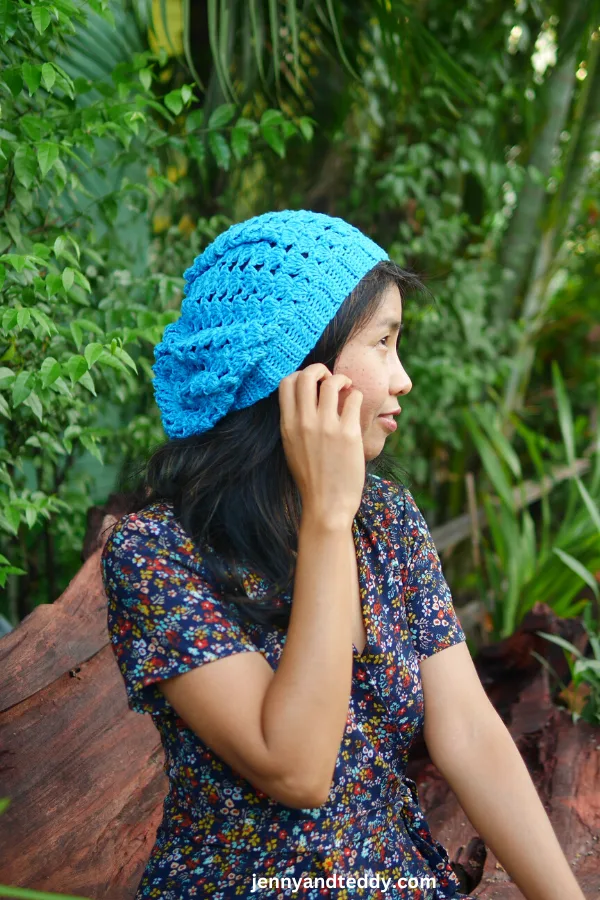
I know it sounds a bit complicated, but trust me, it’s really simple, and the Shell Stitches Slouchy Hat turns out beautifully!
Give the free pattern below a try, and let me know how it turns out! I can’t wait to see your Shell Stitches Slouchy beanie on social media!

Need more crochet slouchy hats and beanies to crochet?
Get the free pattern below or this pattern is also available as an inexpensive, ad-free, PDF printable instant download in my etsy shop. Thank you so much for your love and support. I am really appreciate you.
Let’s get started!
Material for making this lacey shell stitch hat pattern.
- I used cotton DK weight yarn, or you can use 4 medium weight cotton yarn is fine too.
- 3.50mm crochet hook or E/4 US hook size
- Sewing yarn needle
Skill and abbreviations
(American crochet term)
- Sl st (slip stitch)
- hdc, which means half double crochet
- dc, which means double crochet
- ch, Chain
- sc which means single crochet
- blo, which means crochet in the back loop only
How to crochet shell stitch beanie hat step-by-step video tutorial.

Shell stitch crochet hat pattern instruction.
Crochet the ribbed Band
Start with making a slip knot and 9 chains and hdc crochet row by row the back loop only until you get the length that perfectly fits around your head.
Row1. crochet 1hdc in each of the next 8 chains from hook, ch1 turn (8)
Row2. crochet 1 hdc in each of the next 8 stitches from hook ( blo only), ch1 turn (8). This will create a ribbed band.
Repeat round 2 until you get the length that fits around your head!
So, in the end, I am measuring mine around 20 inches long.
Then sewed the short ends together to form a band. Or using a single crochet stitch. You should now have a headband.
After we form a circle, then we will make sc in each stitch or in each space around the circle for 1 round.
Start to crochet the shell stitch part of the hat.
Now we will begin the beautiful shell stitch.
Round1. Chain1, *skip 2 stitches, then 5 double crochet in the next stitch*. Repeat this *to * until the end of this round.
Round2. Chain 2, *then 5 double crochet in the 3rd stitch of the shell from the previous round, then chain 1*. Then * to* Repeat this until the end of this round.
This time we work in a spiral and do not join round.
Round3-12. Repeat round2. After you finish round 12, you will fasten off and leave a long tail for steam up the top of the hat.
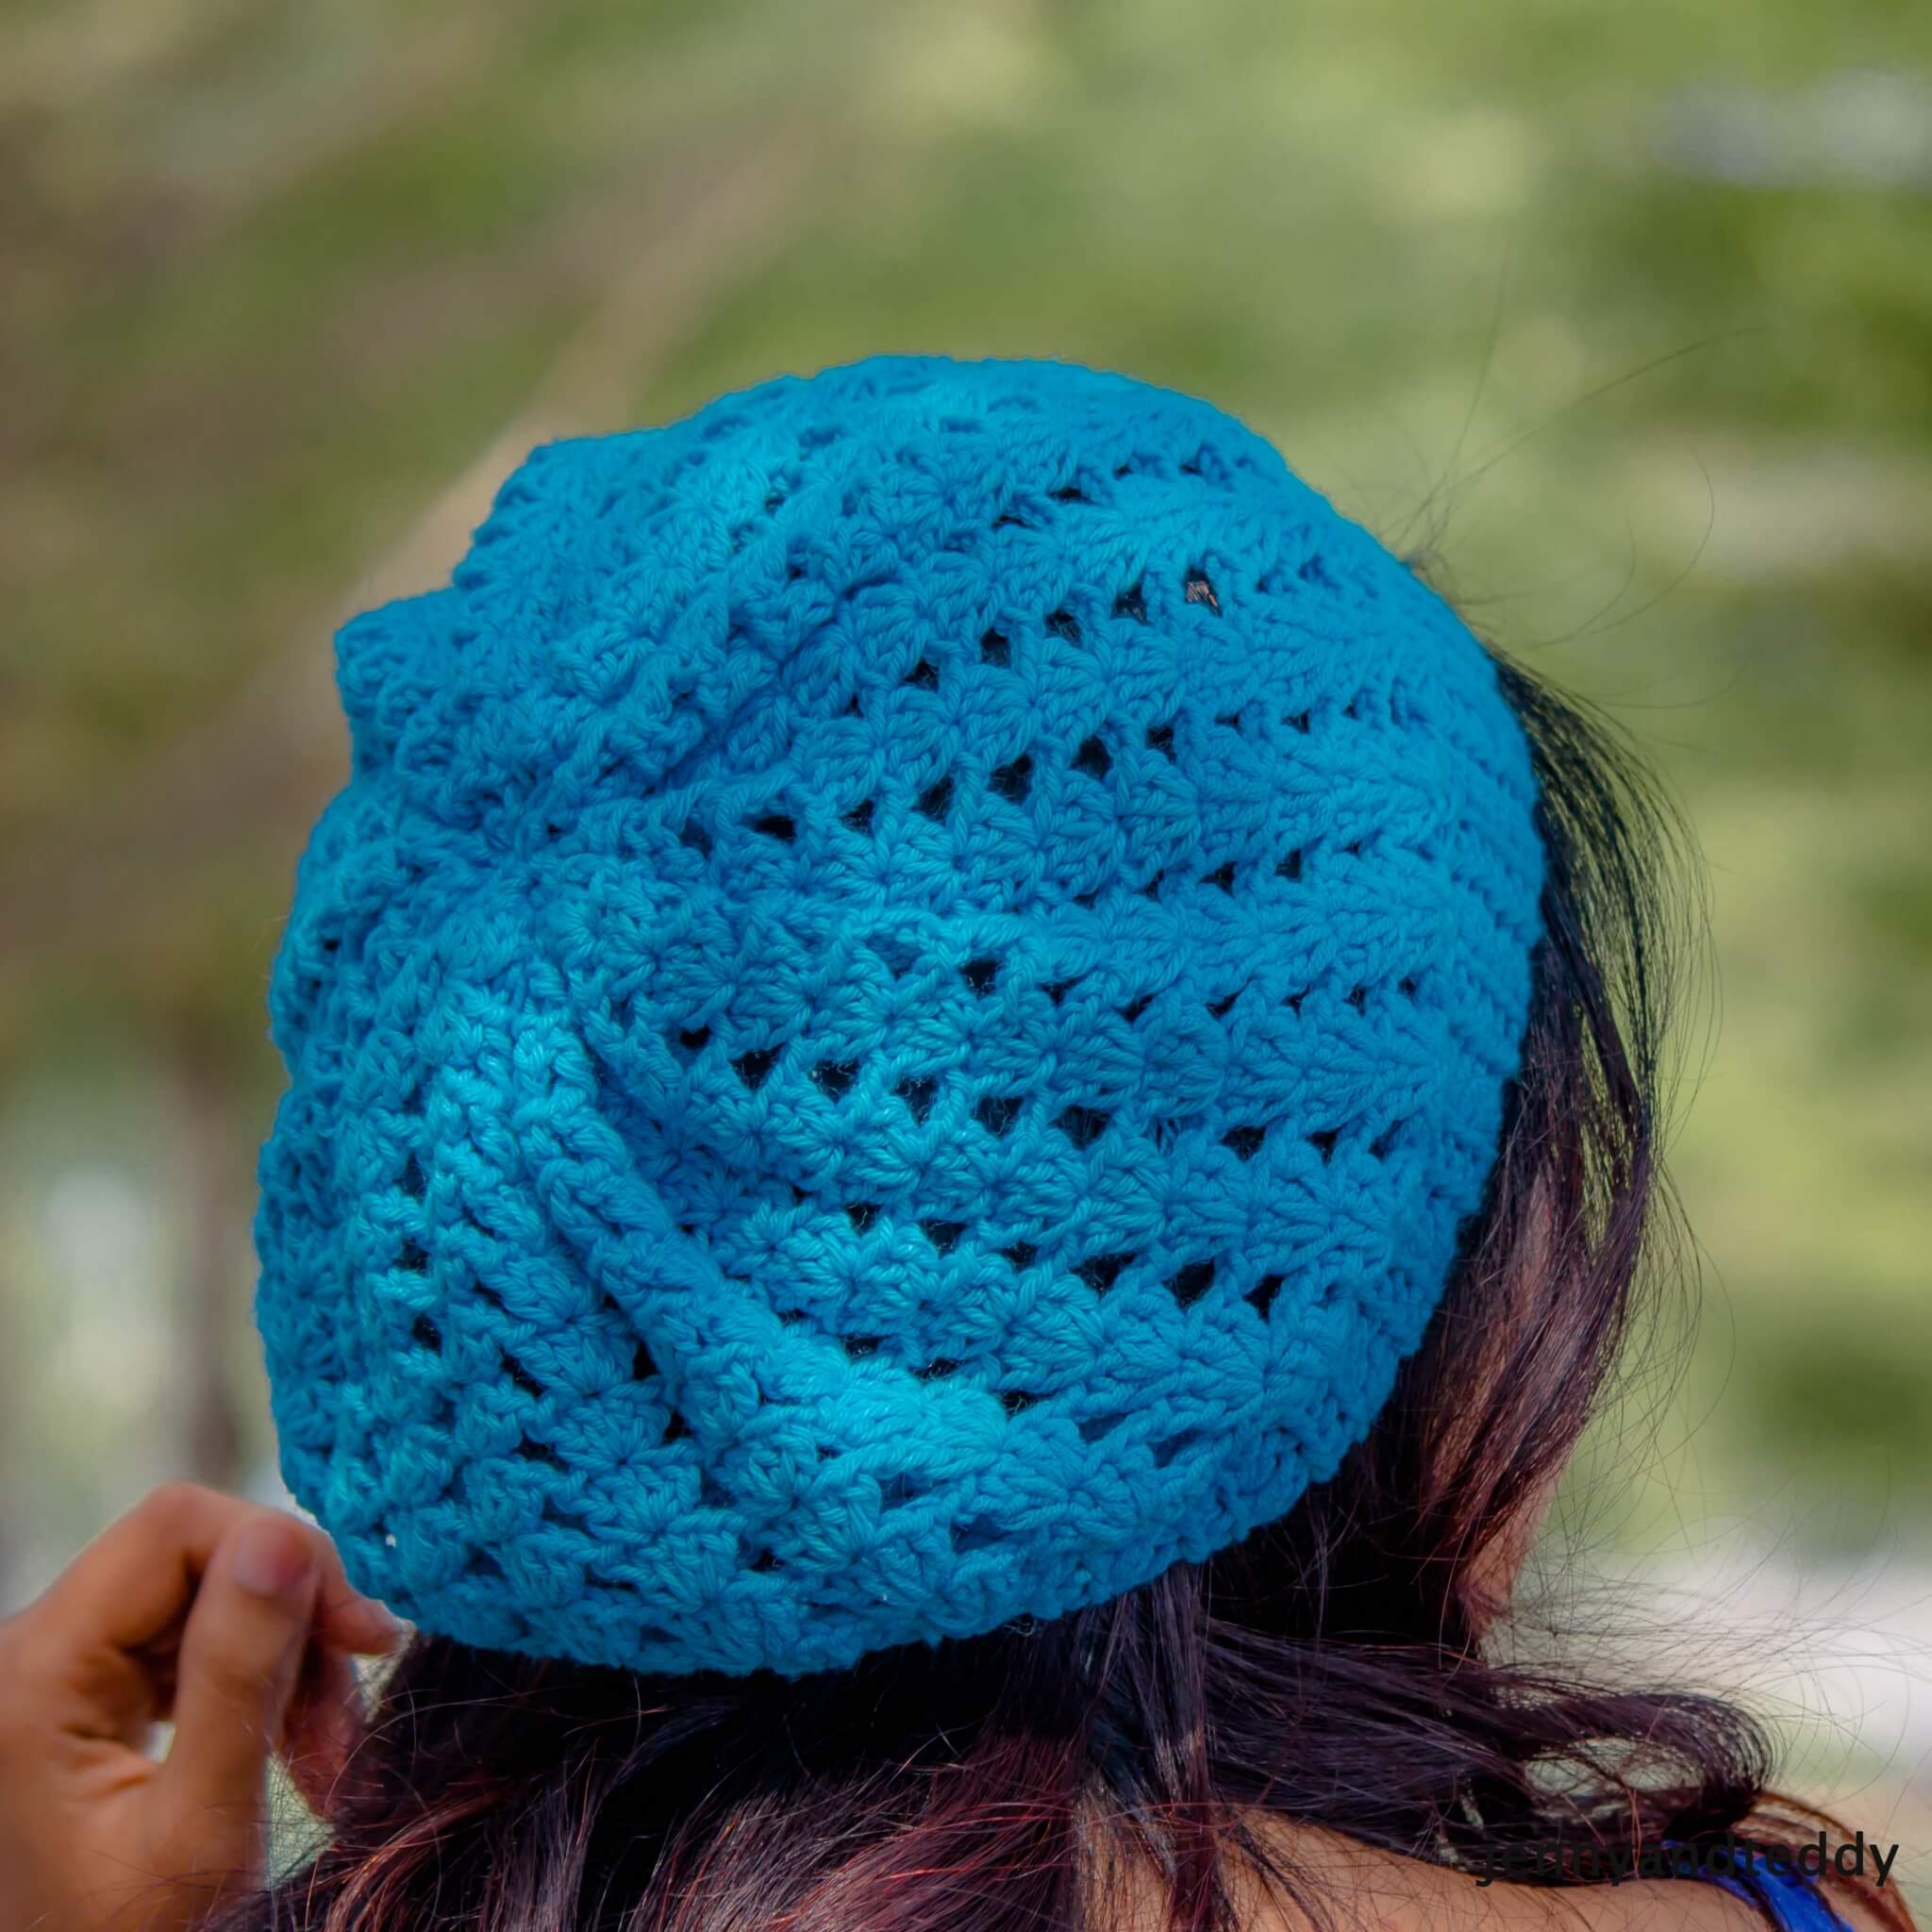
Assemble the hat.
By threading the yarn along the last round and pulling tight. There will be a small hole left, so just easily sew it close.
Now we got a pretty shell stitch slouchy hat! You can also add a nice colorful pom pom on top, so be creative and enjoy it.
All done!
Happy crocheting!
Cheryl
Tuesday 18th of October 2022
How much yarn did you use? You only mention the weight. I am doing this now using about 250 yards of medium(4) weight acrylic yarn. Thank you!
Sandra Odgers
Tuesday 16th of February 2021
Love this hat, thanks for the pattern and tutorial.
jane
Tuesday 16th of February 2021
HI Sandra, thanks you so sweetheart , you just made my day very happy.
paula
Friday 7th of July 2017
what weight of yarn did you use for the hat?
jane
Friday 7th of July 2017
110 and 50 gram cotton
Lisa @ NatureImmerse
Tuesday 9th of May 2017
I just did this pattern and it worked out quite well! I'm working on a second hat, and what I've found needs to be done so you can adjust to make the hat bigger or smaller than what's in the video is to start off by chaining multiples of 4 and then adding 1 more chain (this way, you'll end your foundation row with 4 chains instead of 3). This will be the height of your hat (minus the band).
jane
Tuesday 9th of May 2017
Thanks so much Lisa for making it please tag me on Instragram I would love to see your creations.